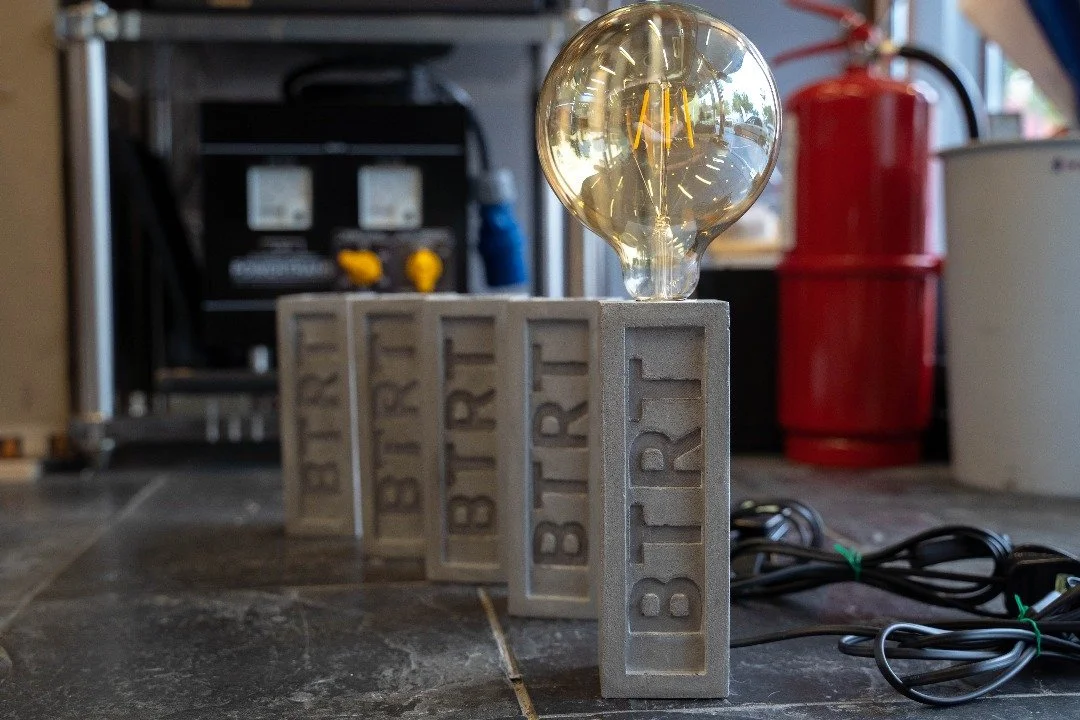
Trophy Casting
This project was a major change of pace from my woodworking projects at Crafter’s Lab, and it ended up being an invaluable masterclass in mould making and concrete casting. I was tasked with creating a concrete trophy, an object that demanded meticulous attention to every detail and a level of finishing that felt more like fine art than industrial work.
This project expanded my understanding of how materials behave and the importance of precision at every stage of the process. It's an exploration of a completely different craft, one where the smallest mistake can be permanently cast in stone.
In association with

The Trophy: Reverse-Engineering a Design
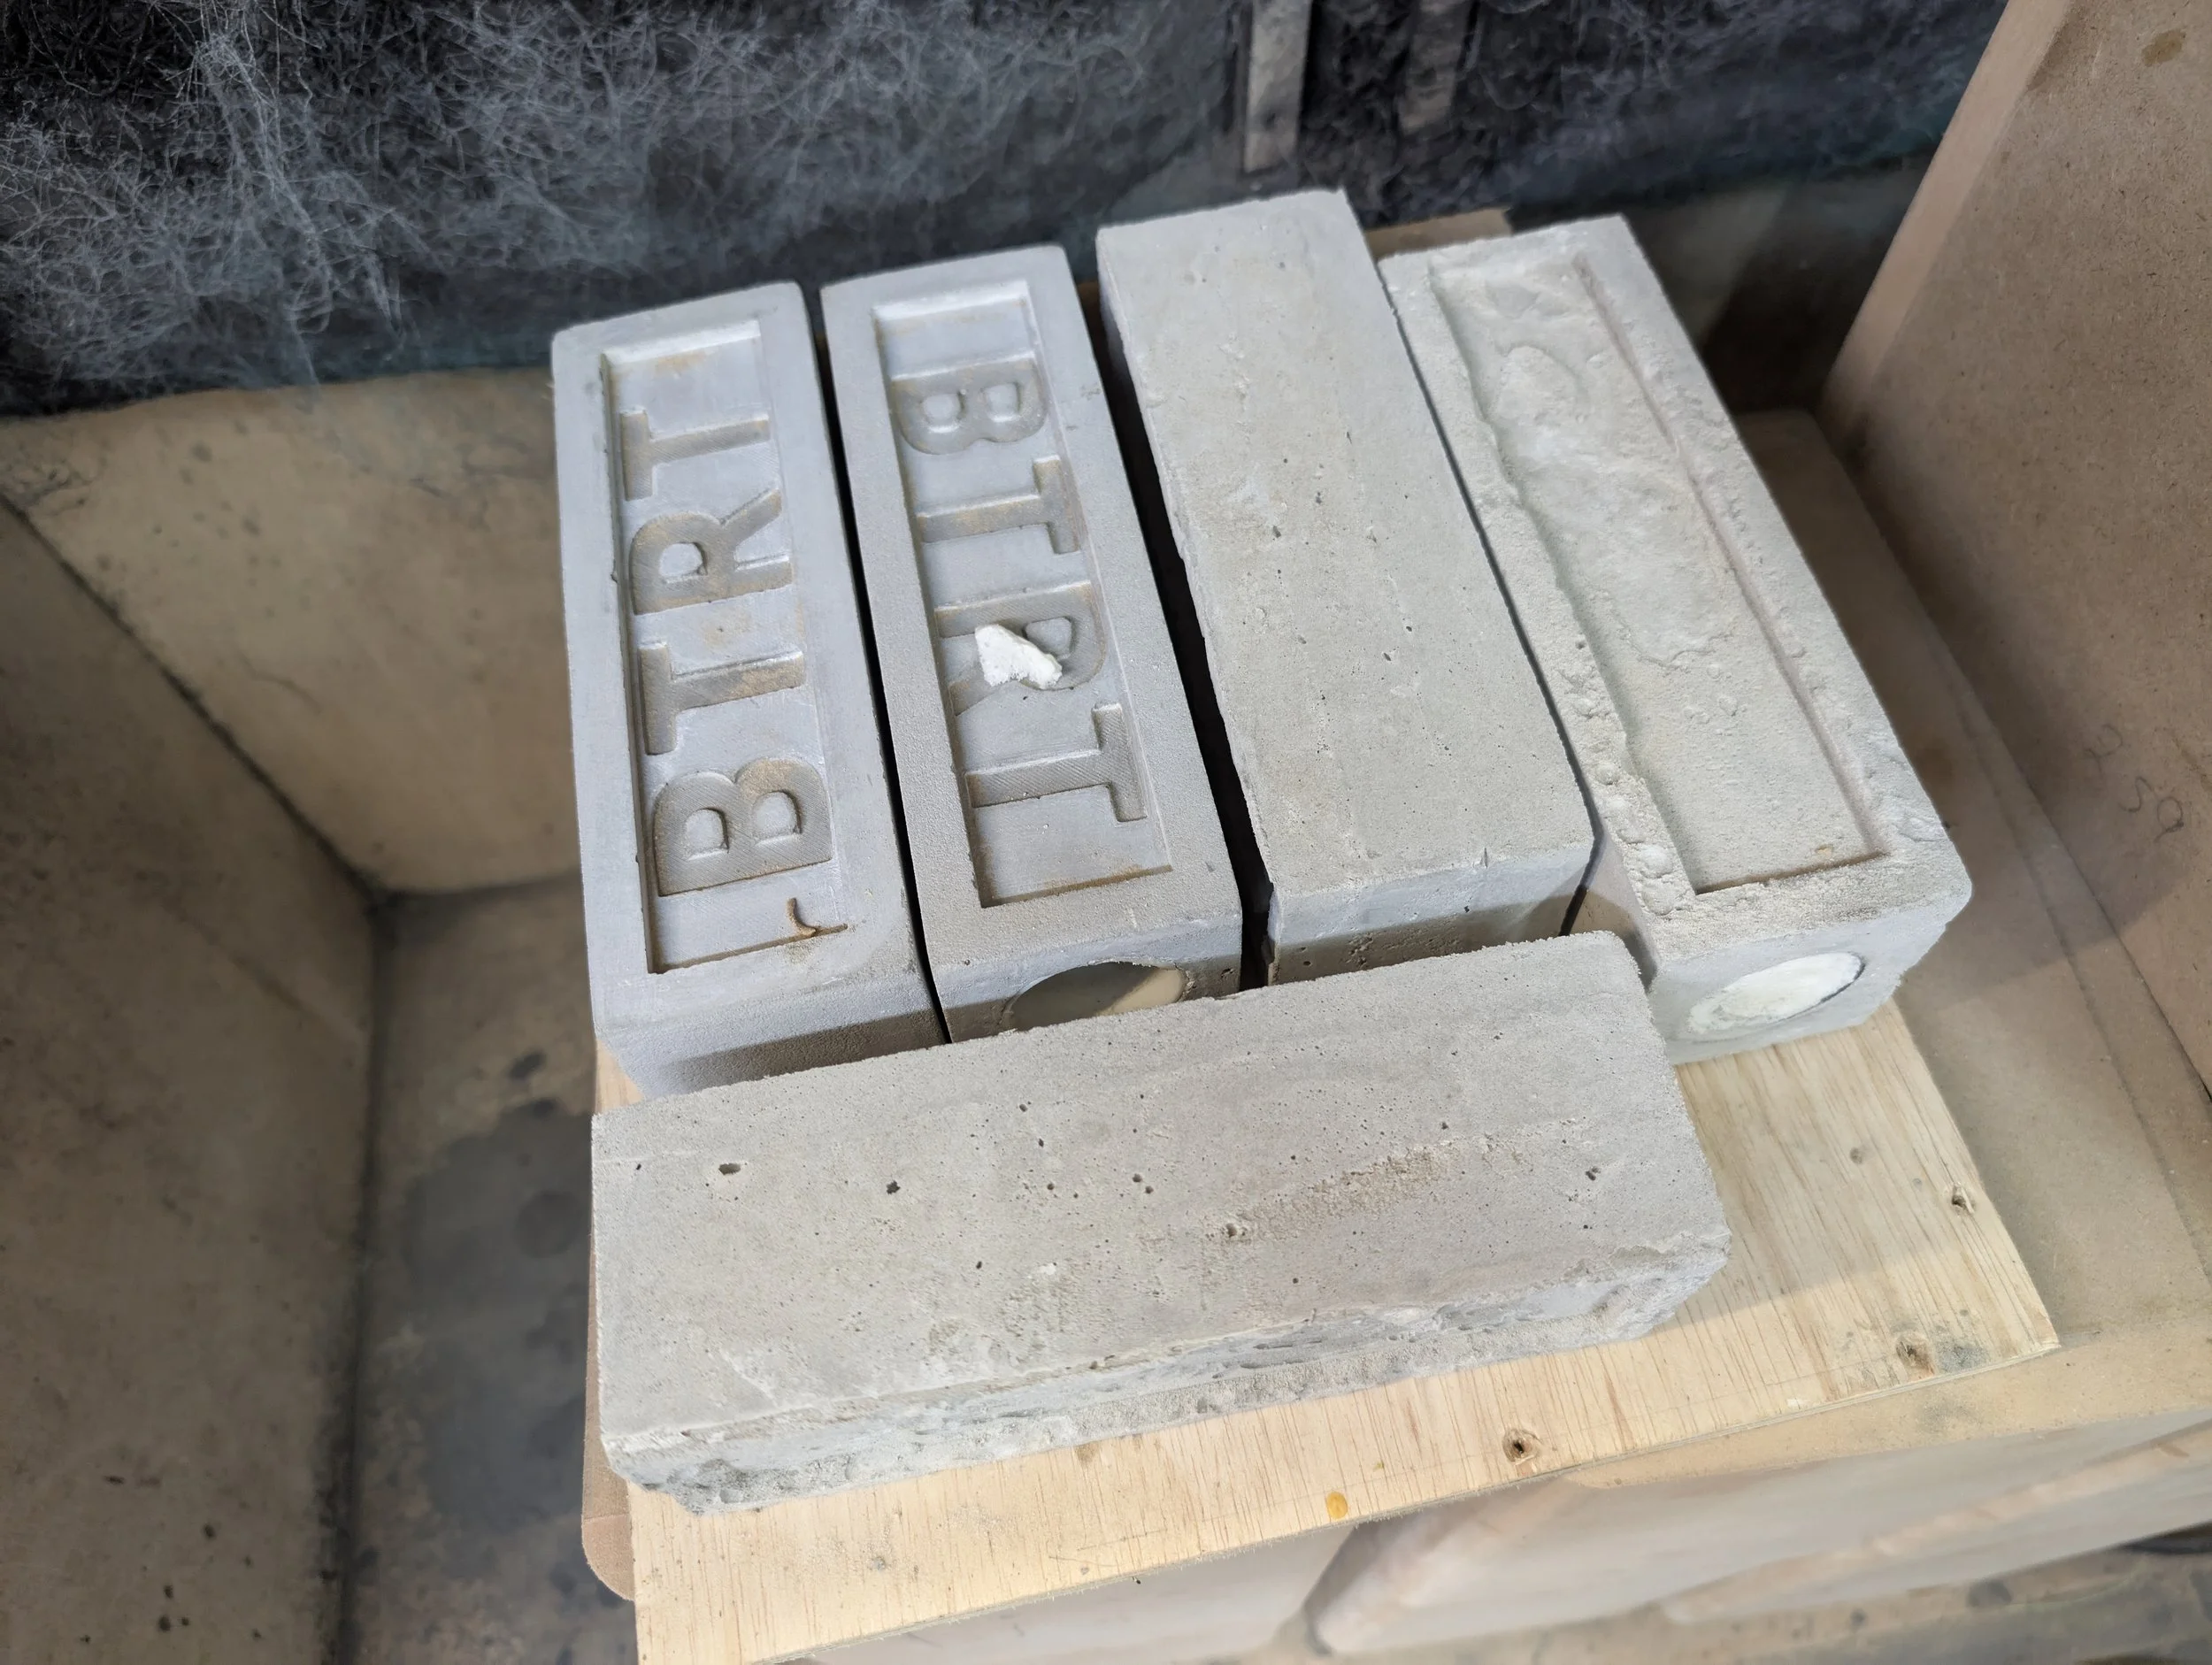
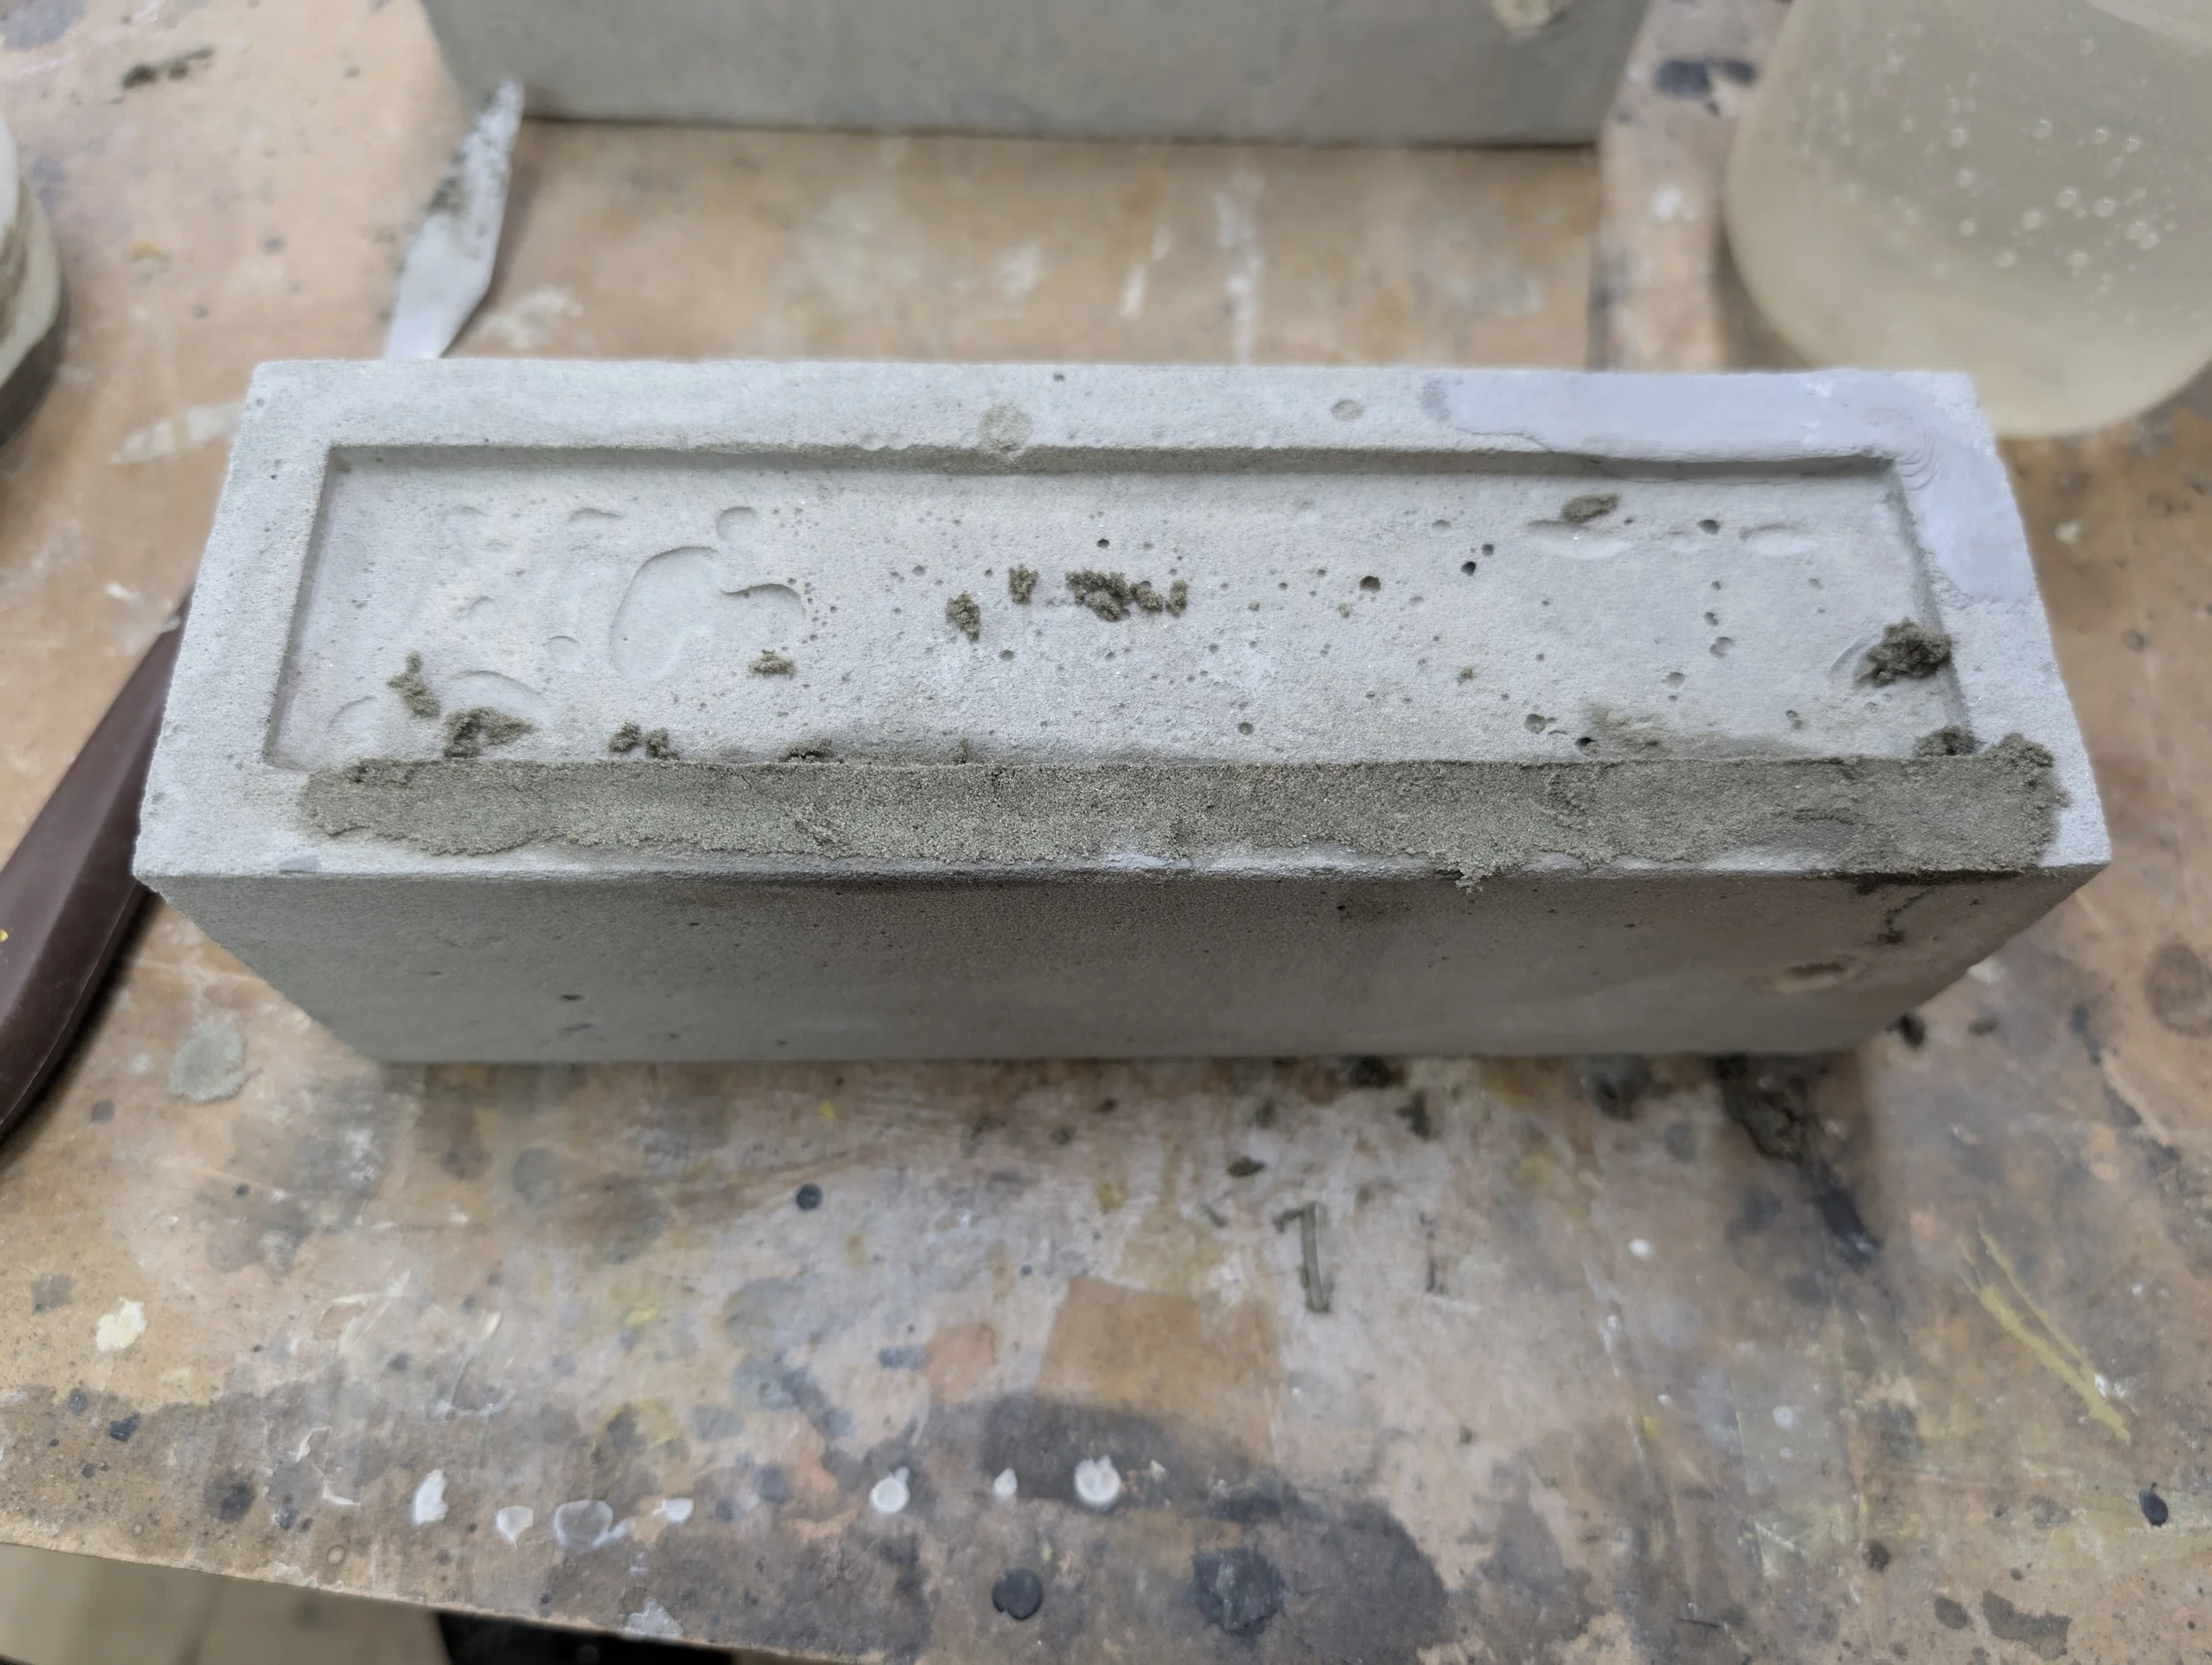
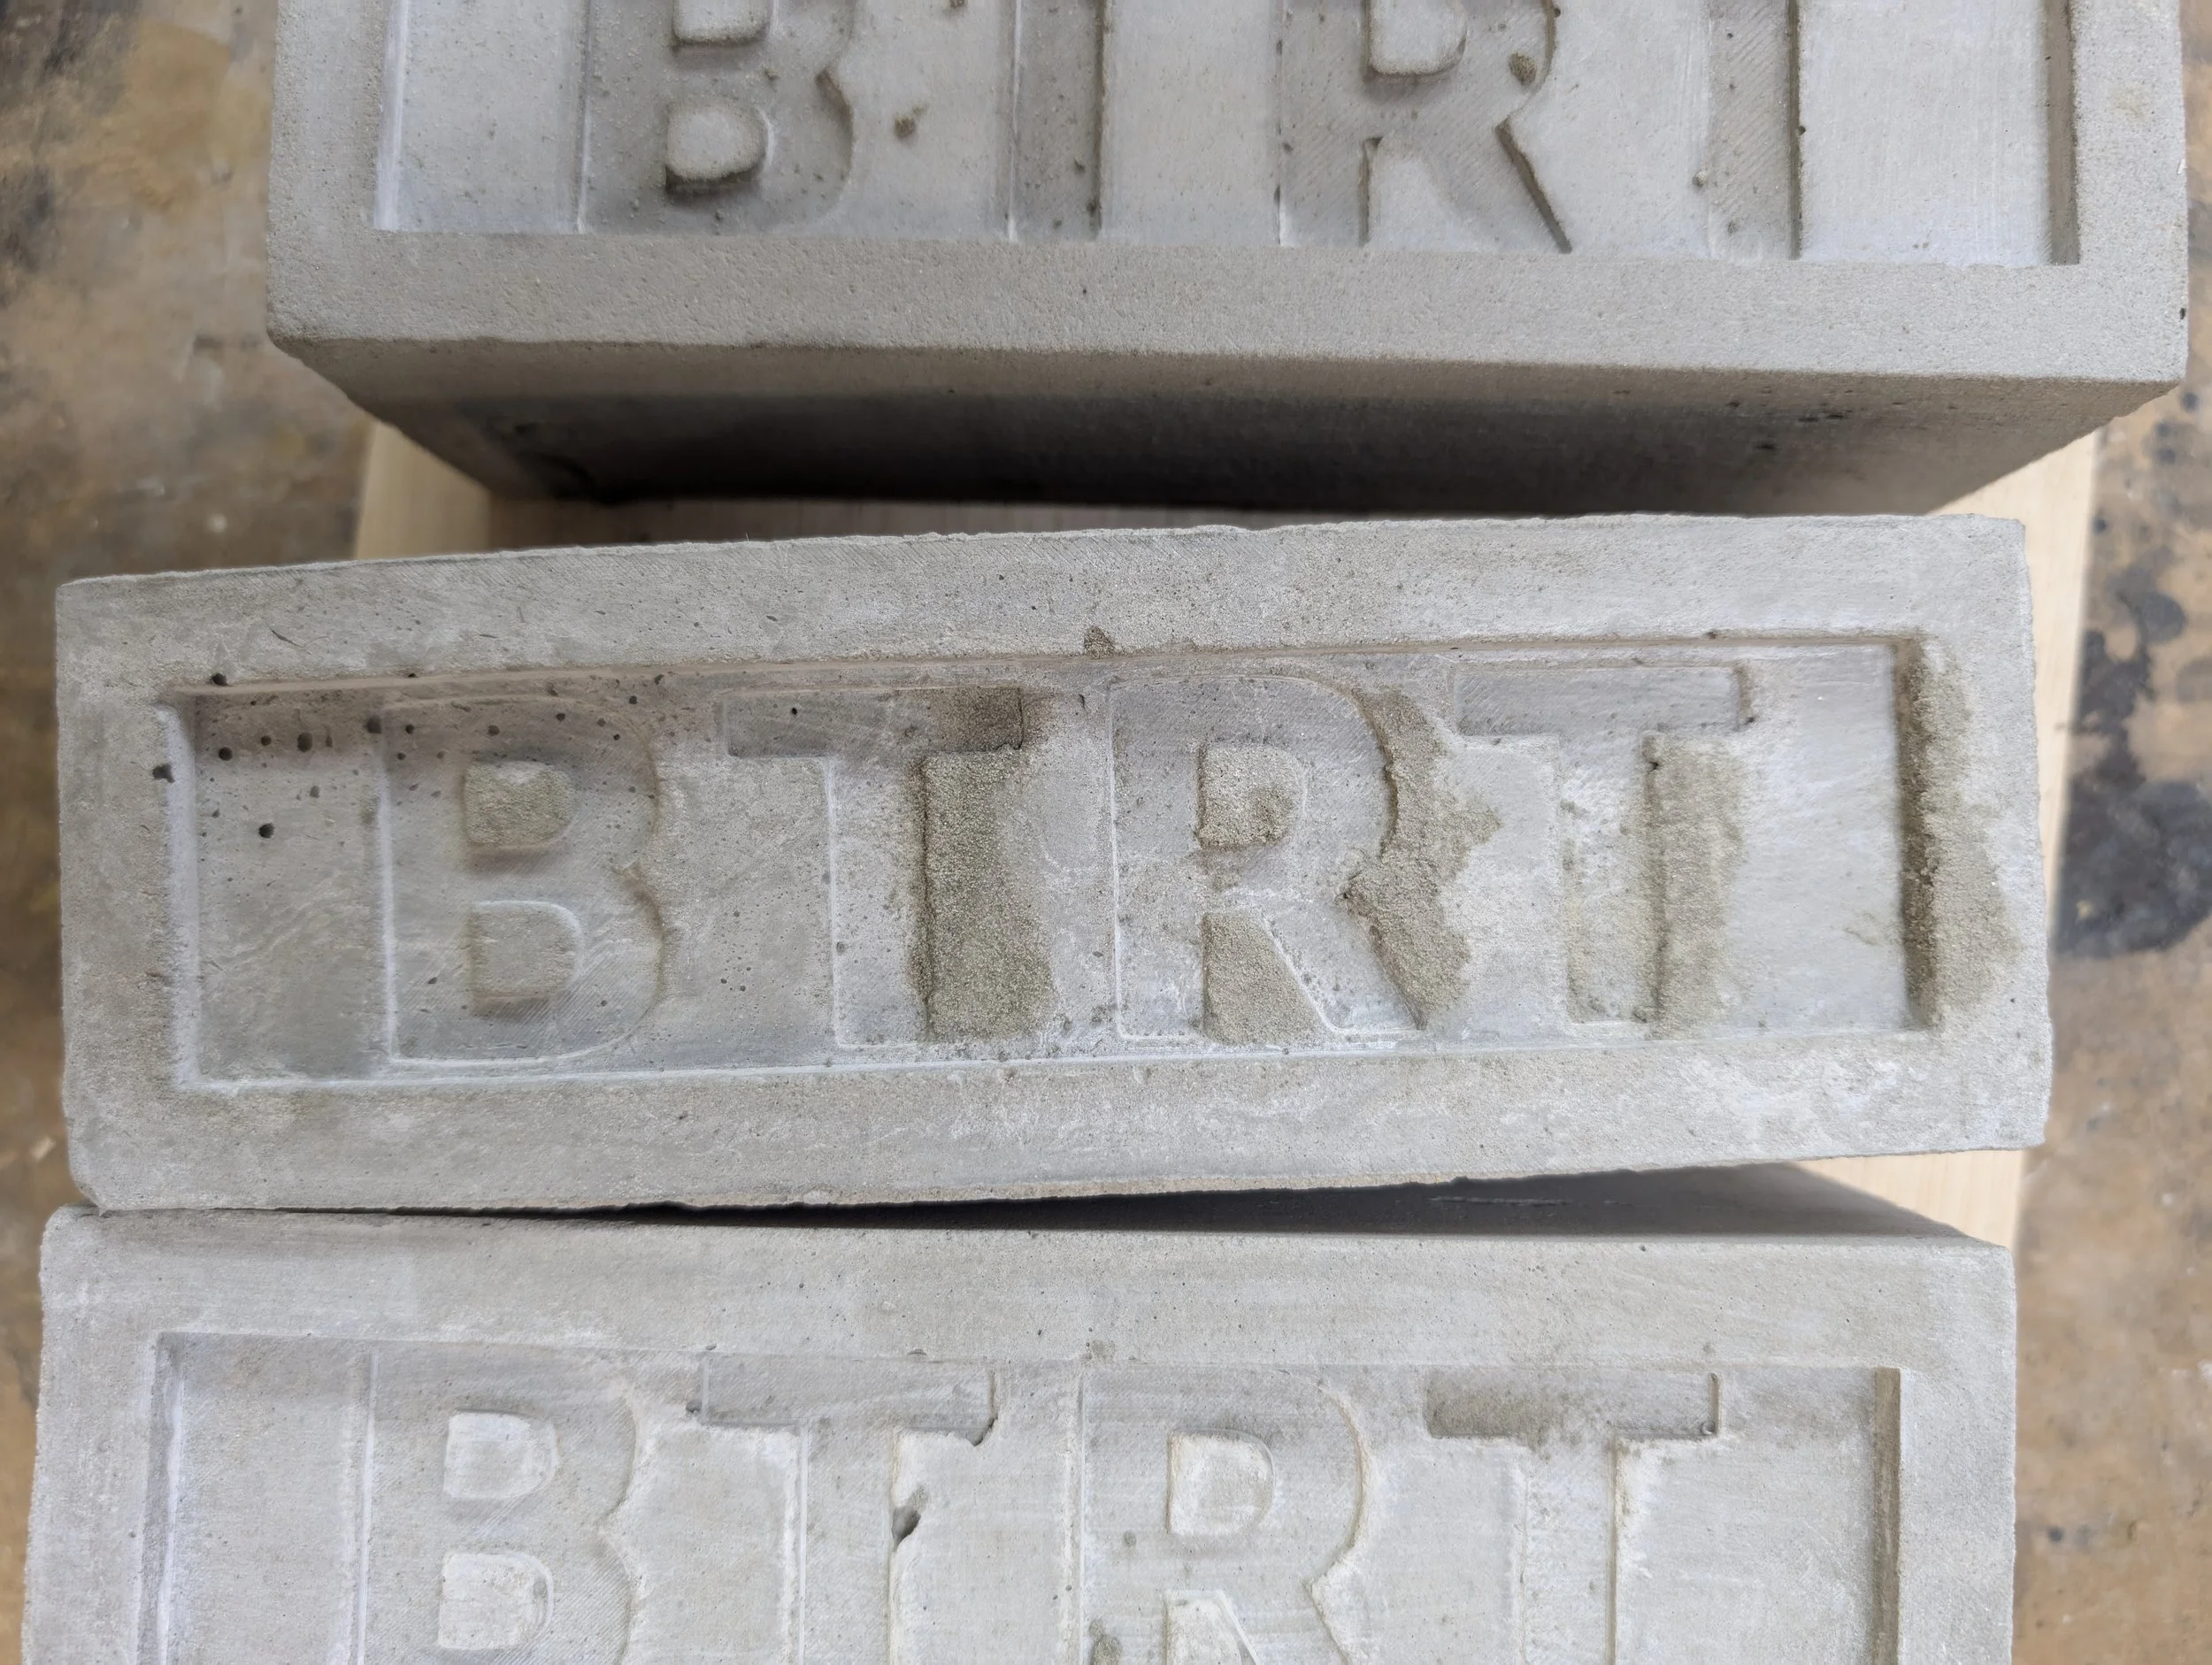
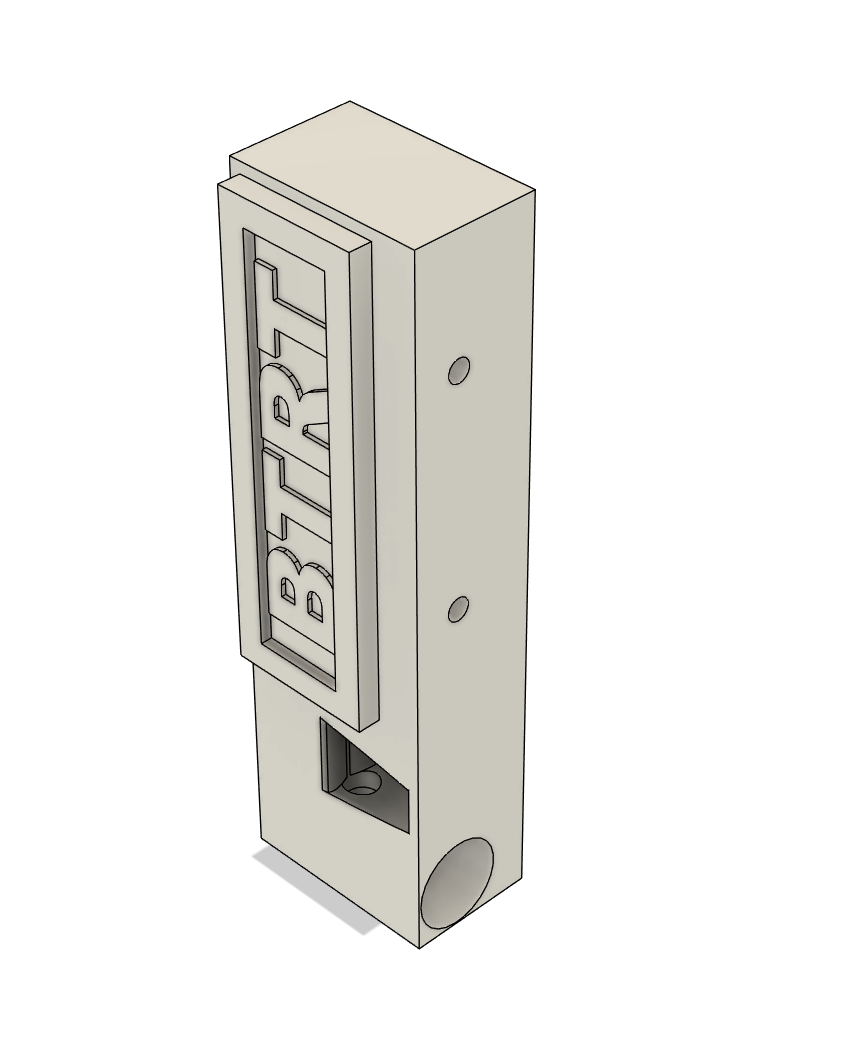
My task was not to design the trophy itself but to manufacture more of them. With no finished product to reference, I had to reverse-engineer the design from a few pictures and a collection of rejected stock. The trophies themselves were simple rectangles, but with different front and back faces. The design was clever: the trophy was cast with the front face down in the mold, taking advantage of gravity to ensure a perfectly smooth, flawless surface. I've since learned that the bottom face of a cast is almost always the smoothest, as the pressure from the liquid material on top forces it into every detail.
However, the mould itself was the most challenging part of the process. Its design introduced a lot of human error, a topic I've discussed in detail here. The casting process itself is highly dependent on the craftsman’s skill, but the company's process made it especially difficult. I proposed some changes for future iterations, but we'll save that for later.
A Genius Solution and a Major Hurdle
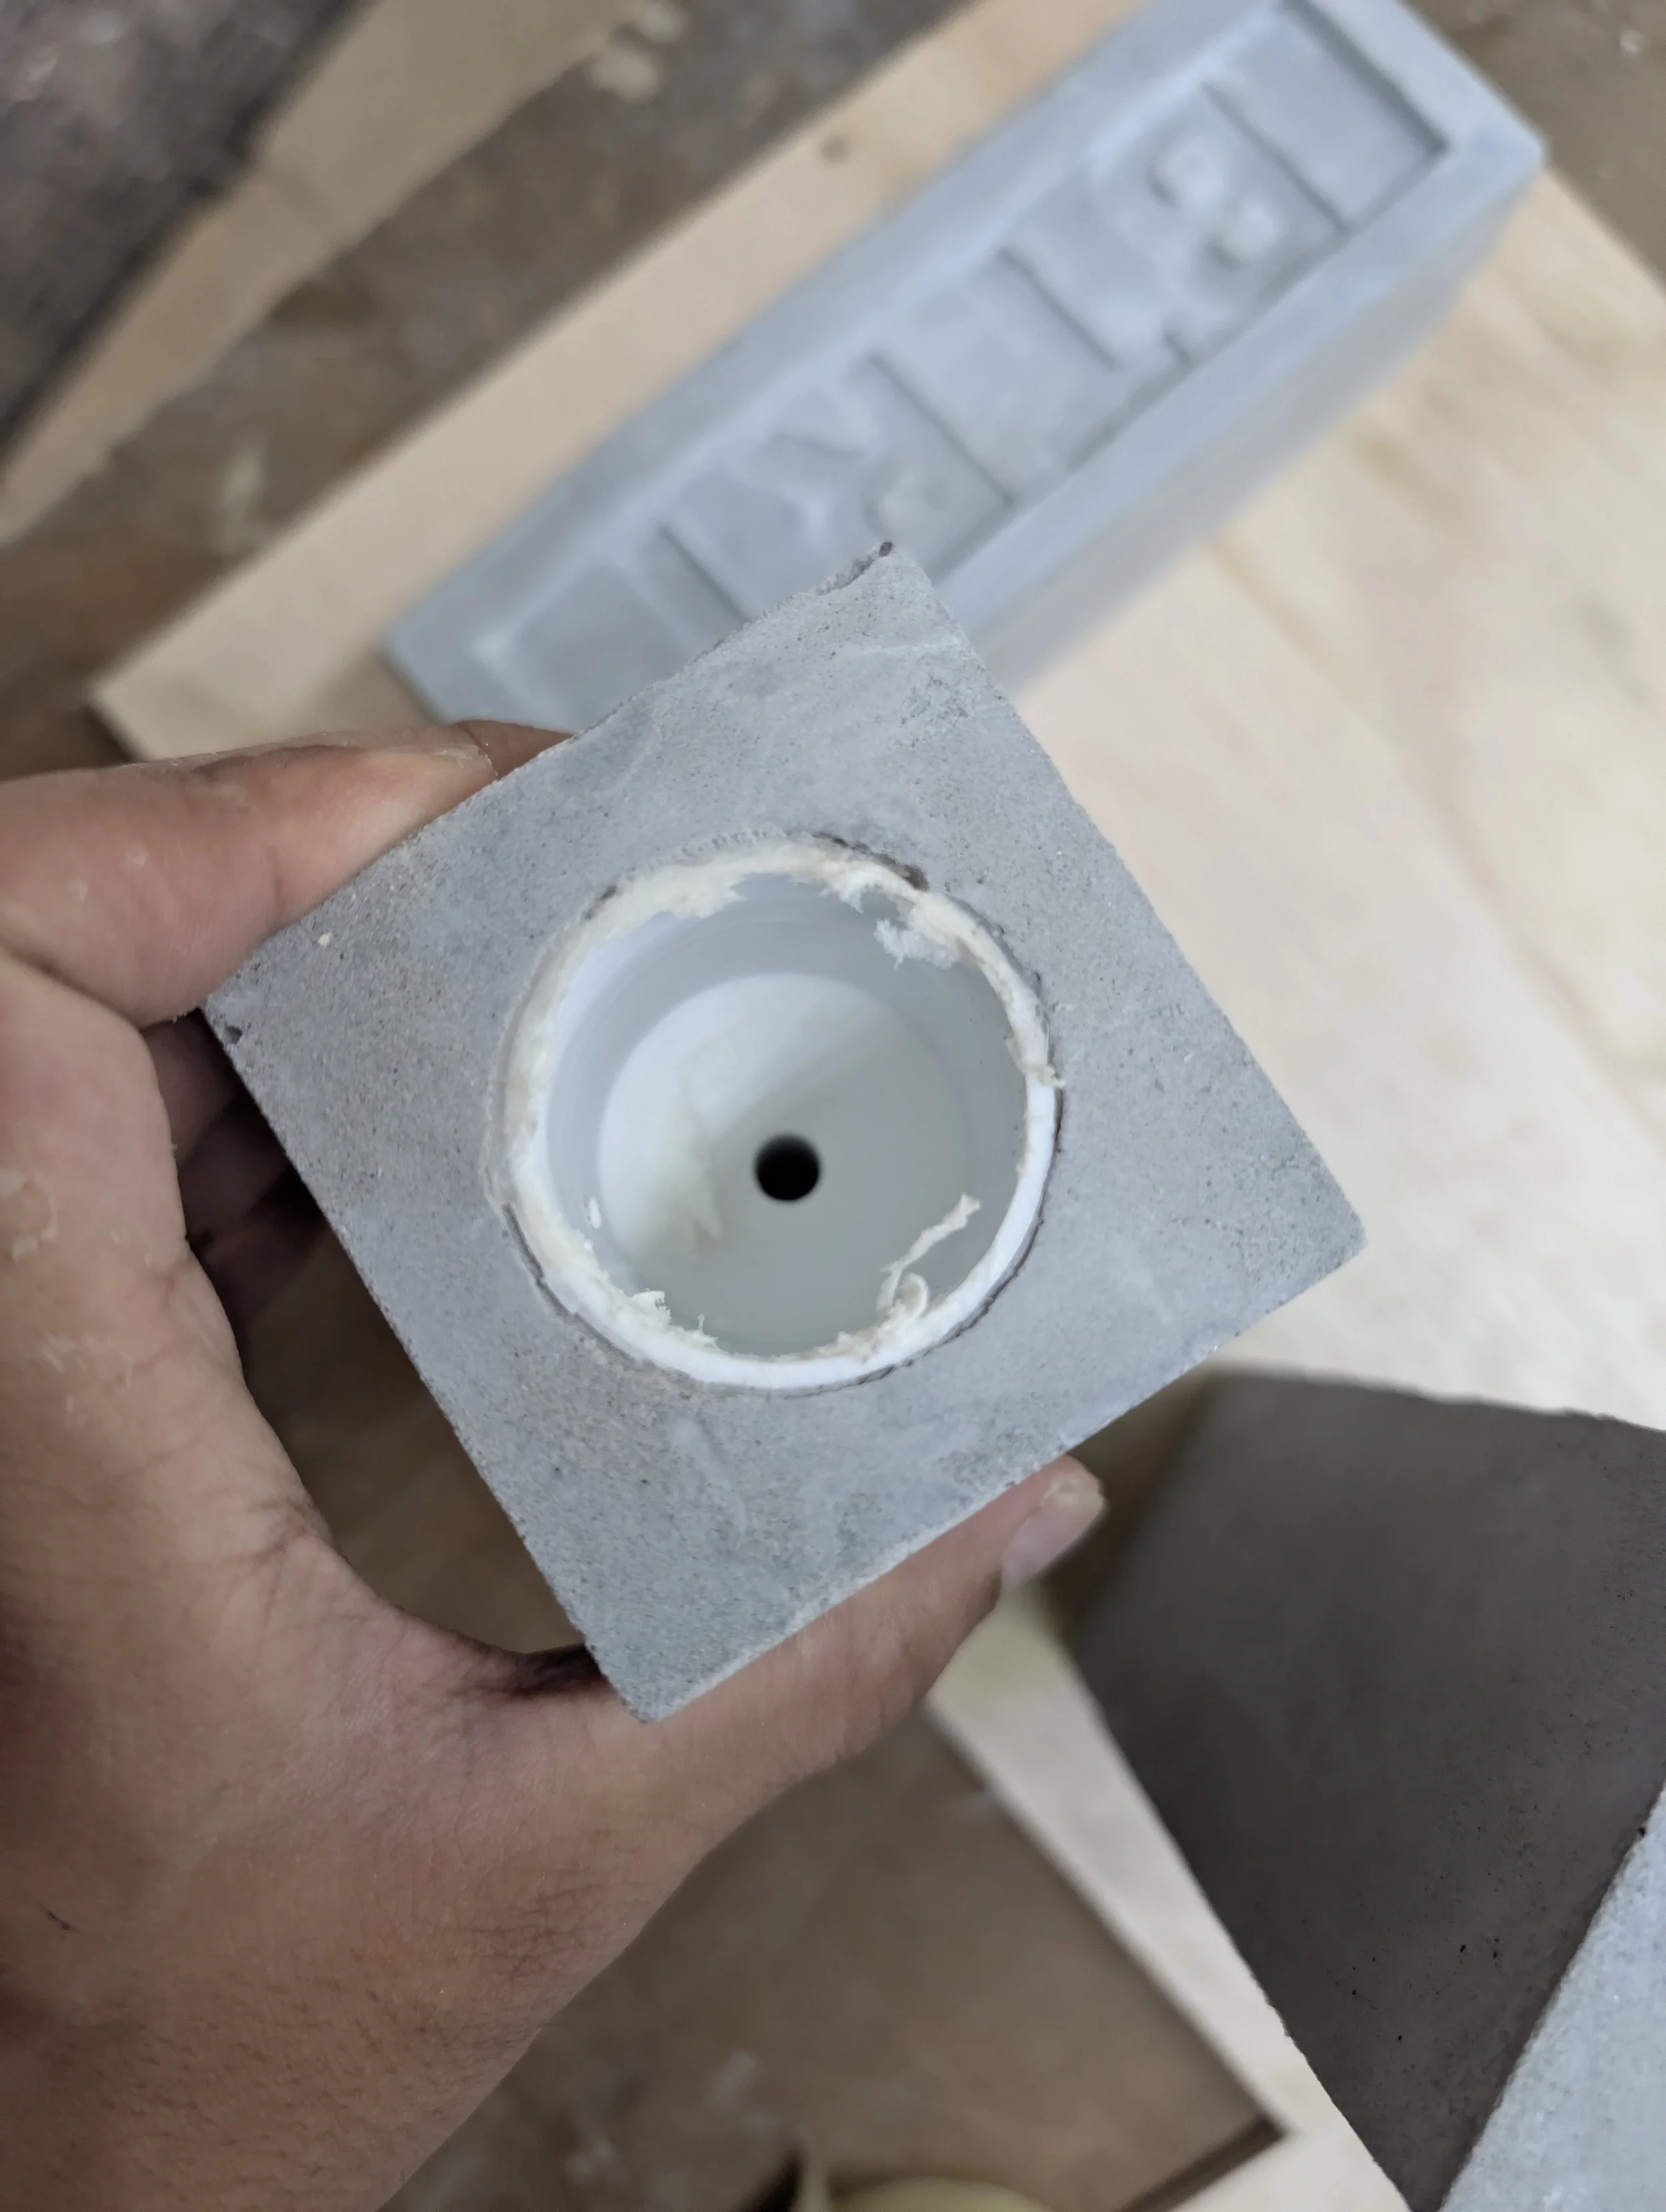
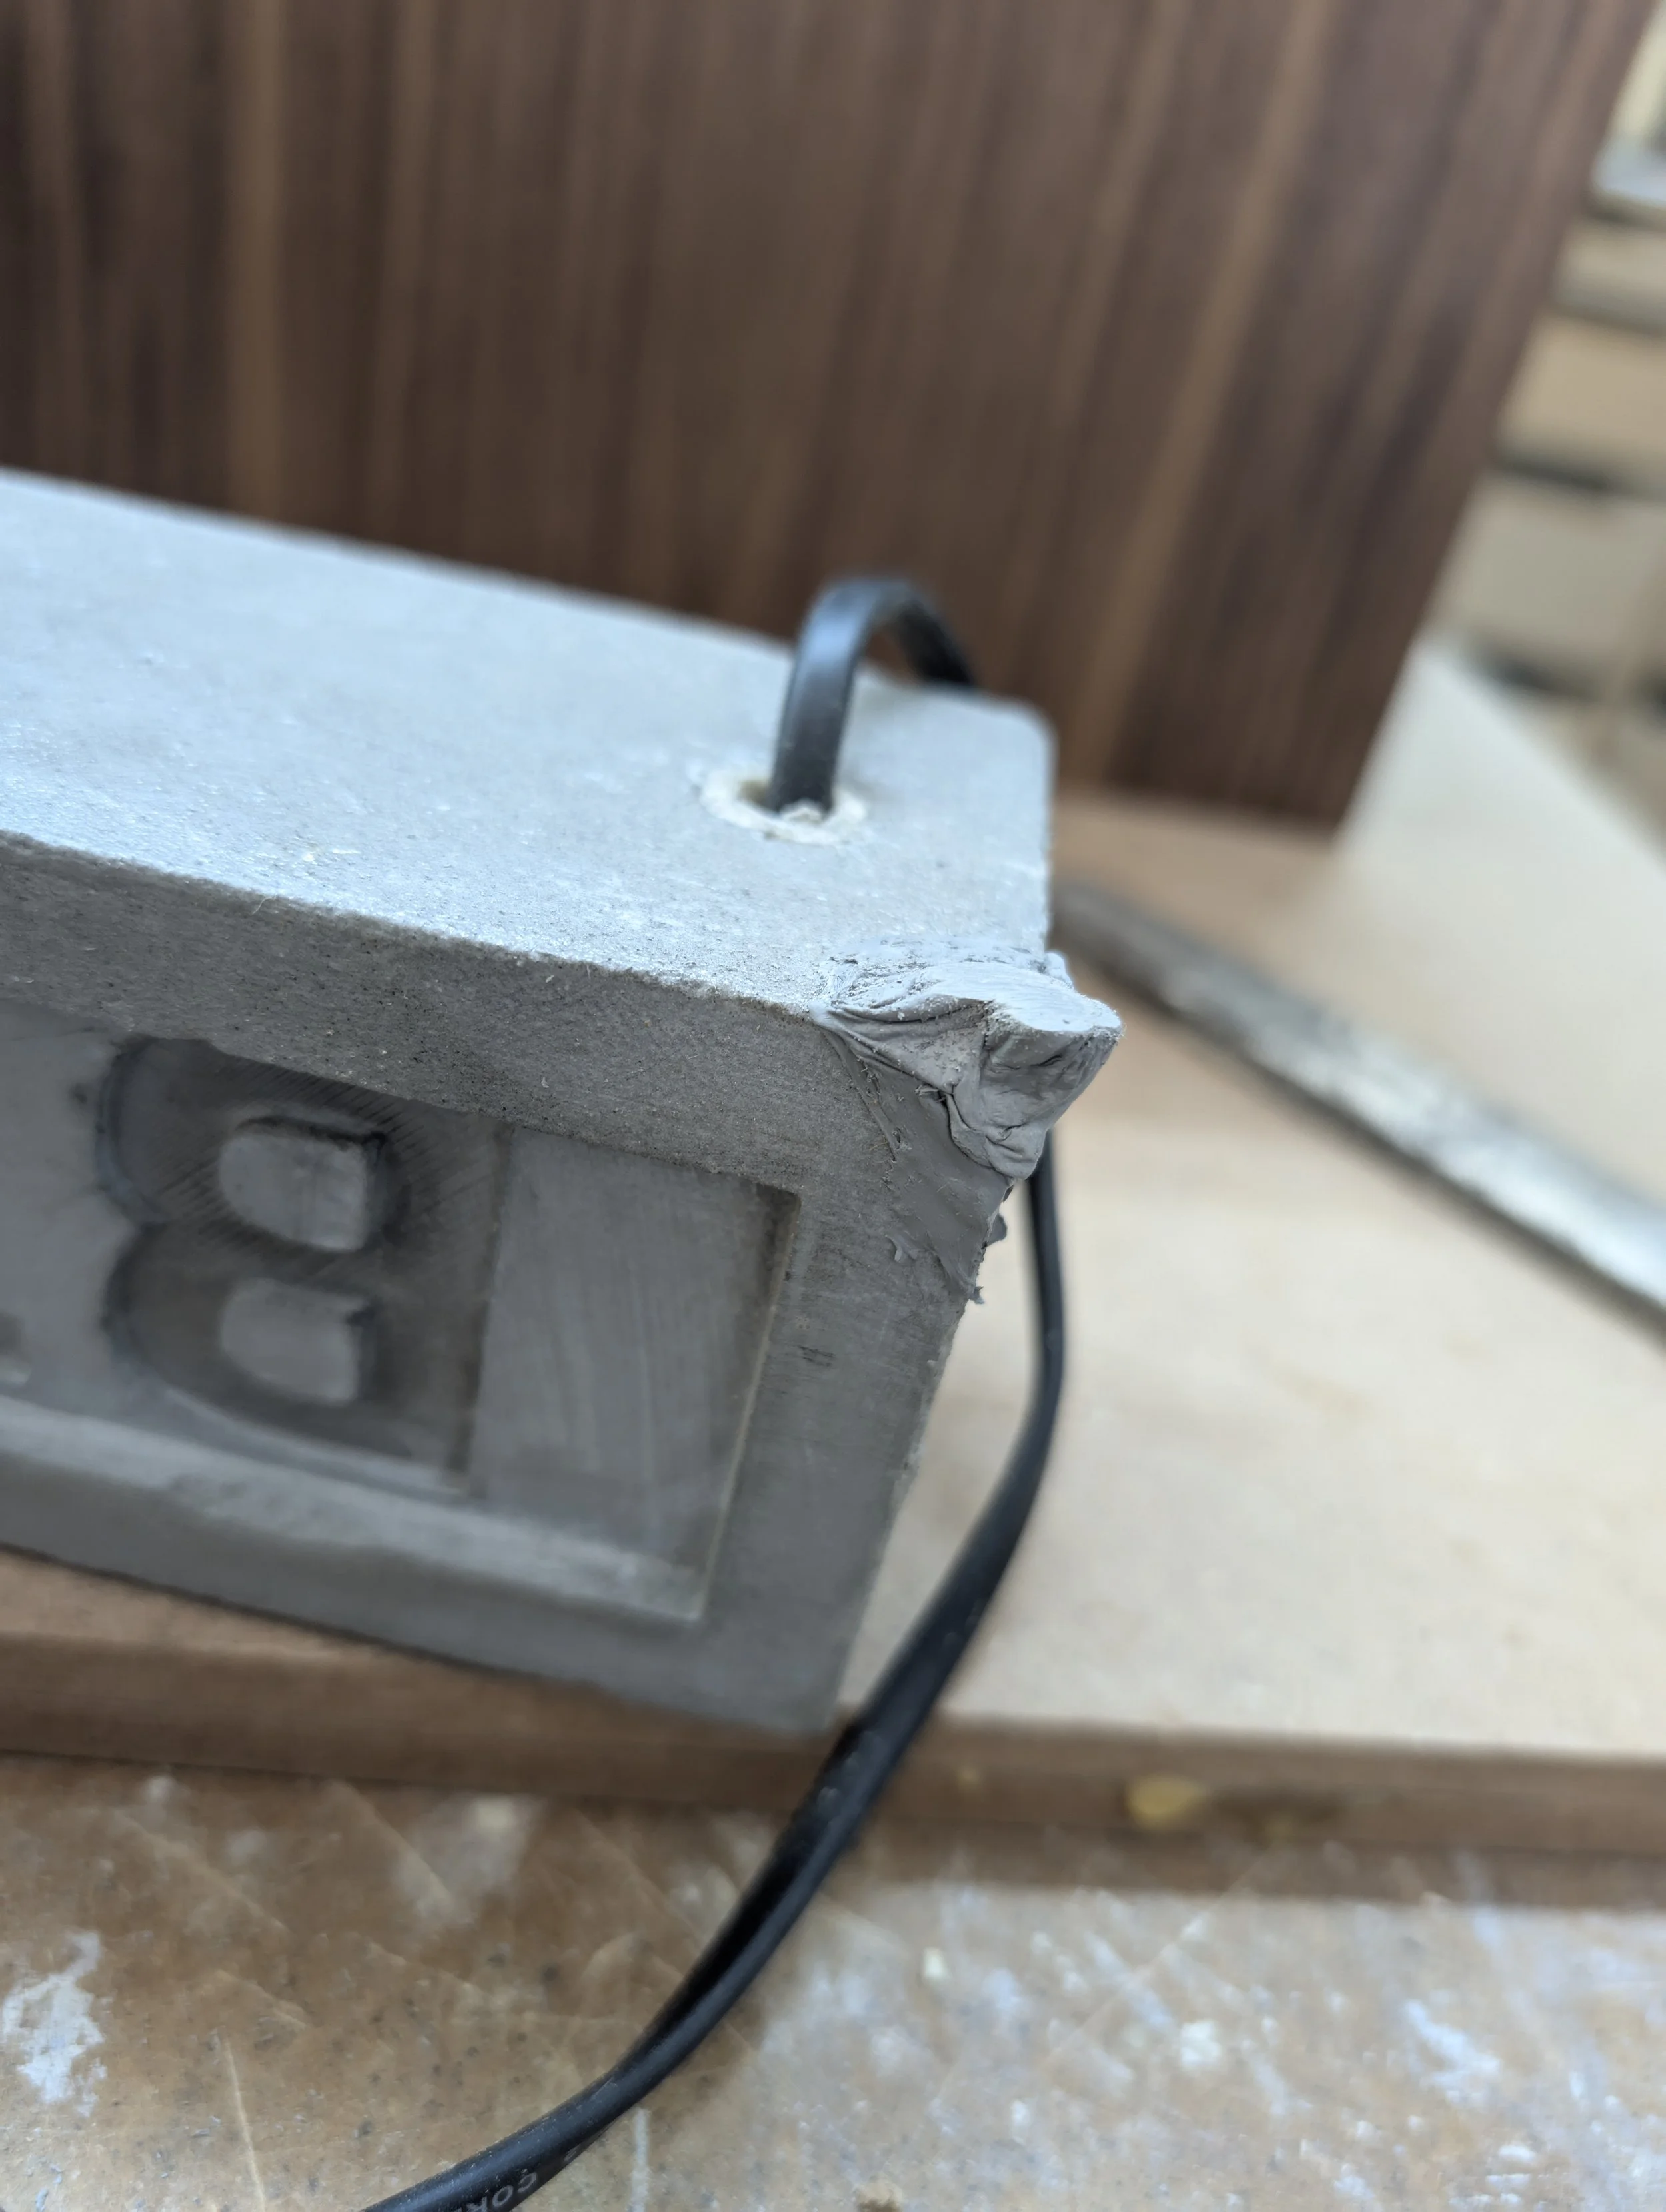
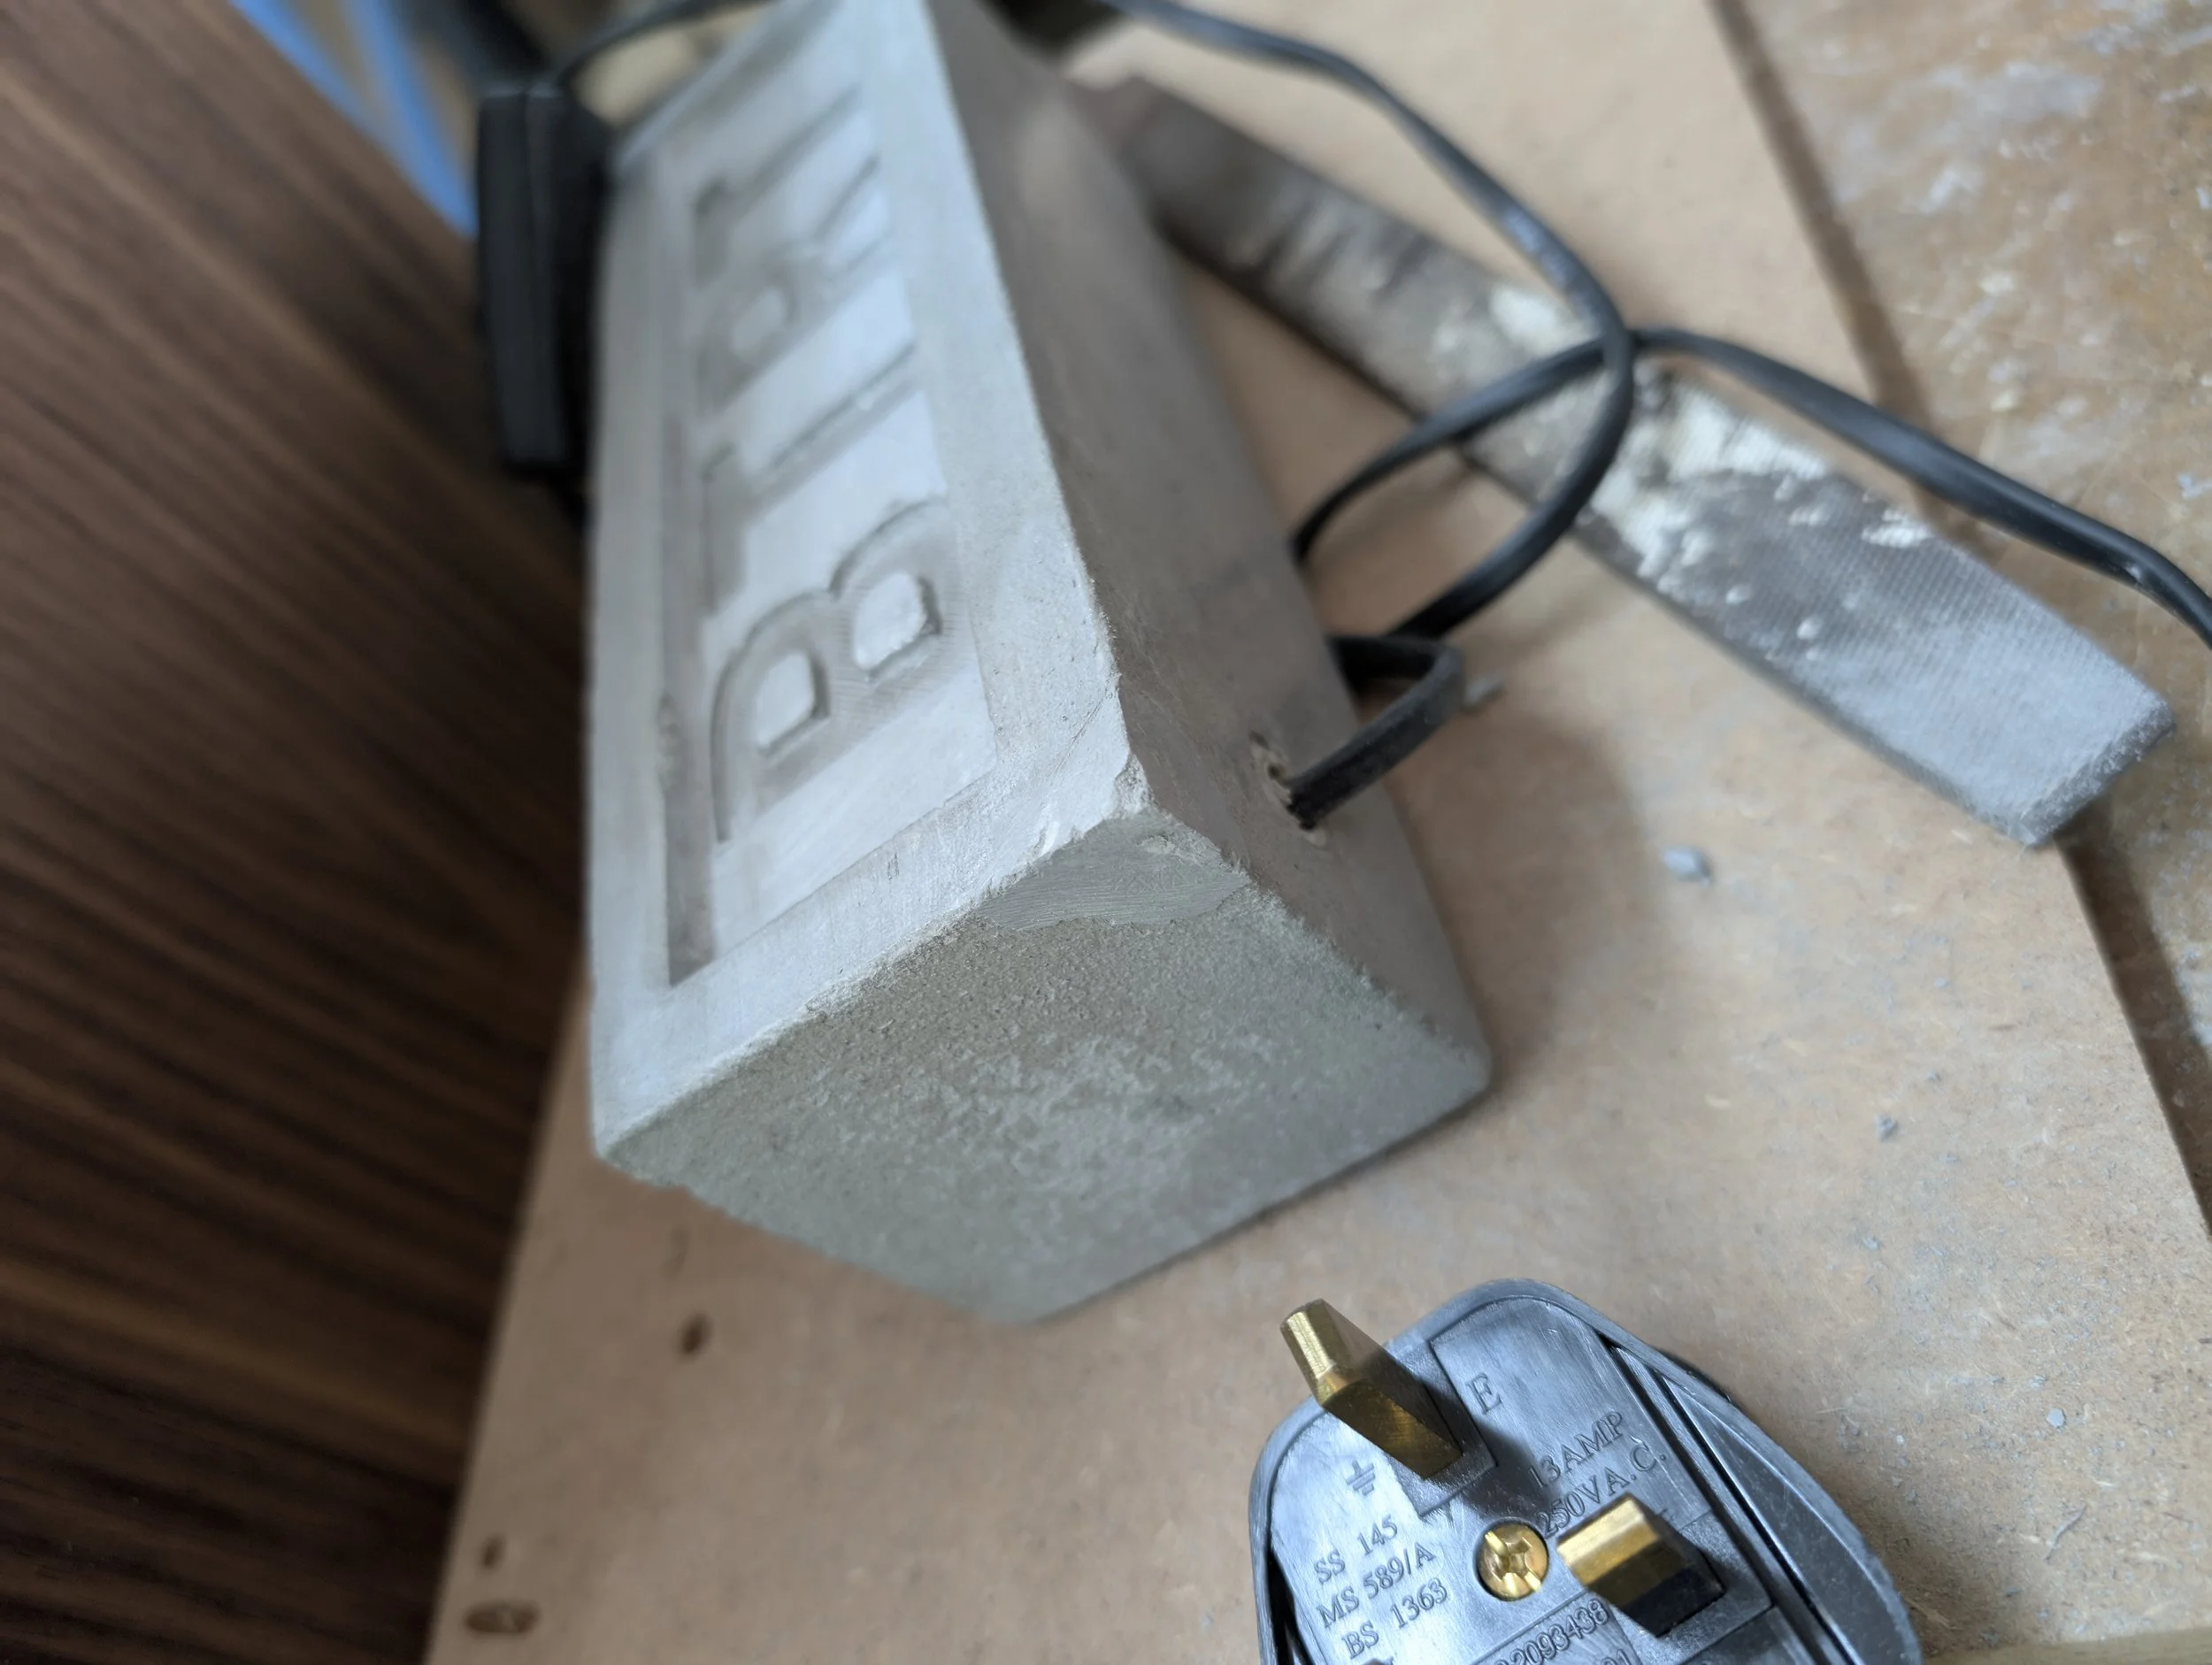
The trophy's design also included a 3D-printed pipe inside that allowed for electronics to be inserted only after the concrete had cured. This was a genius solution for serviceability, but it also meant we couldn't start the project until this extra part was ready. This proved to be a problem when the workshop's 3D printer broke down, delaying the entire project. I was then tasked with minimizing the print time and designing the pipe more efficiently, a problem I'll explore in the next section.
Phase 2: Mastering Concrete and Molds
As someone who had never worked with concrete before (apart from a silicone mold), this project was a crash course in the material's properties. When I asked a colleague what would happen if the mixture was too dry, he couldn't give me a clear answer. He had always followed the same recipe, a method that has its own merits but doesn't teach you the "why" behind the process. So, I took the initiative and asked for permission to experiment.
I created two test batches: one that was very liquidy and one that was extra dry. My hypothesis for the liquid batch was that the cement would flow easily into every crack, resulting in a smoother finish. For the dry batch, I hoped it would cure faster, reducing our wait time.
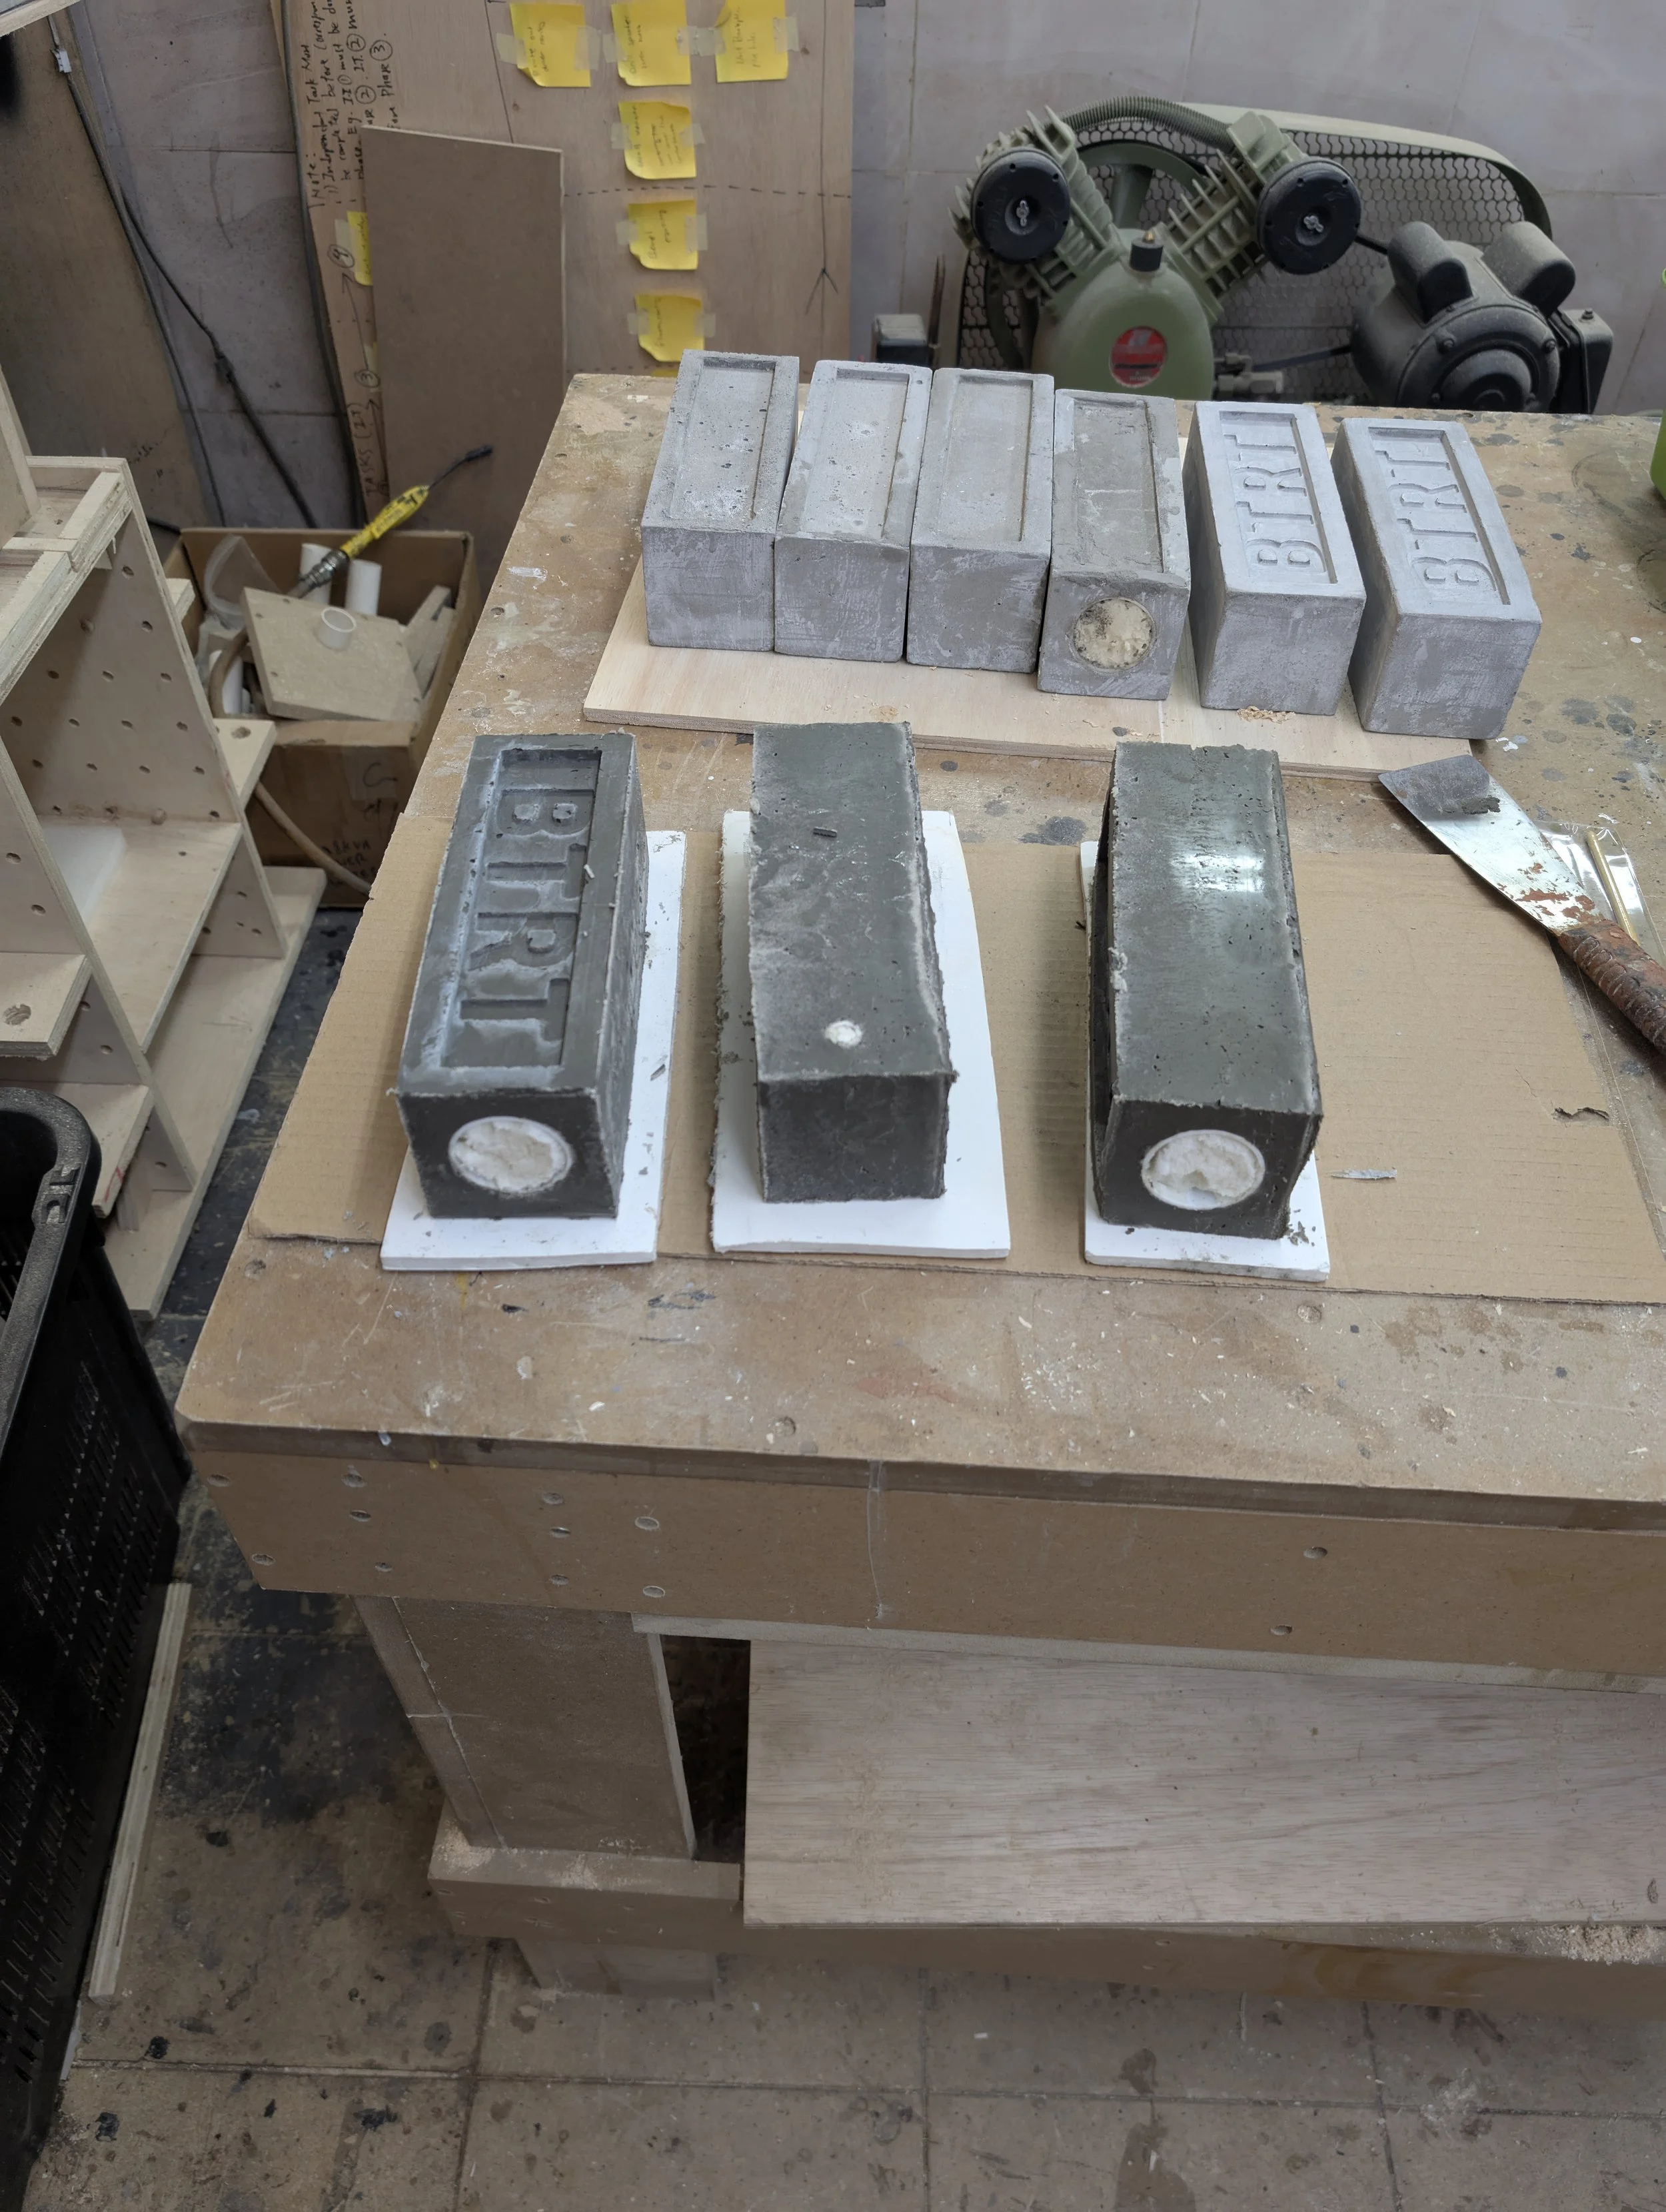
The results were eye-opening. The liquid mixture, while it did create a beautiful, glassy finish on the bottom surface, caused the rest of the mixture to sink, making the trophy's overall height too short. The dry mixture was a complete failure, flaking everywhere with massive holes due to insufficient water. The process was much faster, but the quality was unusable. These experiments taught me the importance of a perfect middle ground—the sweet spot that balances flow with structural integrity.
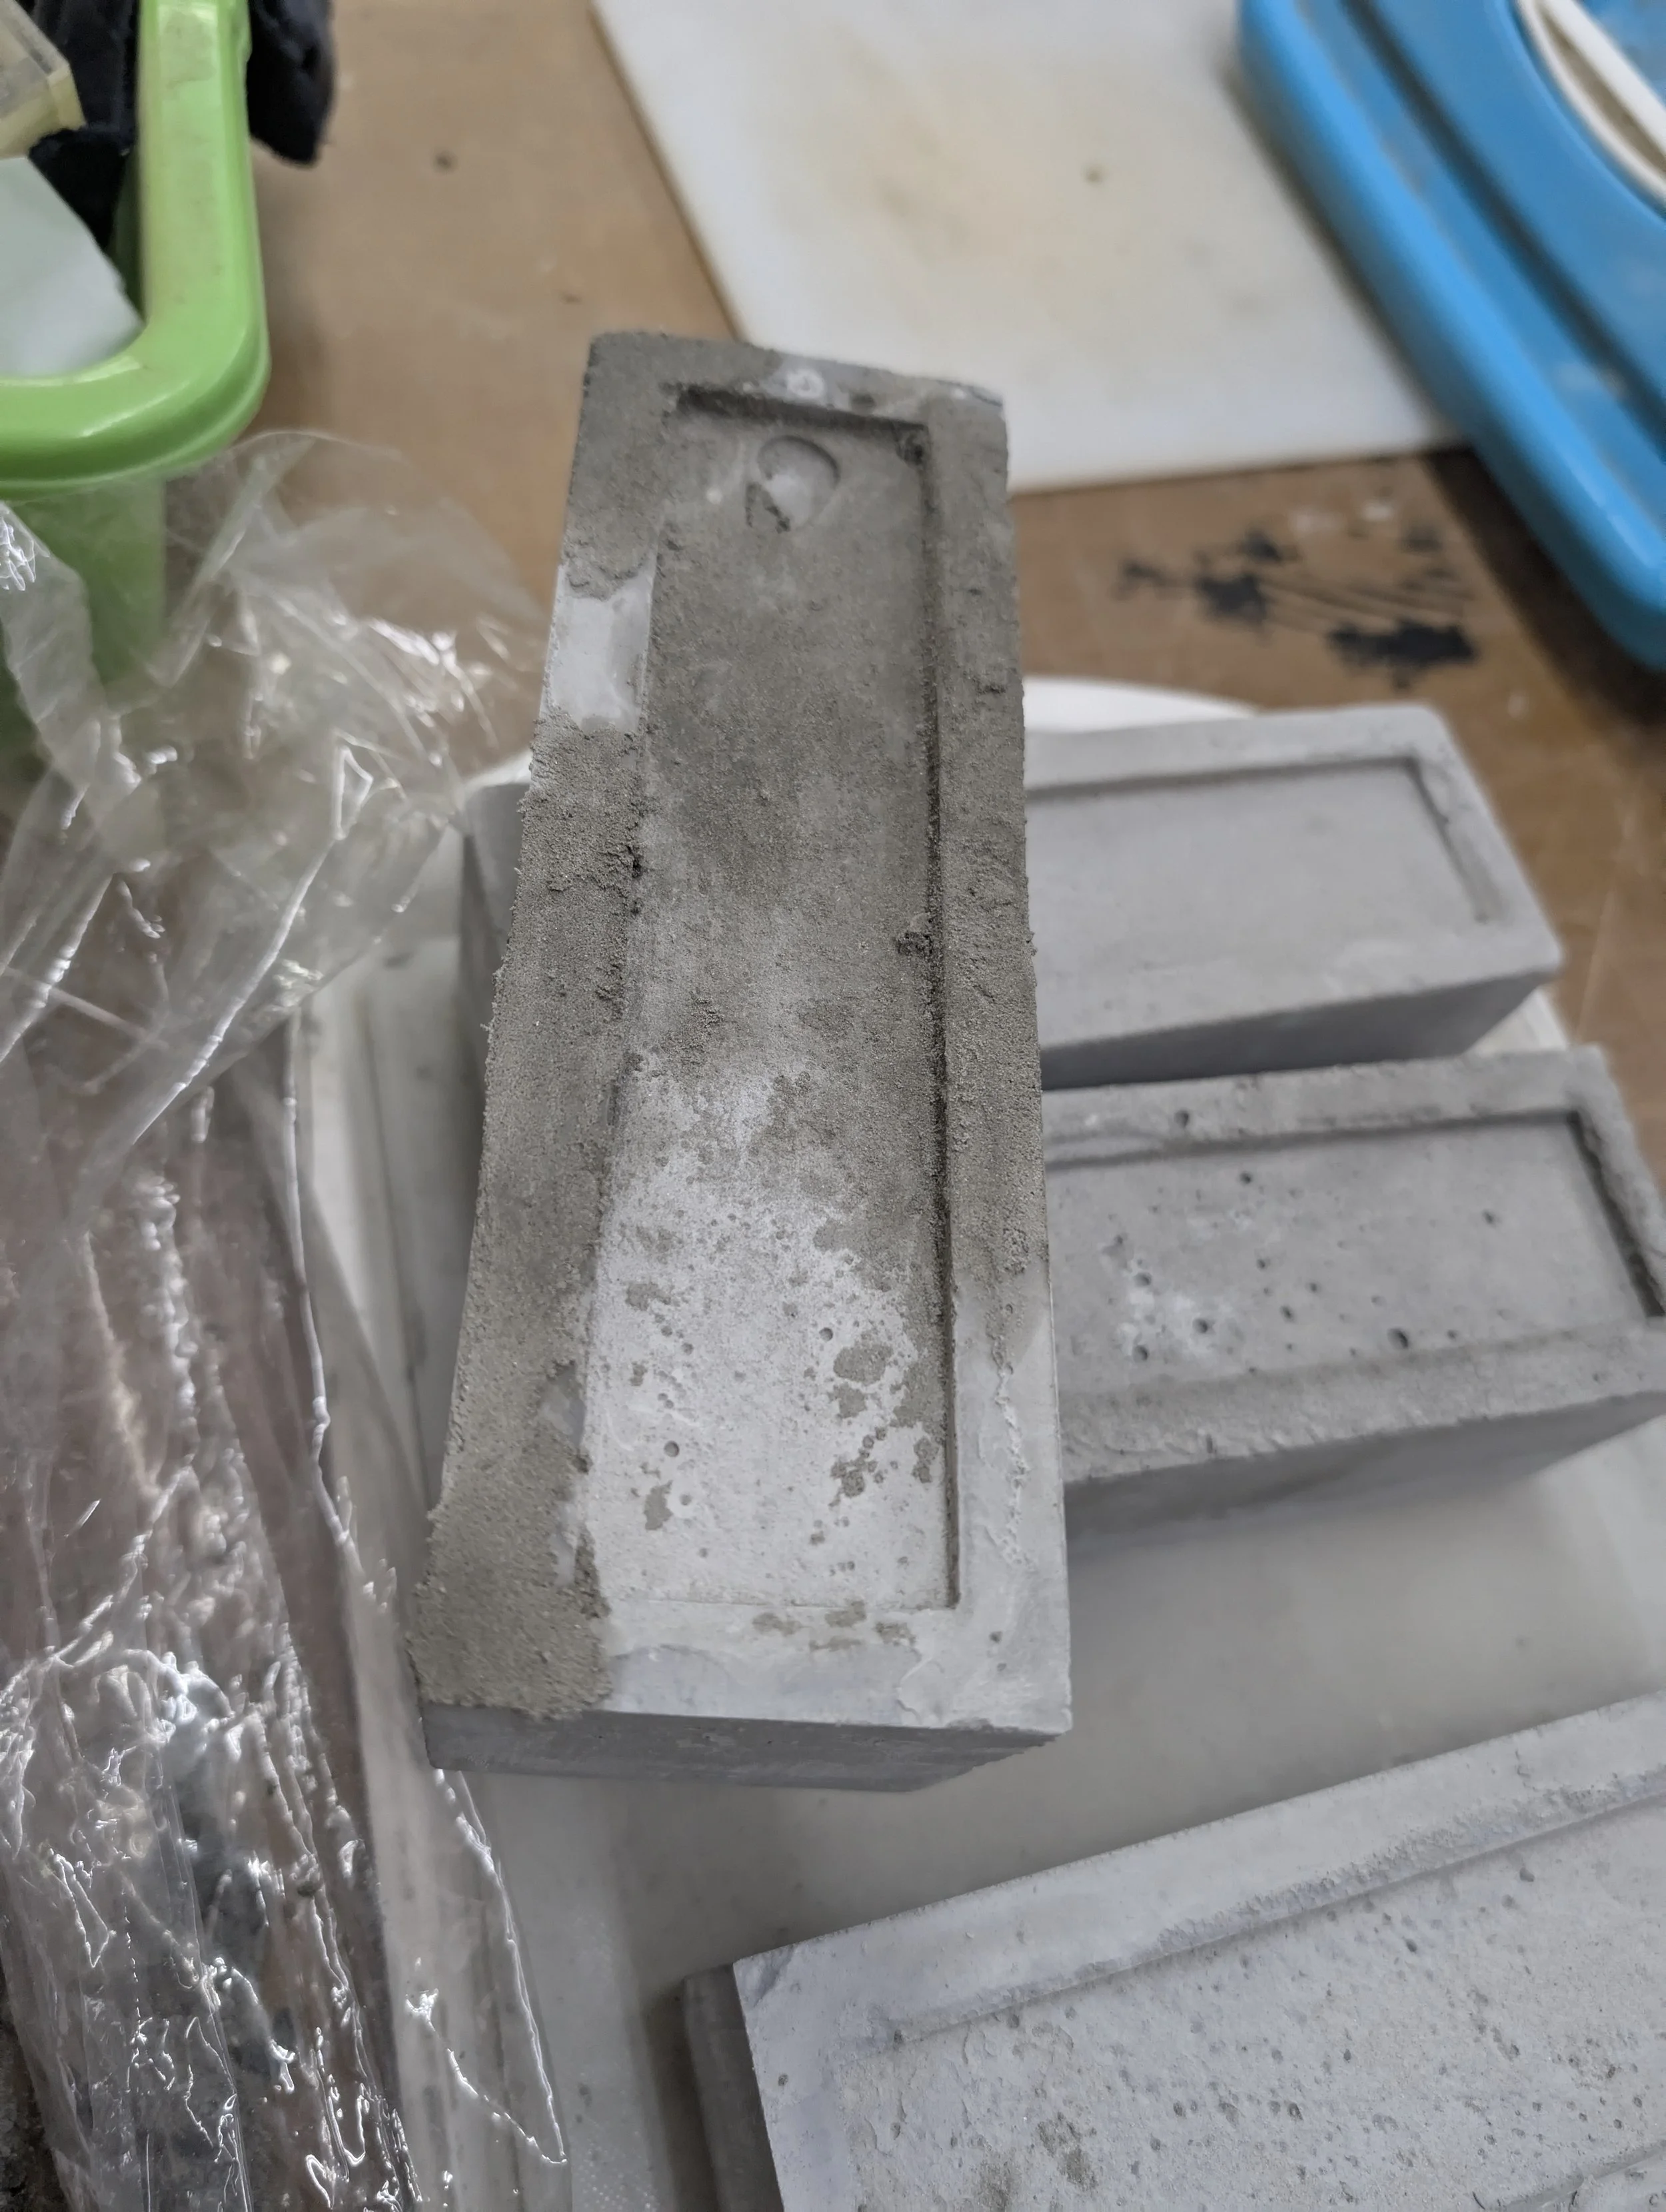
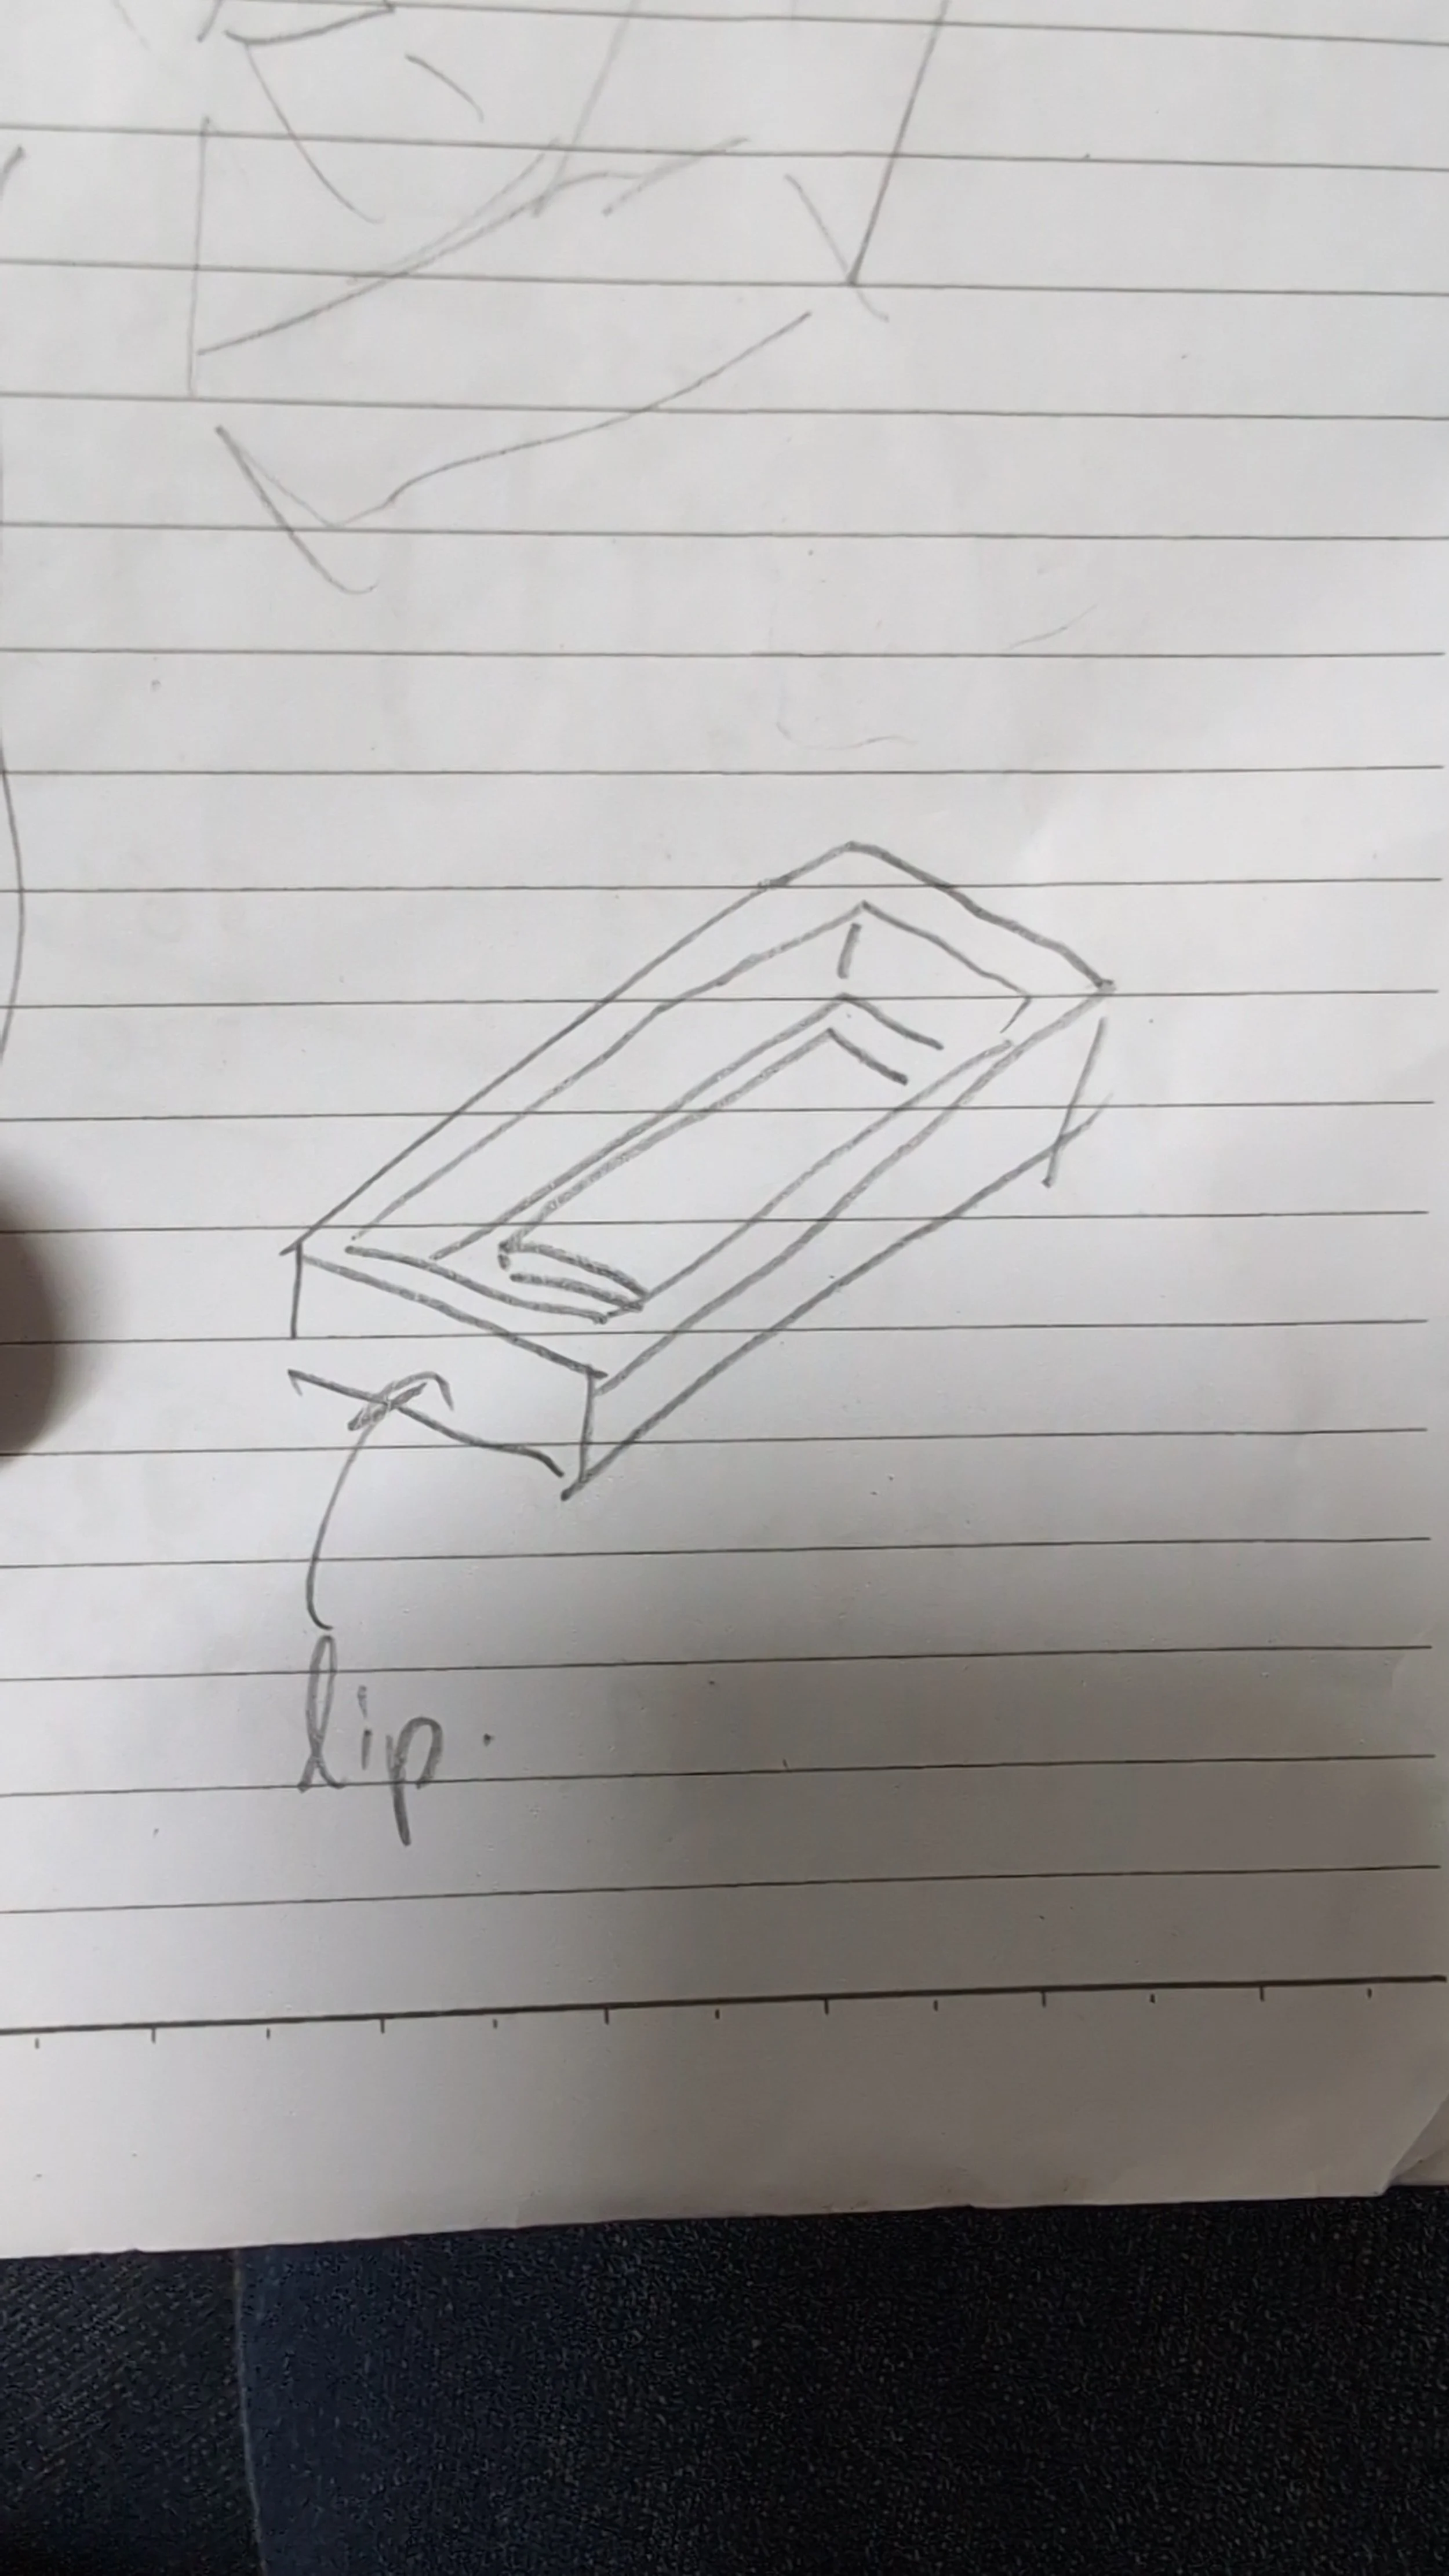
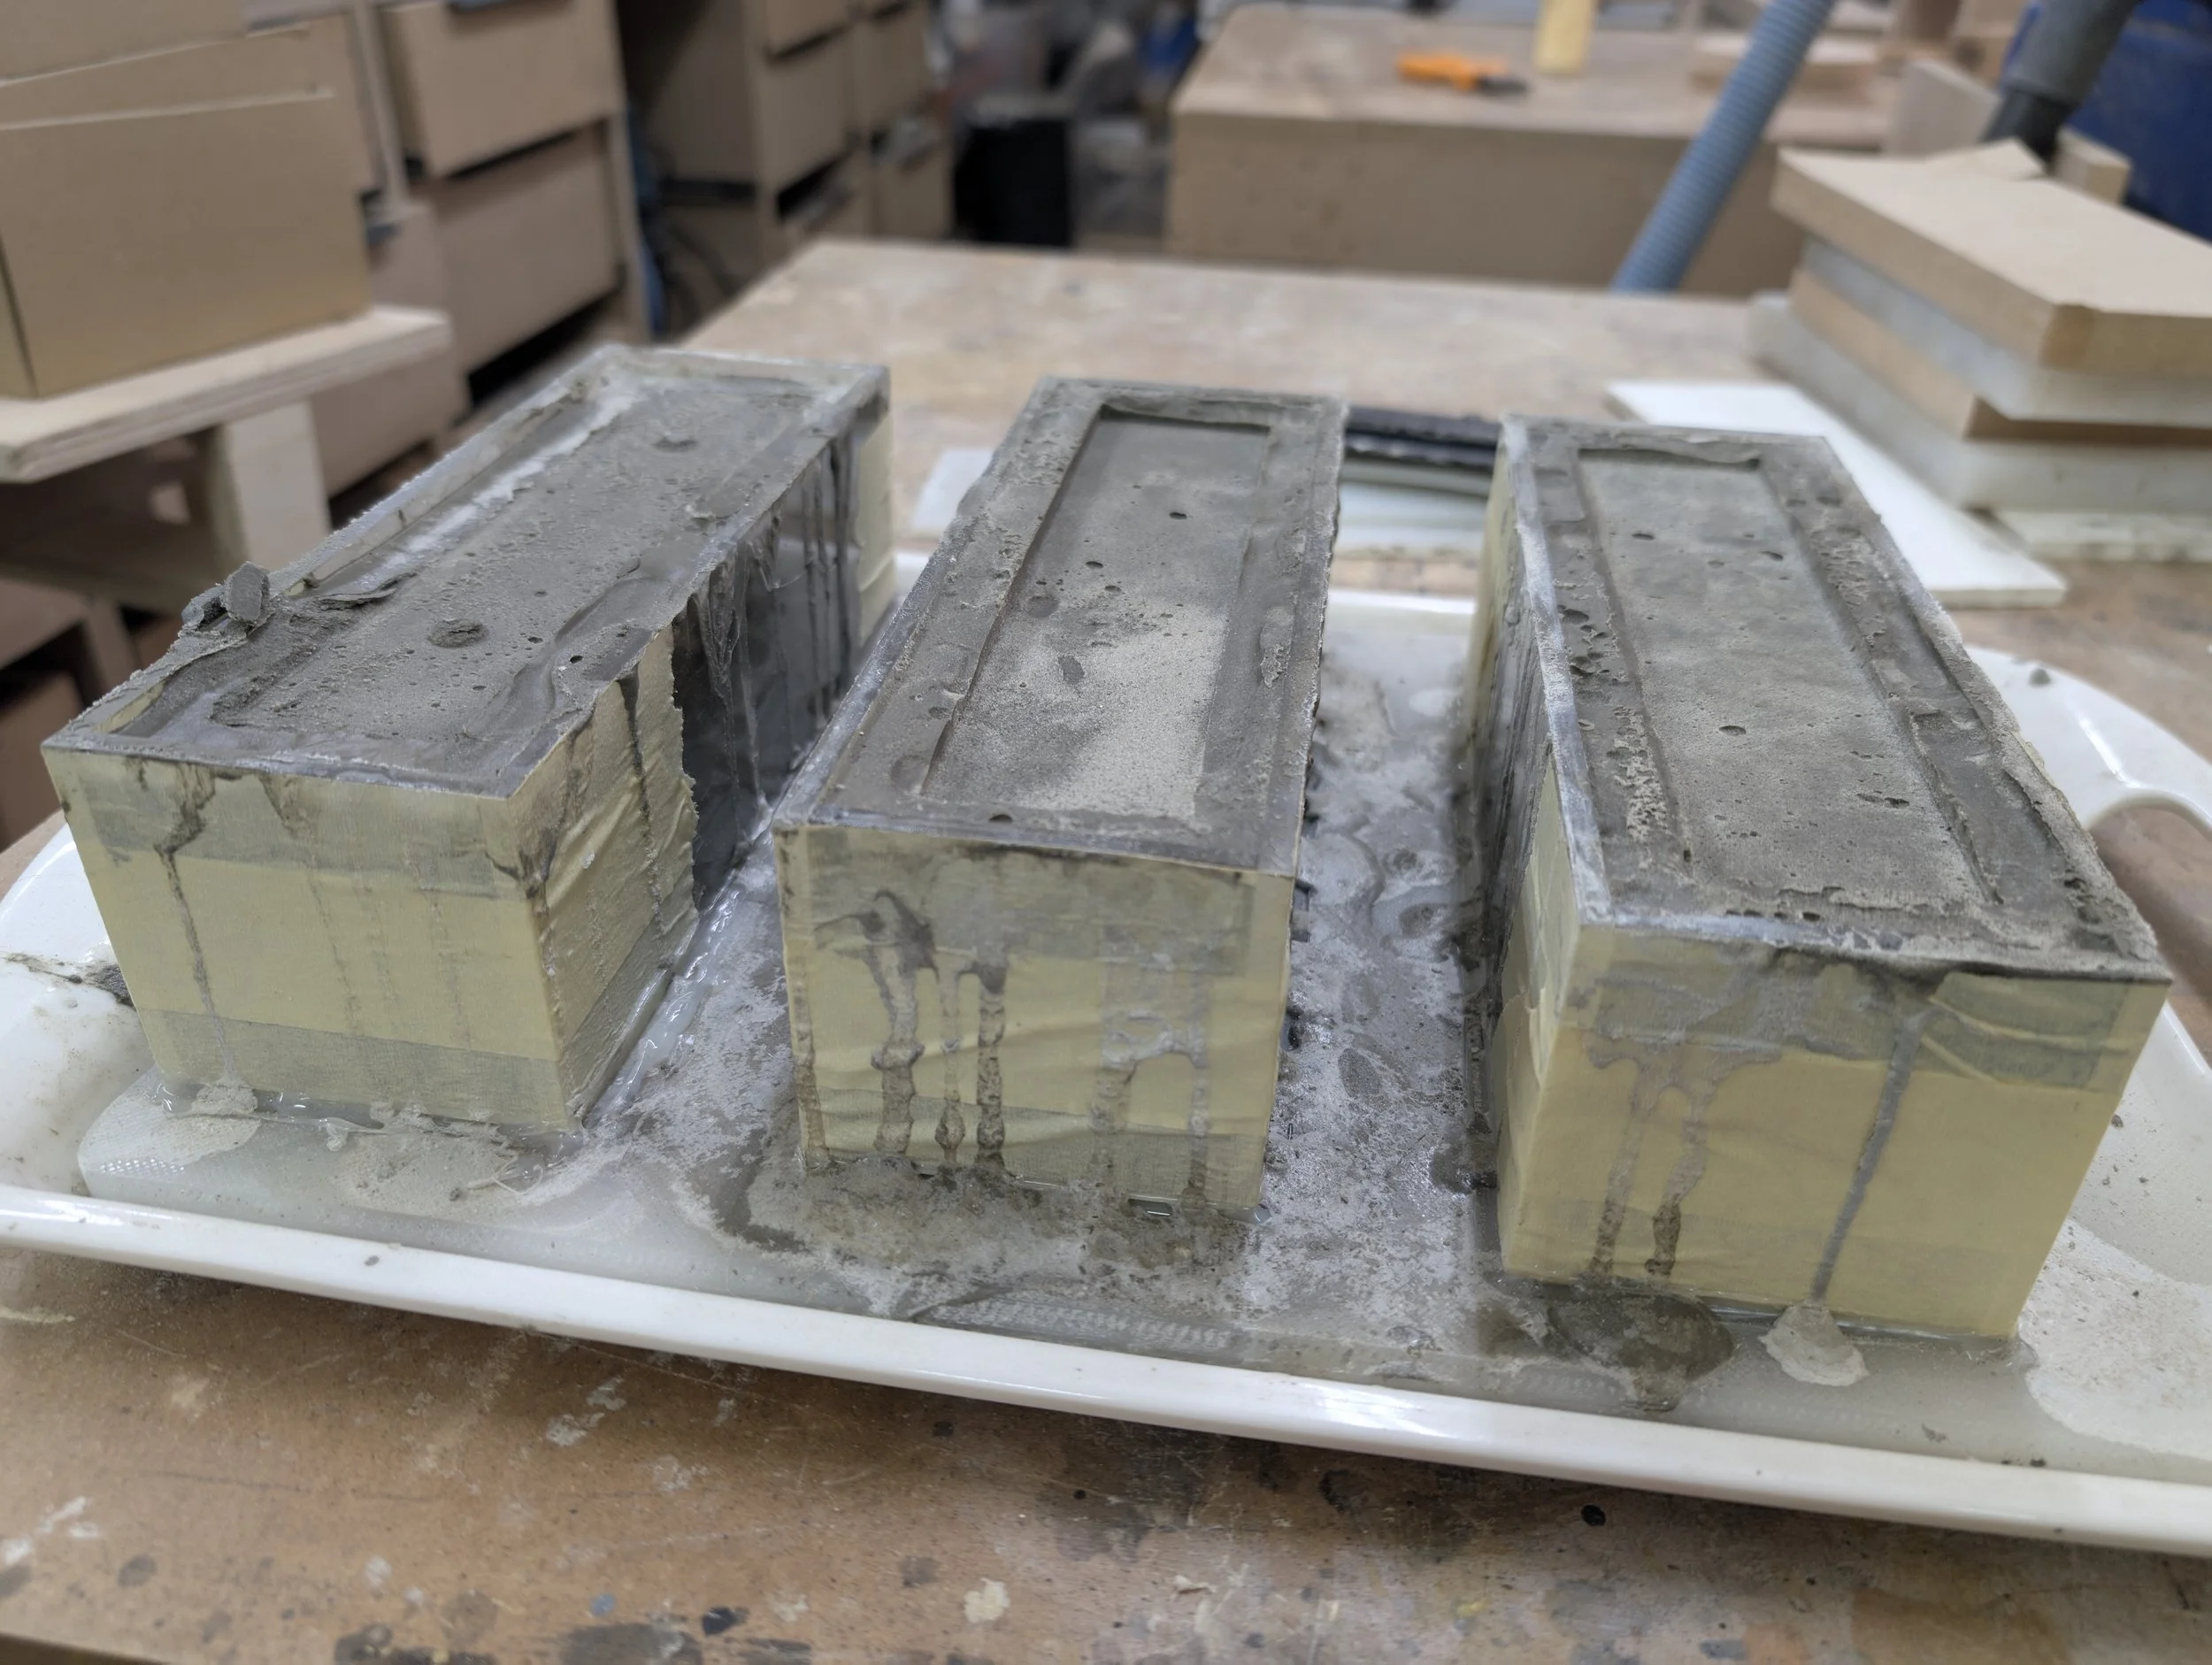
The Problem with the Mold
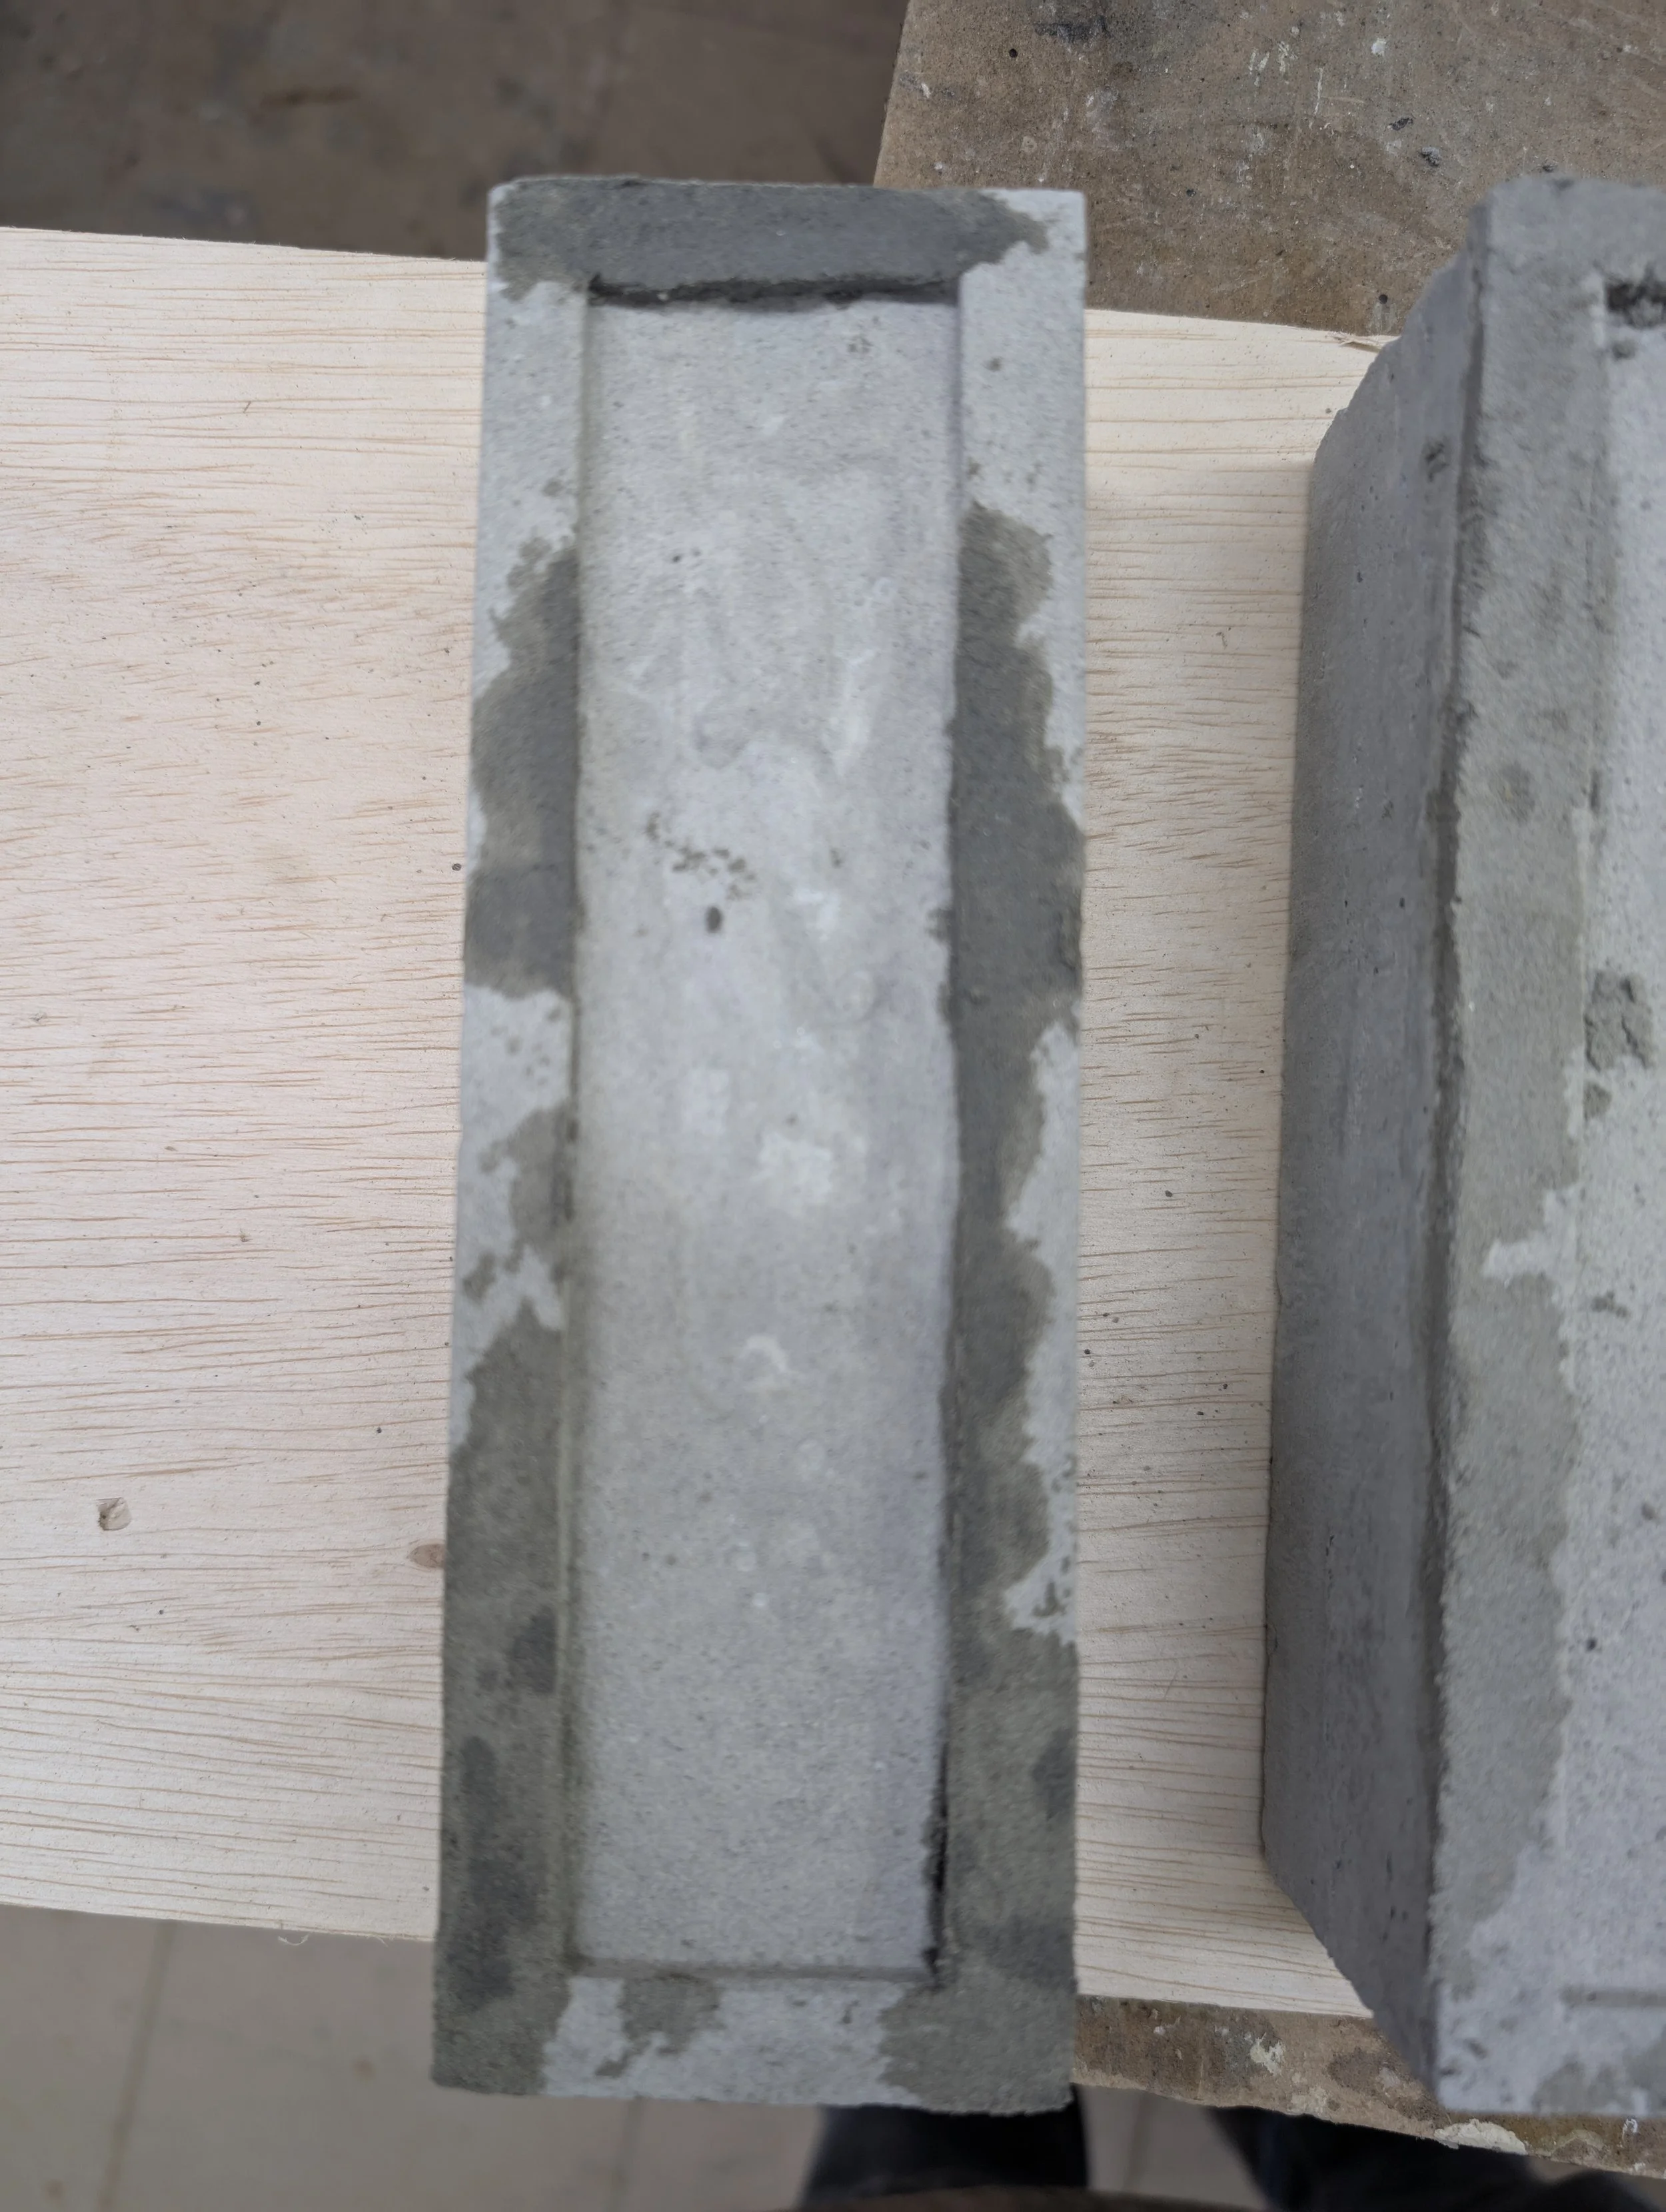
This phase also brought a major flaw in the mold's design to light. The side walls of the mold were assembled manually, which meant that when the concrete mixture was poured in, it inevitably disturbed the balance of the square. We even tried hot-gluing acrylic plates with weights on top, but the same issue persisted. It was a major problem that contributed to a lot of rejected bricks. This experience emphasized that a mold's design is just as important as the material you pour into it.
Phase 3: The Art of Repair
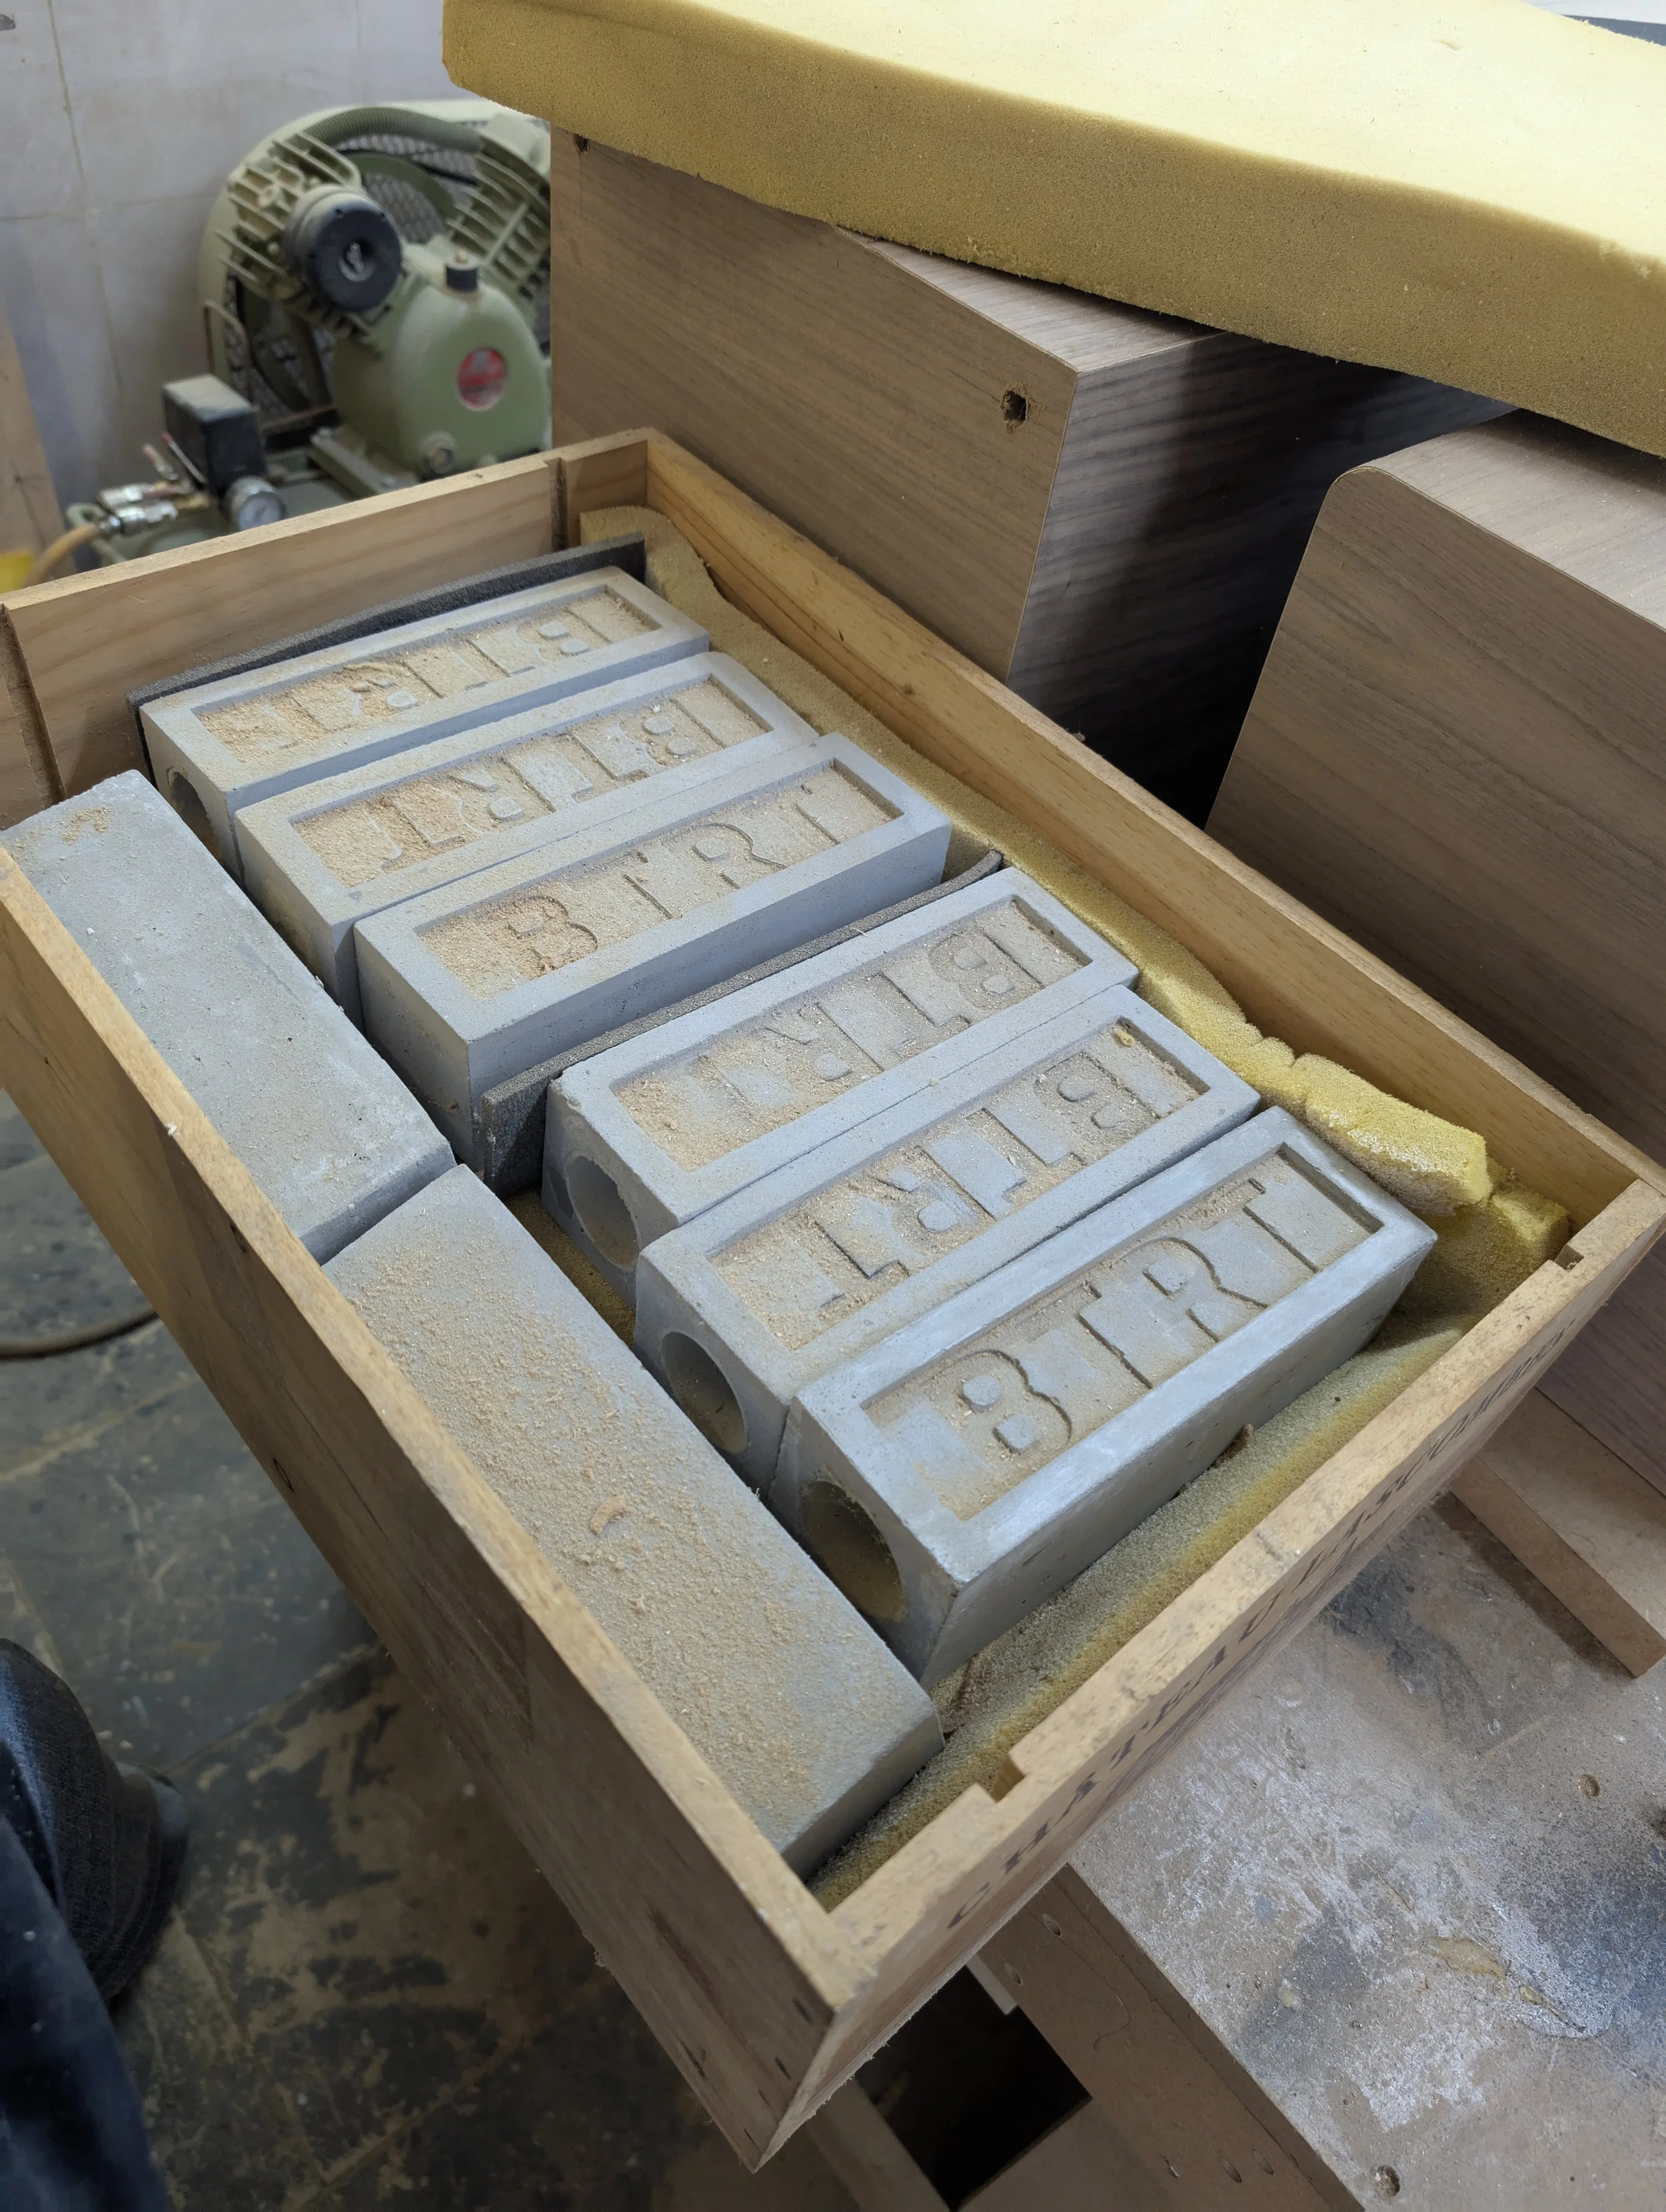
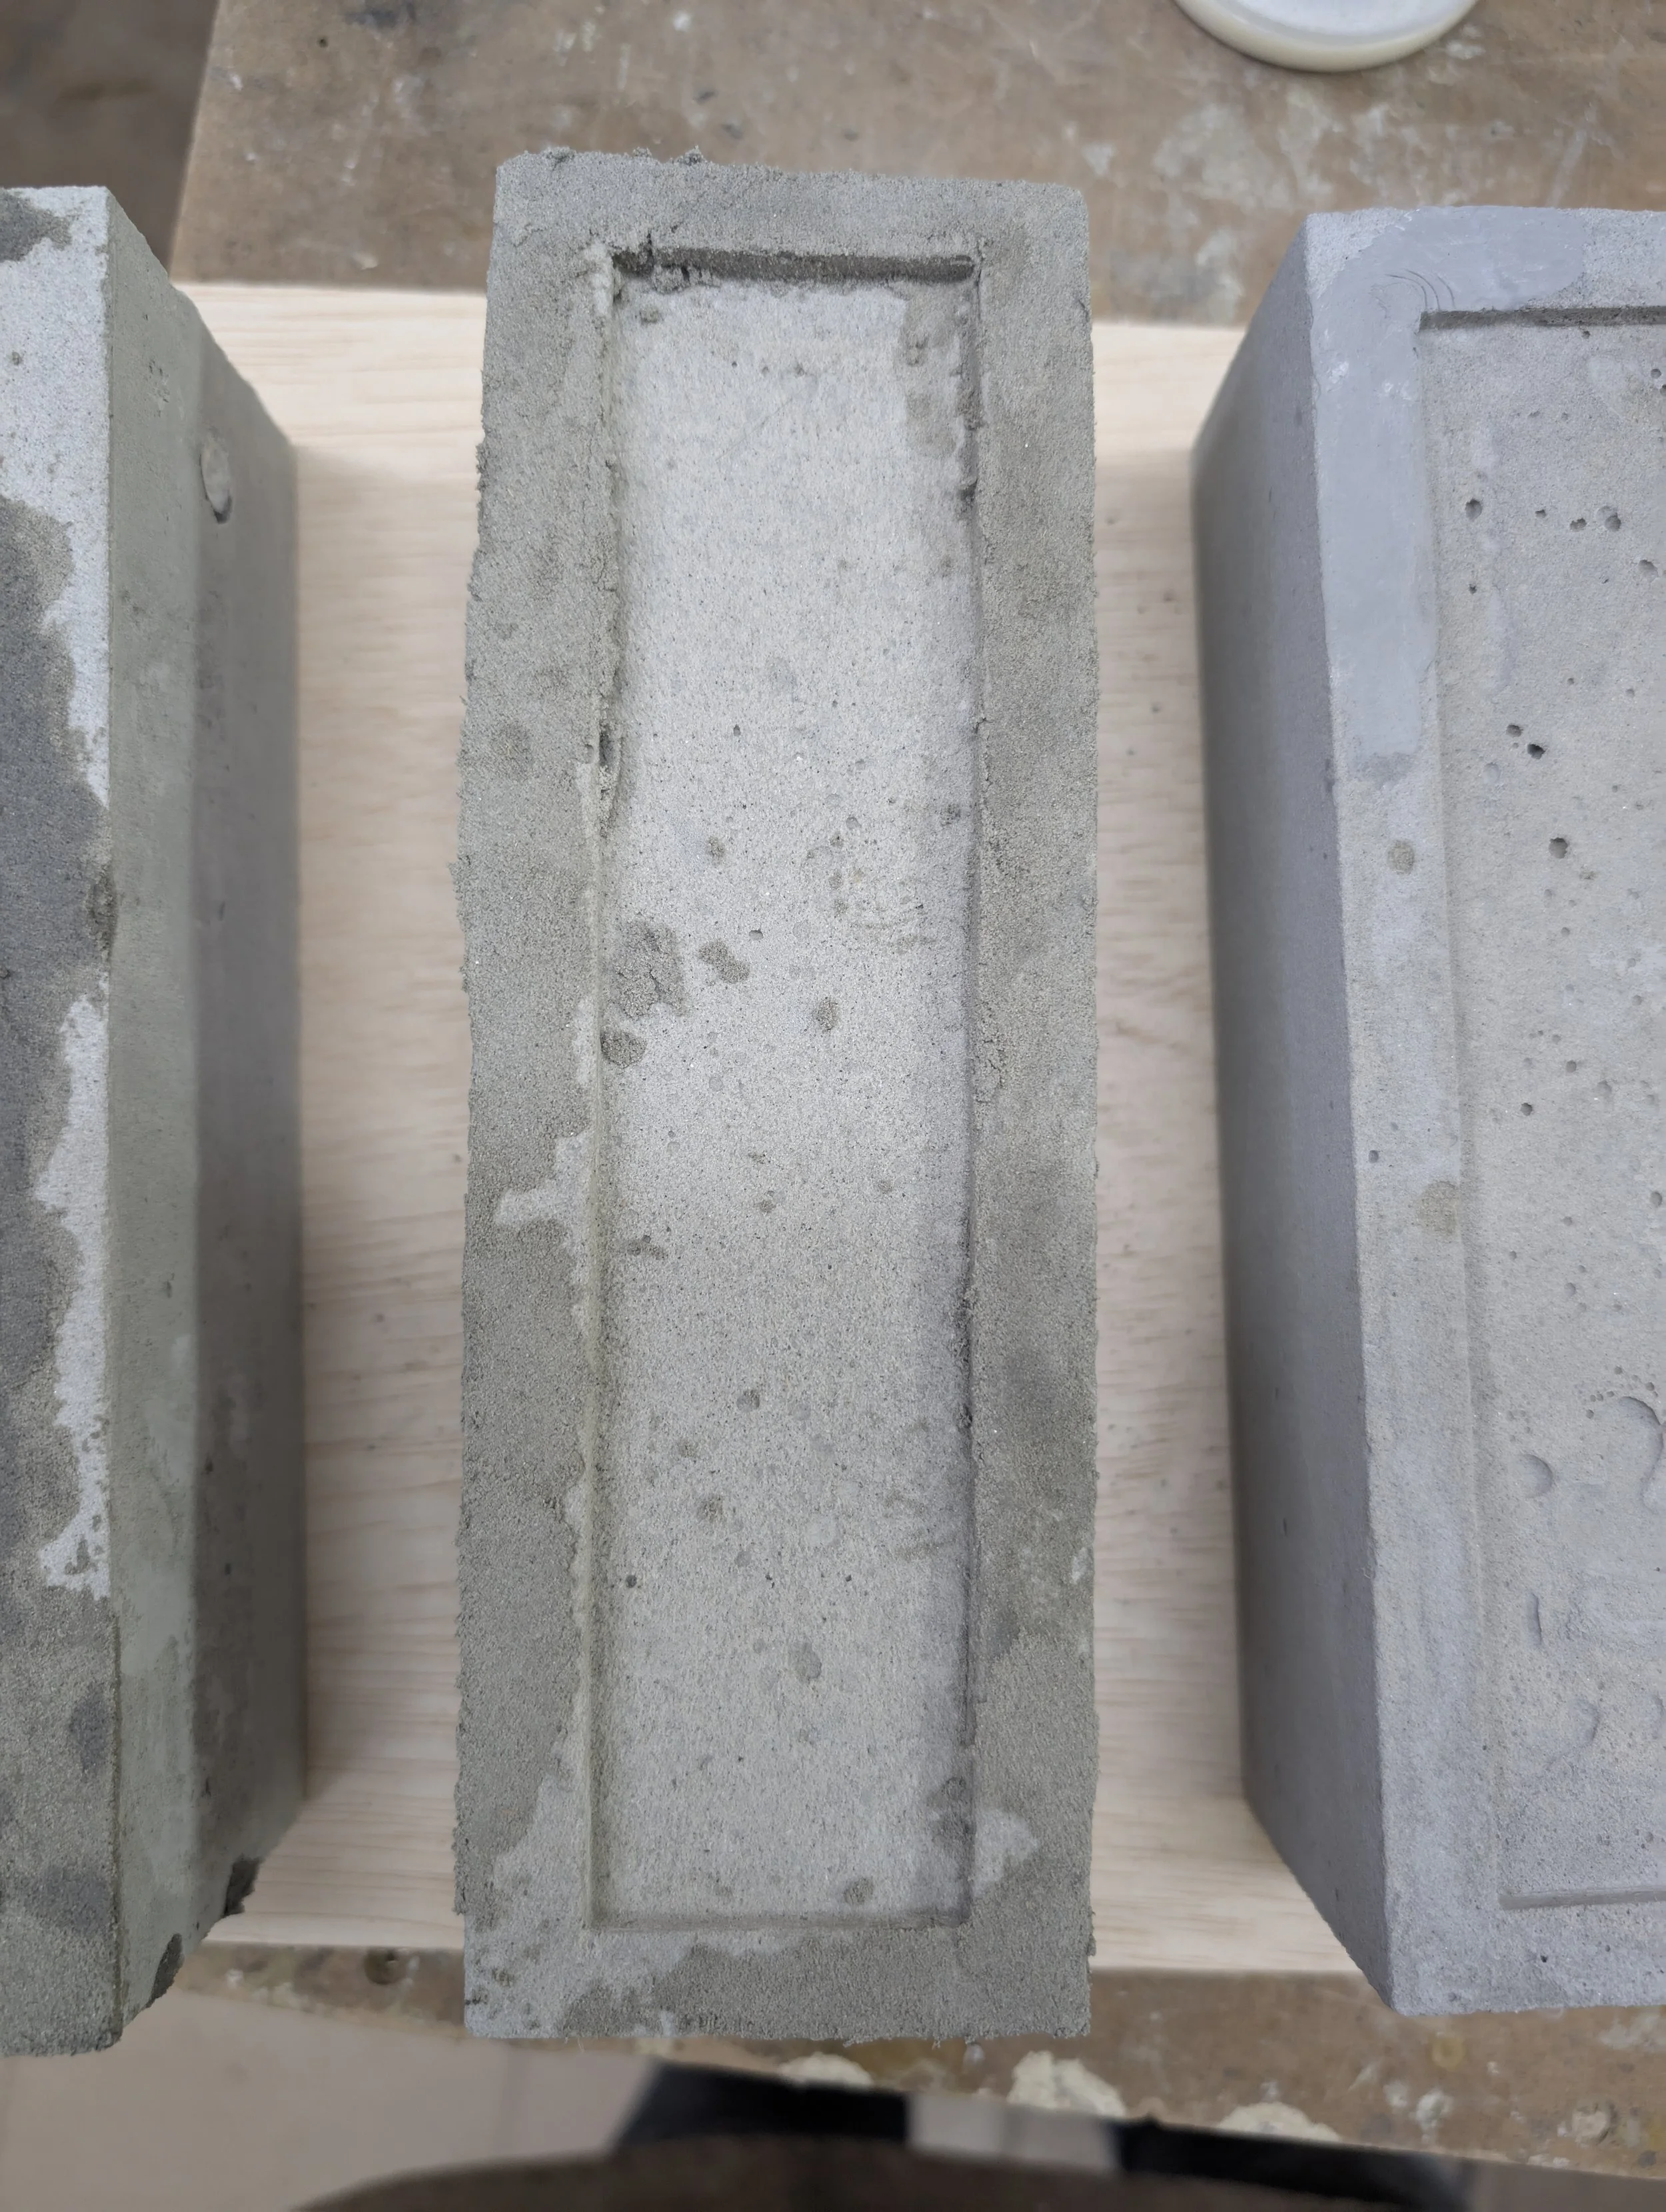
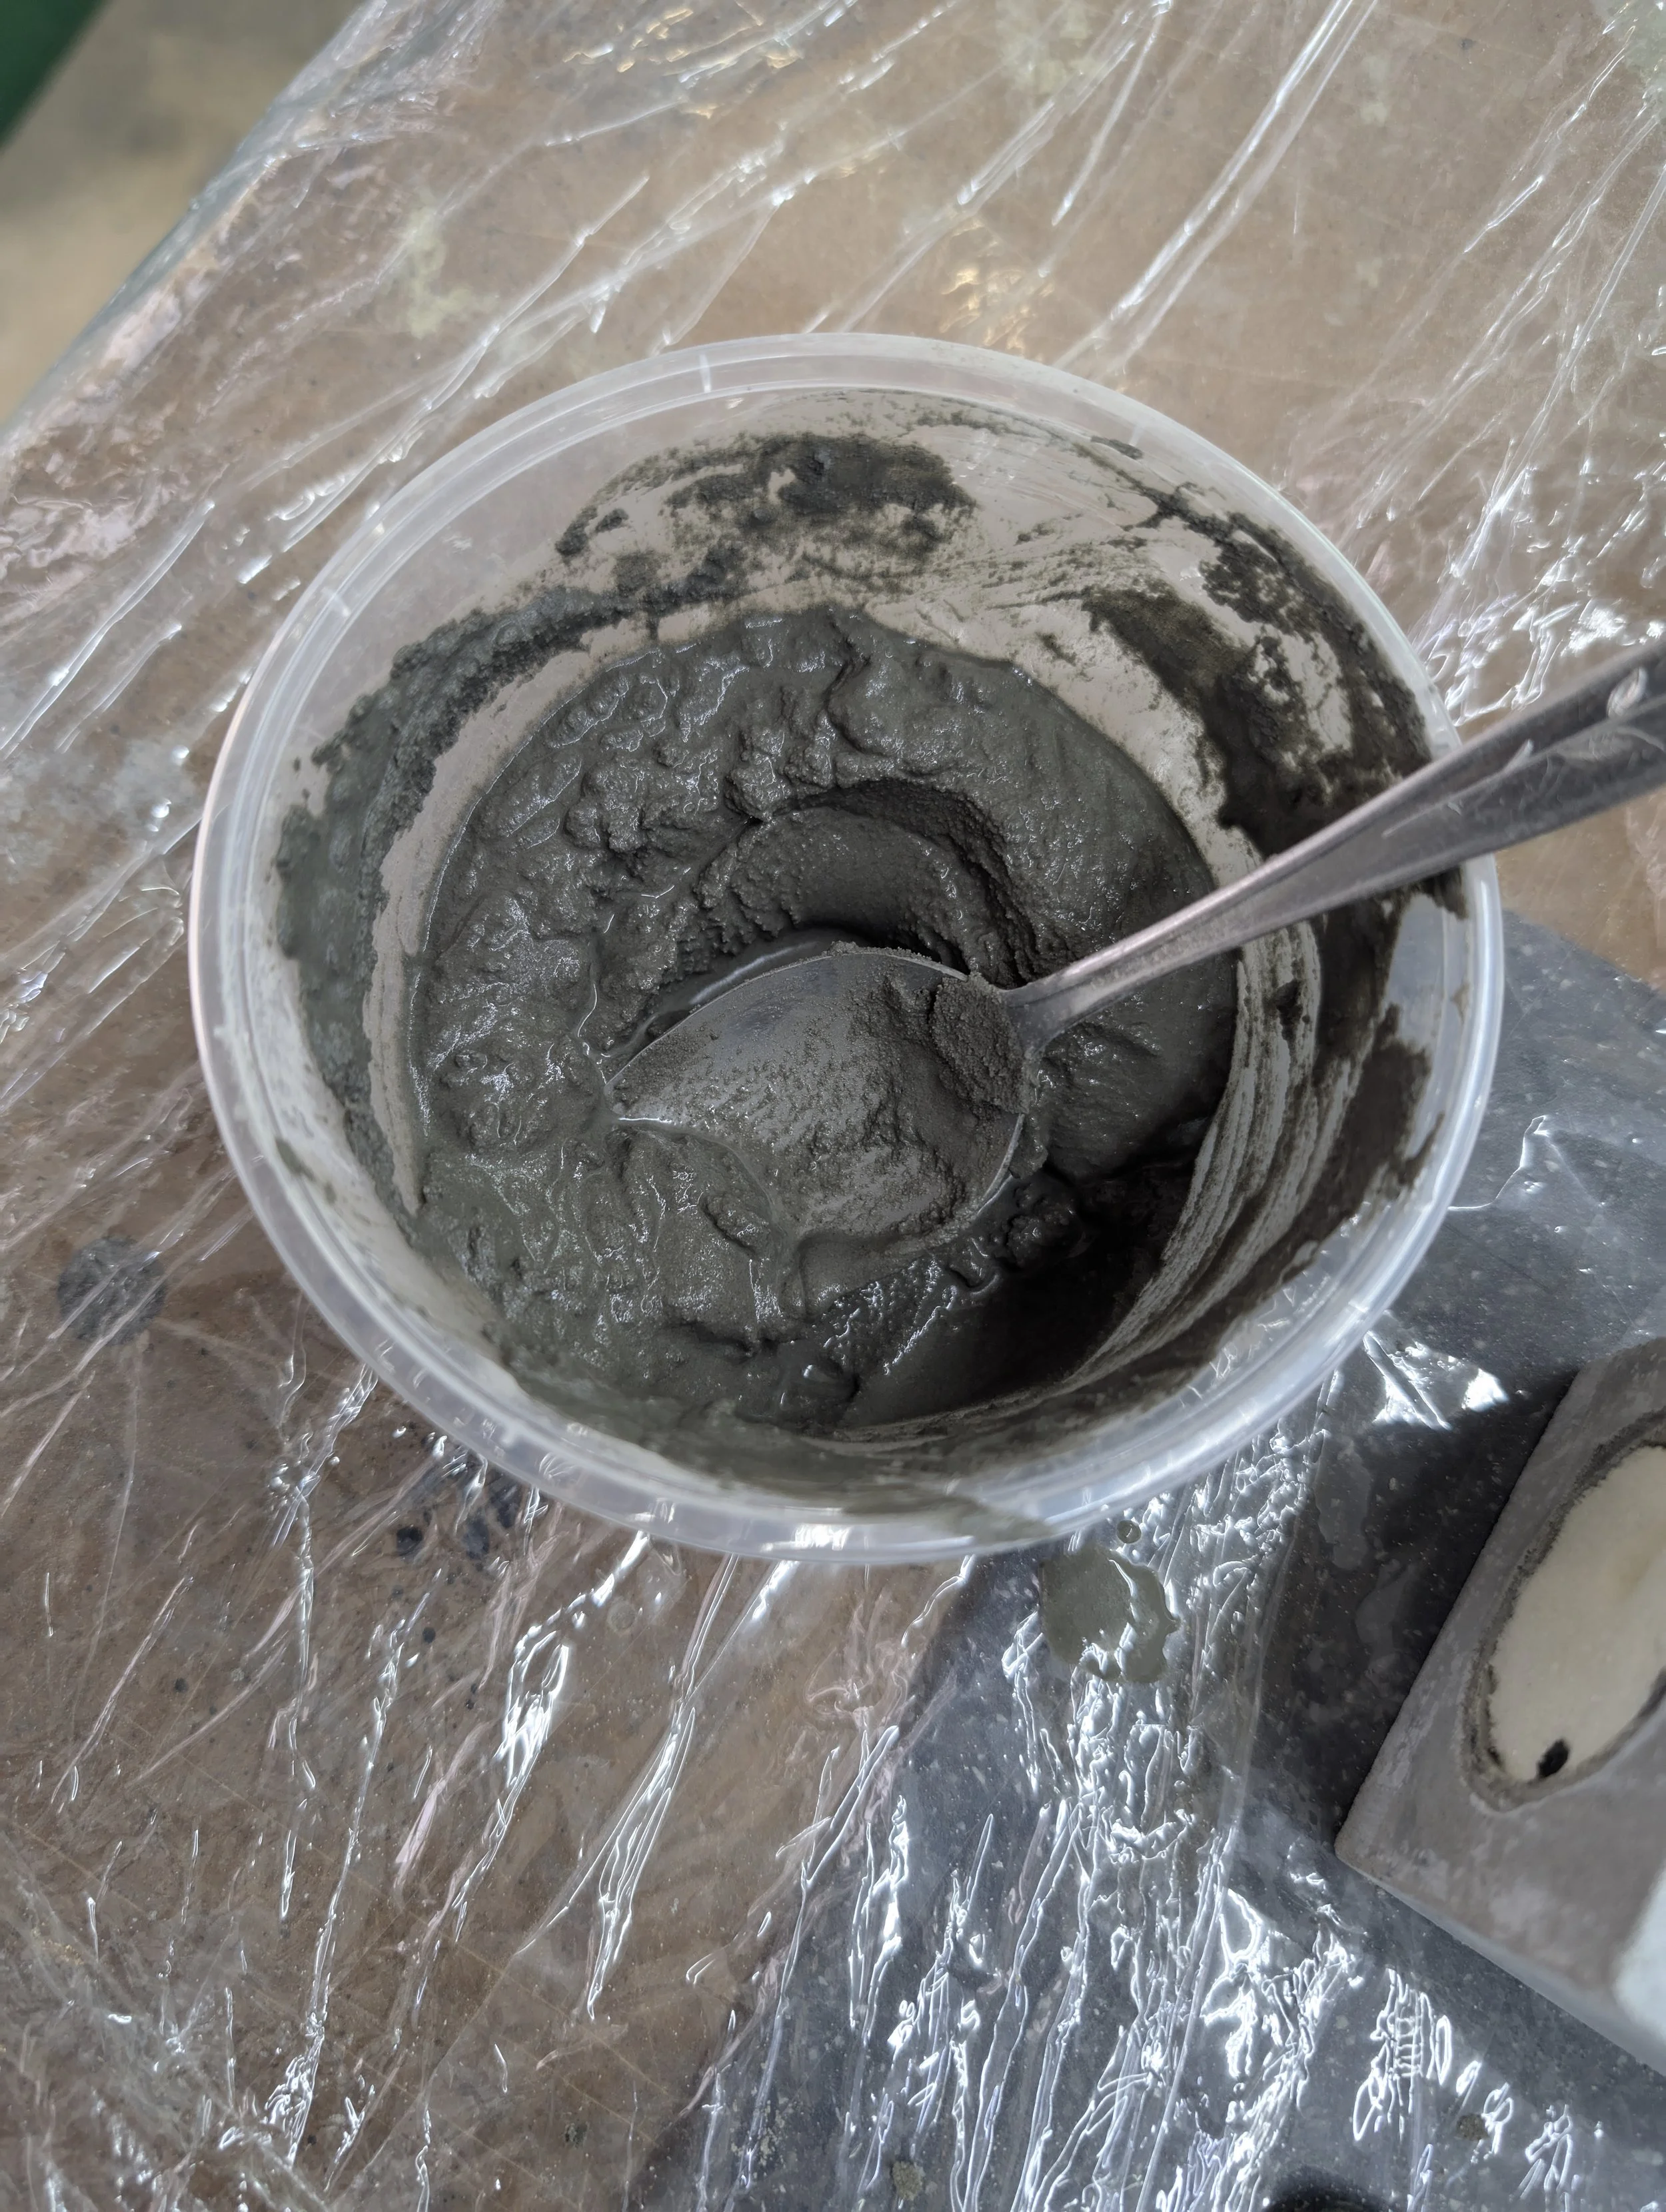
With so many human errors contributing to the final state of the trophies, my next task was to fix these bricks with minimal guidance. It was during this process that I had an important realization about the mixture itself. I found that by adding the cement powder bit by bit, like you would flour when baking, the final outcome was much smoother with fewer holes. This taught me that mixing slowly and carefully from the beginning was a far better way to prevent errors than trying to fix them later. It was a lesson that also applied to my past experience with a silicone mold.
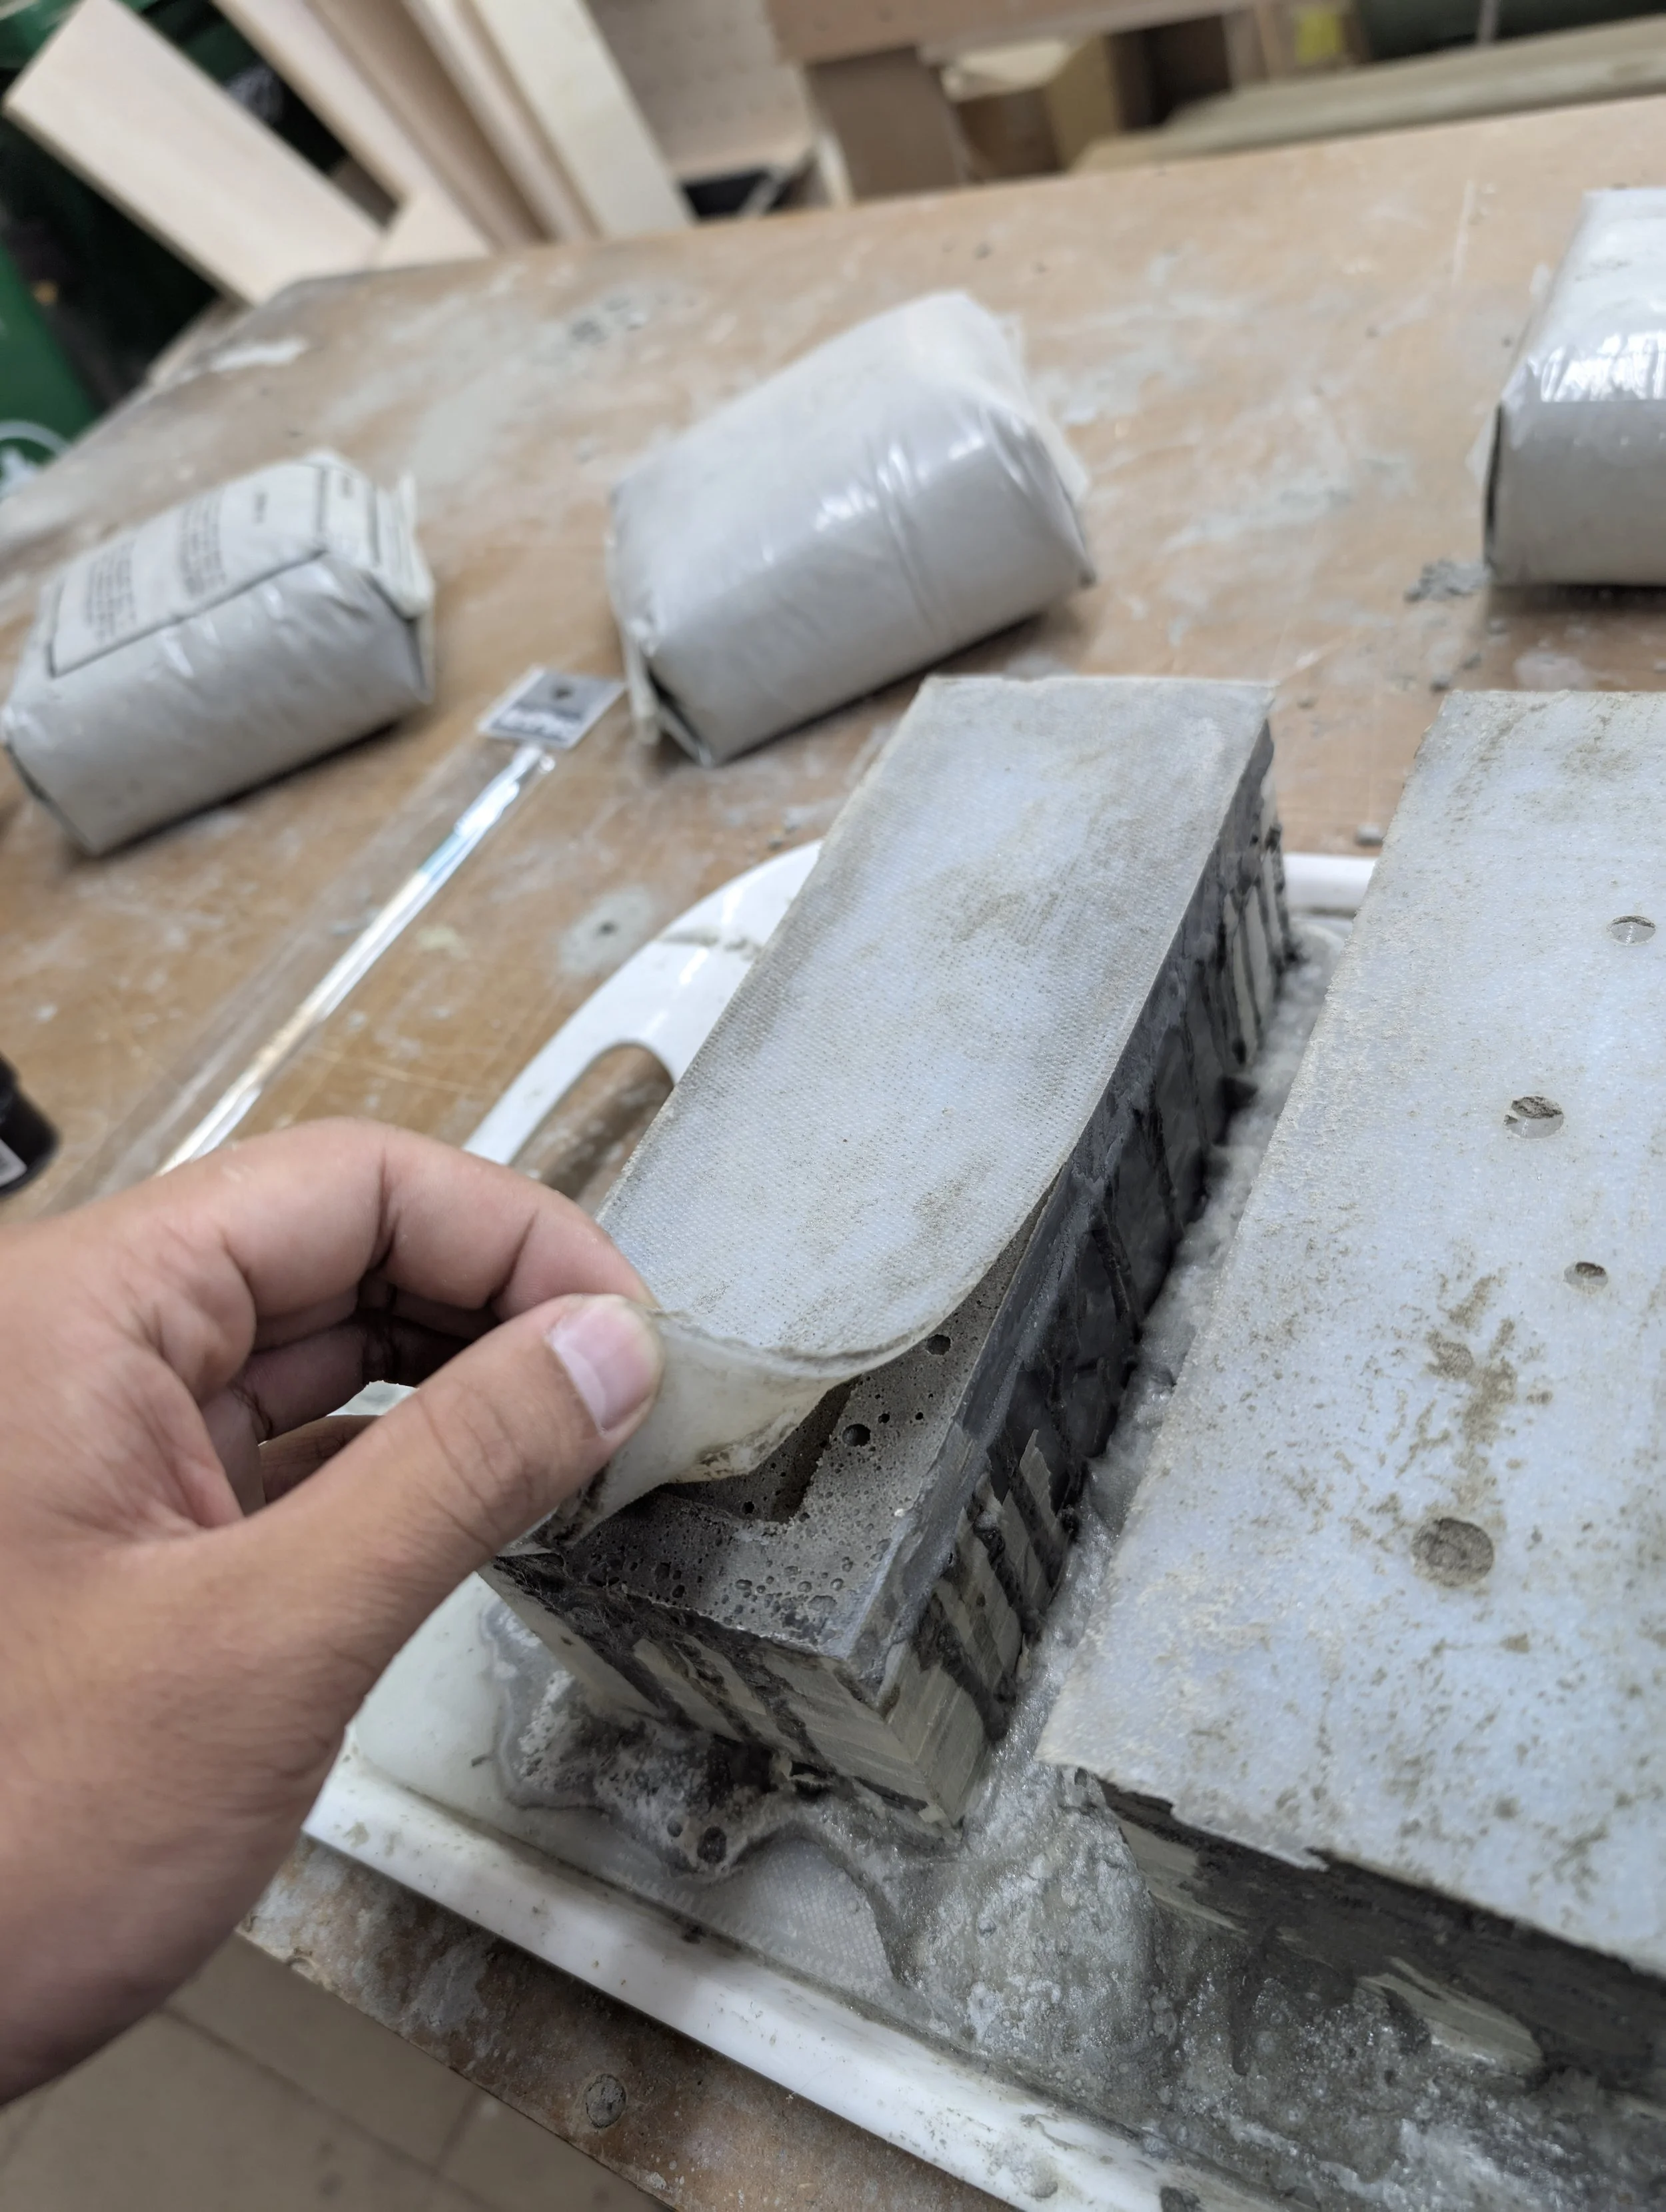
This new method helped, but fixing existing flaws was still incredibly challenging. My first thought was to use fresh concrete to fill the potholes. This proved incredibly difficult; liquid concrete doesn't just float in mid-air. It was especially hard to fix a perfect square edge, so I would have to overfill the hole and then painstakingly sand it back. The more I did it, the better I became—it was like doing art.
This painful process led to a significant breakthrough: Silkalatex, a cement adhesive that replaces the water in concrete with a liquid latex. I've talked more about this magical compound here, and it became a godsend for me. It allowed me to repair the bricks more precisely and cleanly, especially for fine details and sharp corners.
My boss, however, had his own way of fixing things. He used a 1K grey putty, which took forever to dry and had a noticeably different texture and color than the concrete. But I did learn one valuable thing from his approach: the putty was much better for filling bigger gaps, where the liquid concrete would simply lose its shape. It was a classic case of "to each their own," where different tools were better for different jobs.
For bricks that were out of square, I simply sanded the sides down to a perfect 90-degree angle. This made the bricks slightly smaller, but since they were for a trophy and not a functional part, the exact dimensions didn't matter. The whole experience taught me that every material has its purpose, and it's up to the designer to choose the right one for the right problem.


Phase 4: A Better Mold
After my experiments, I realized that the core problem wasn't the concrete mixture itself, but the mold. The original design, with each wall as a separate acrylic sheet, was a recipe for human error and misalignment. So, I proposed a new design with fewer parts, where at least two of the walls would be pre-joined to ensure they were perfectly square.
I created a Fusion 360 model for this new mold, but we never got to test it. The idea of using a 3D-printed plastic mold had a potential drawback: the inner walls of the concrete would have the 3D-printed infill pattern. While this could be sanded or covered with an acrylic sheet, my boss didn't see the possibility in this method.
The Theory of Casting
We moved on to a different idea, inspired by the theory of metal casting. My new design included a funnel, an overfill chamber, and an air hole to ensure a perfectly smooth finish on the top surface. However, a quick search into concrete casting showed me that these complex features weren't necessary for concrete, which solidifies differently than metal. I ditched the complicated design but kept the principle of an air hole.
My final idea was a plastic plate with a simple air hole on top. The goal was to force the concrete to overfill, resulting in a smoother, more consistent finish. This plate was designed to self-align with the side walls. Unfortunately, my first prototype didn't fit, as the side walls were never a consistent size. This forced me to tear off the self-aligning feature, and the experiment ultimately failed because I hadn't used a mold release agent. The concrete stuck to the plastic, creating even more holes.
Even though this idea wasn't fully realized, the process was invaluable. It taught me how to apply principles from one craft (metal casting) to another, and how important it is to account for every variable in a design. It also taught me a lesson in knowing when to stick with a simpler, more reliable solution. For example, my colleague's idea to simply use tape to prevent misalignment was a good second line of defense that could have saved a lot of time.


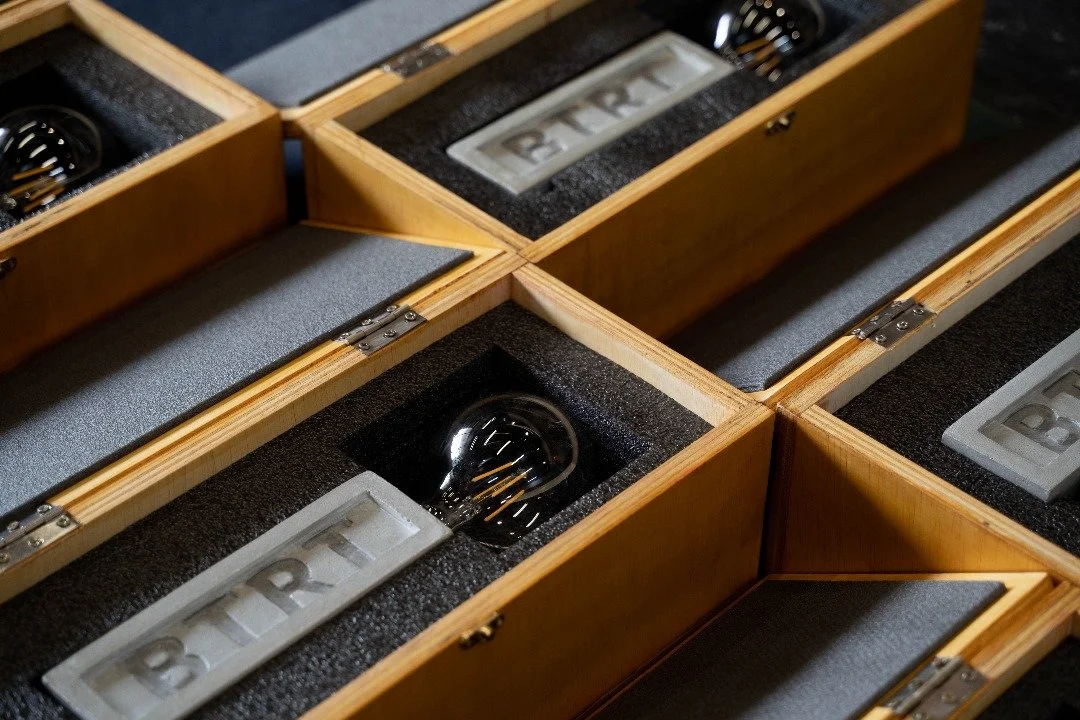
Phase 5: Re-engineering a 3D-Printed Part
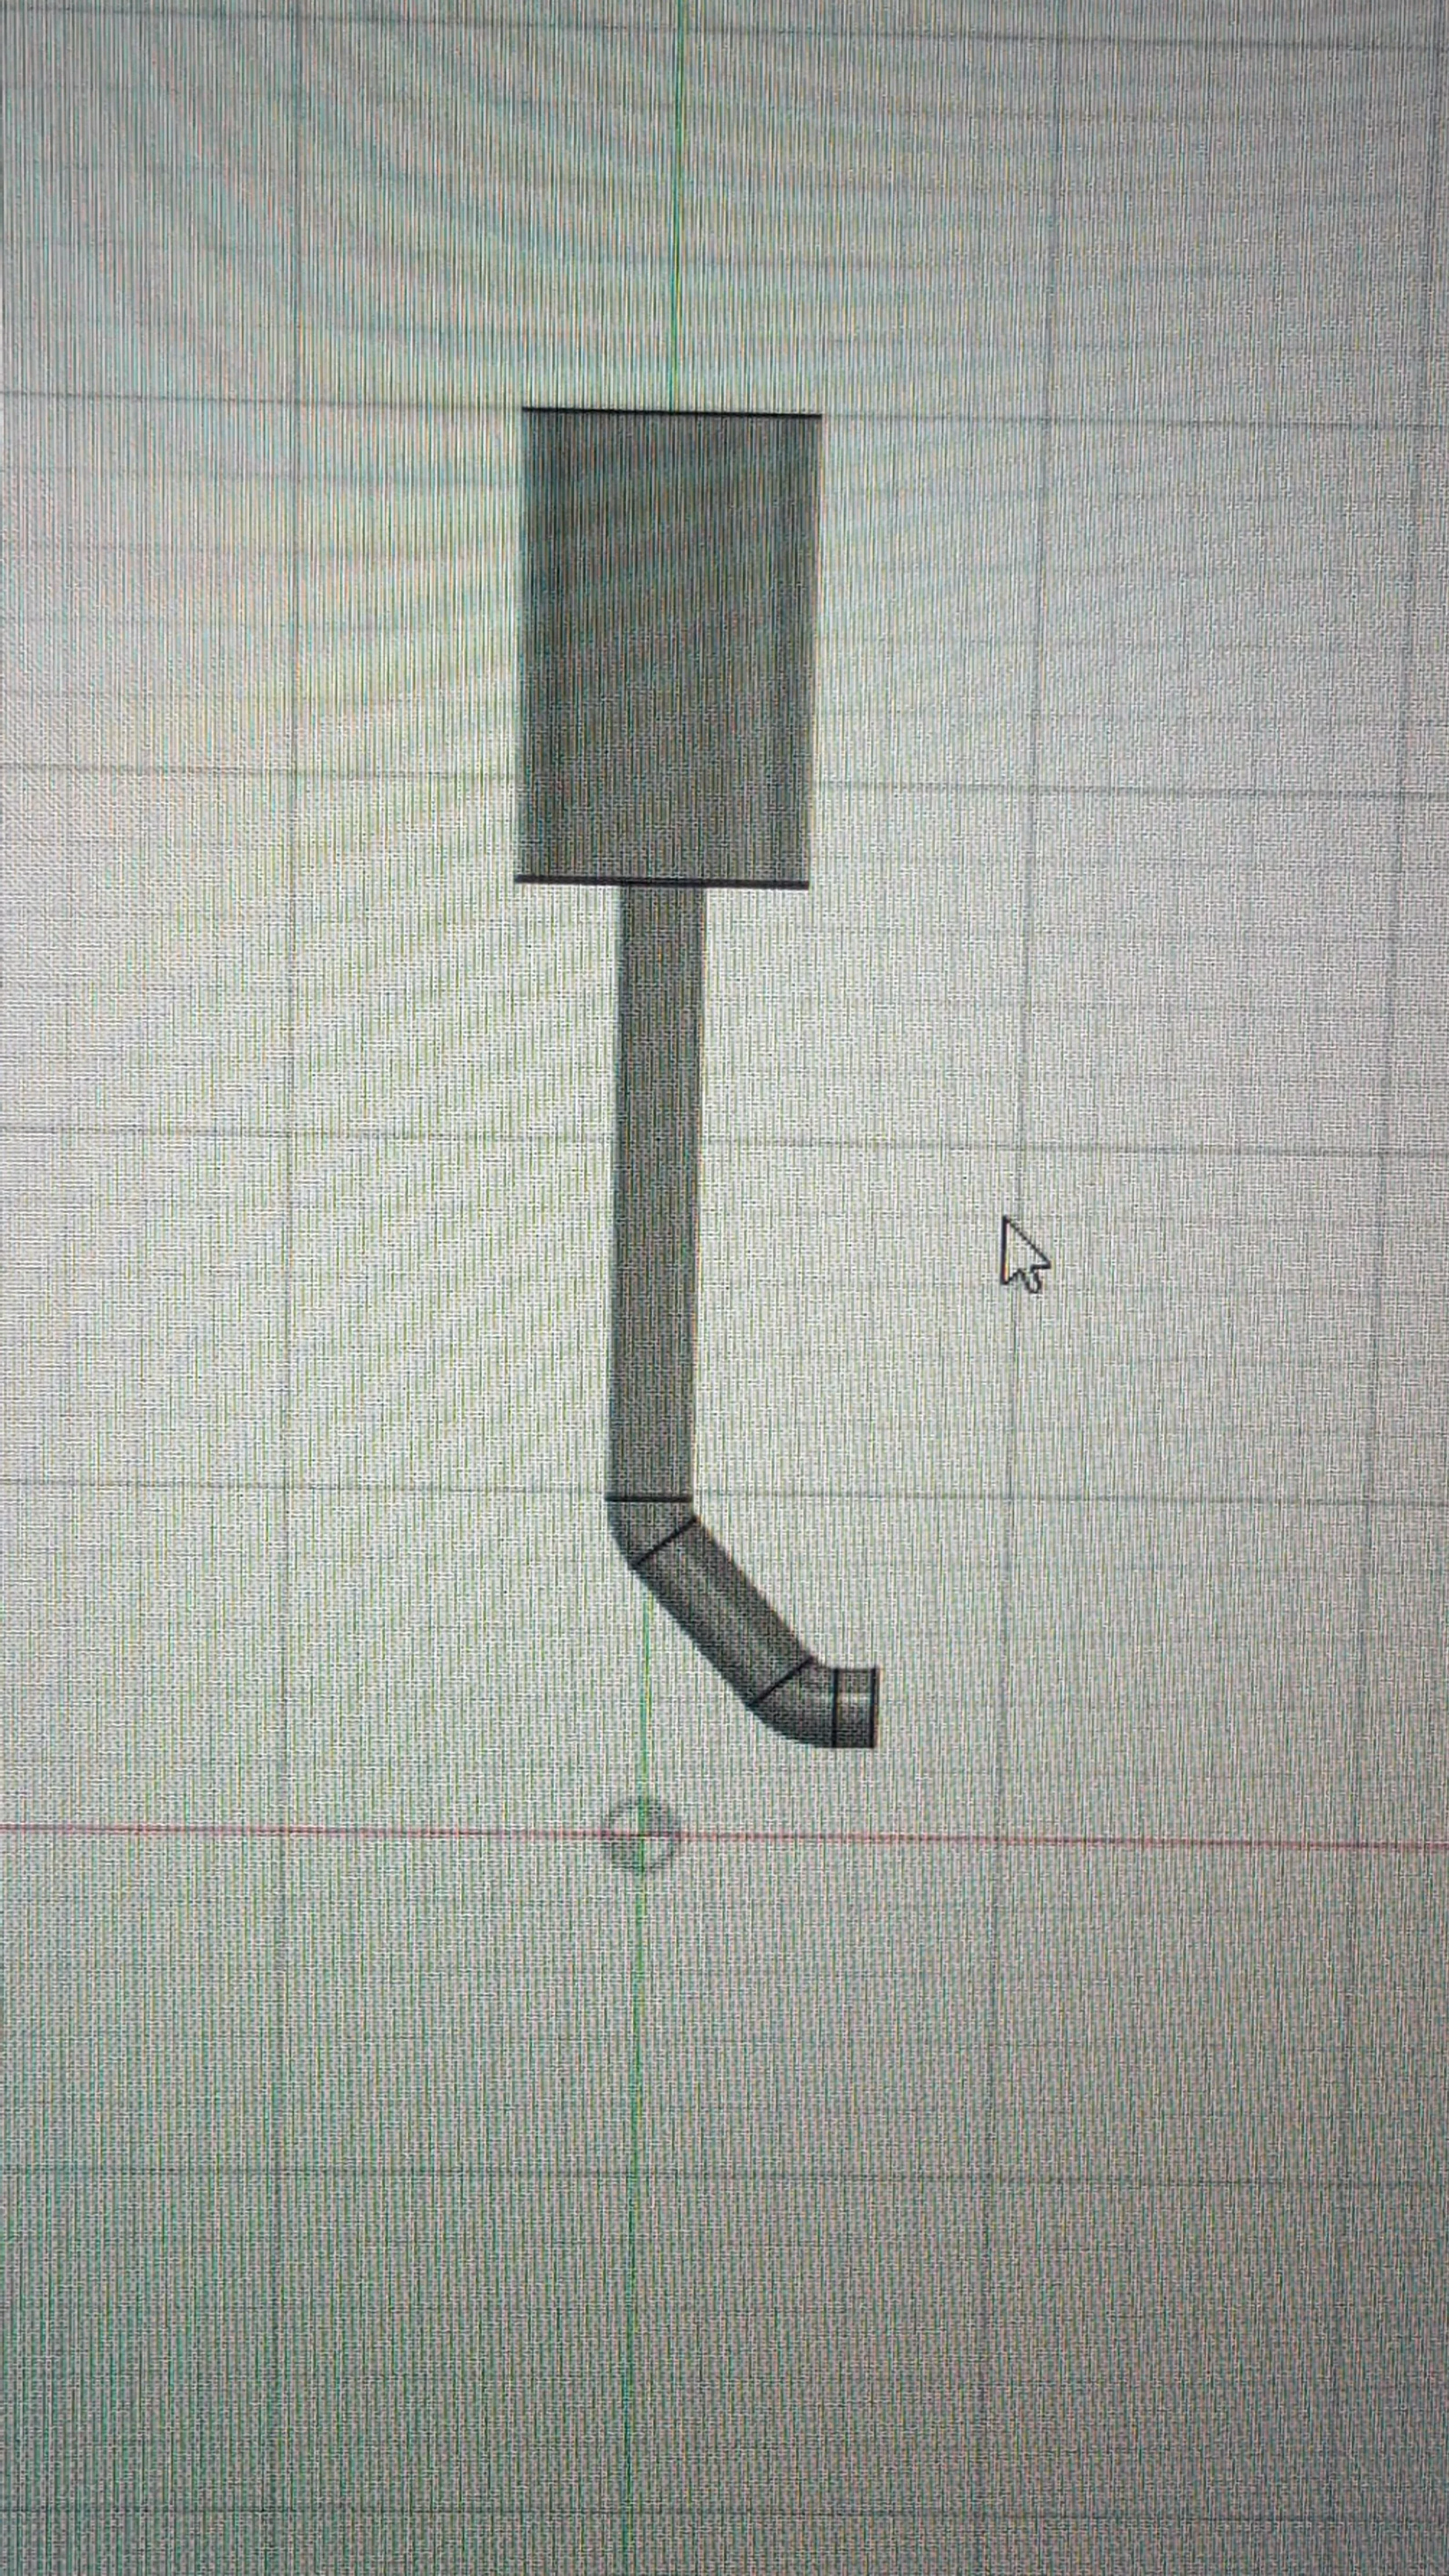
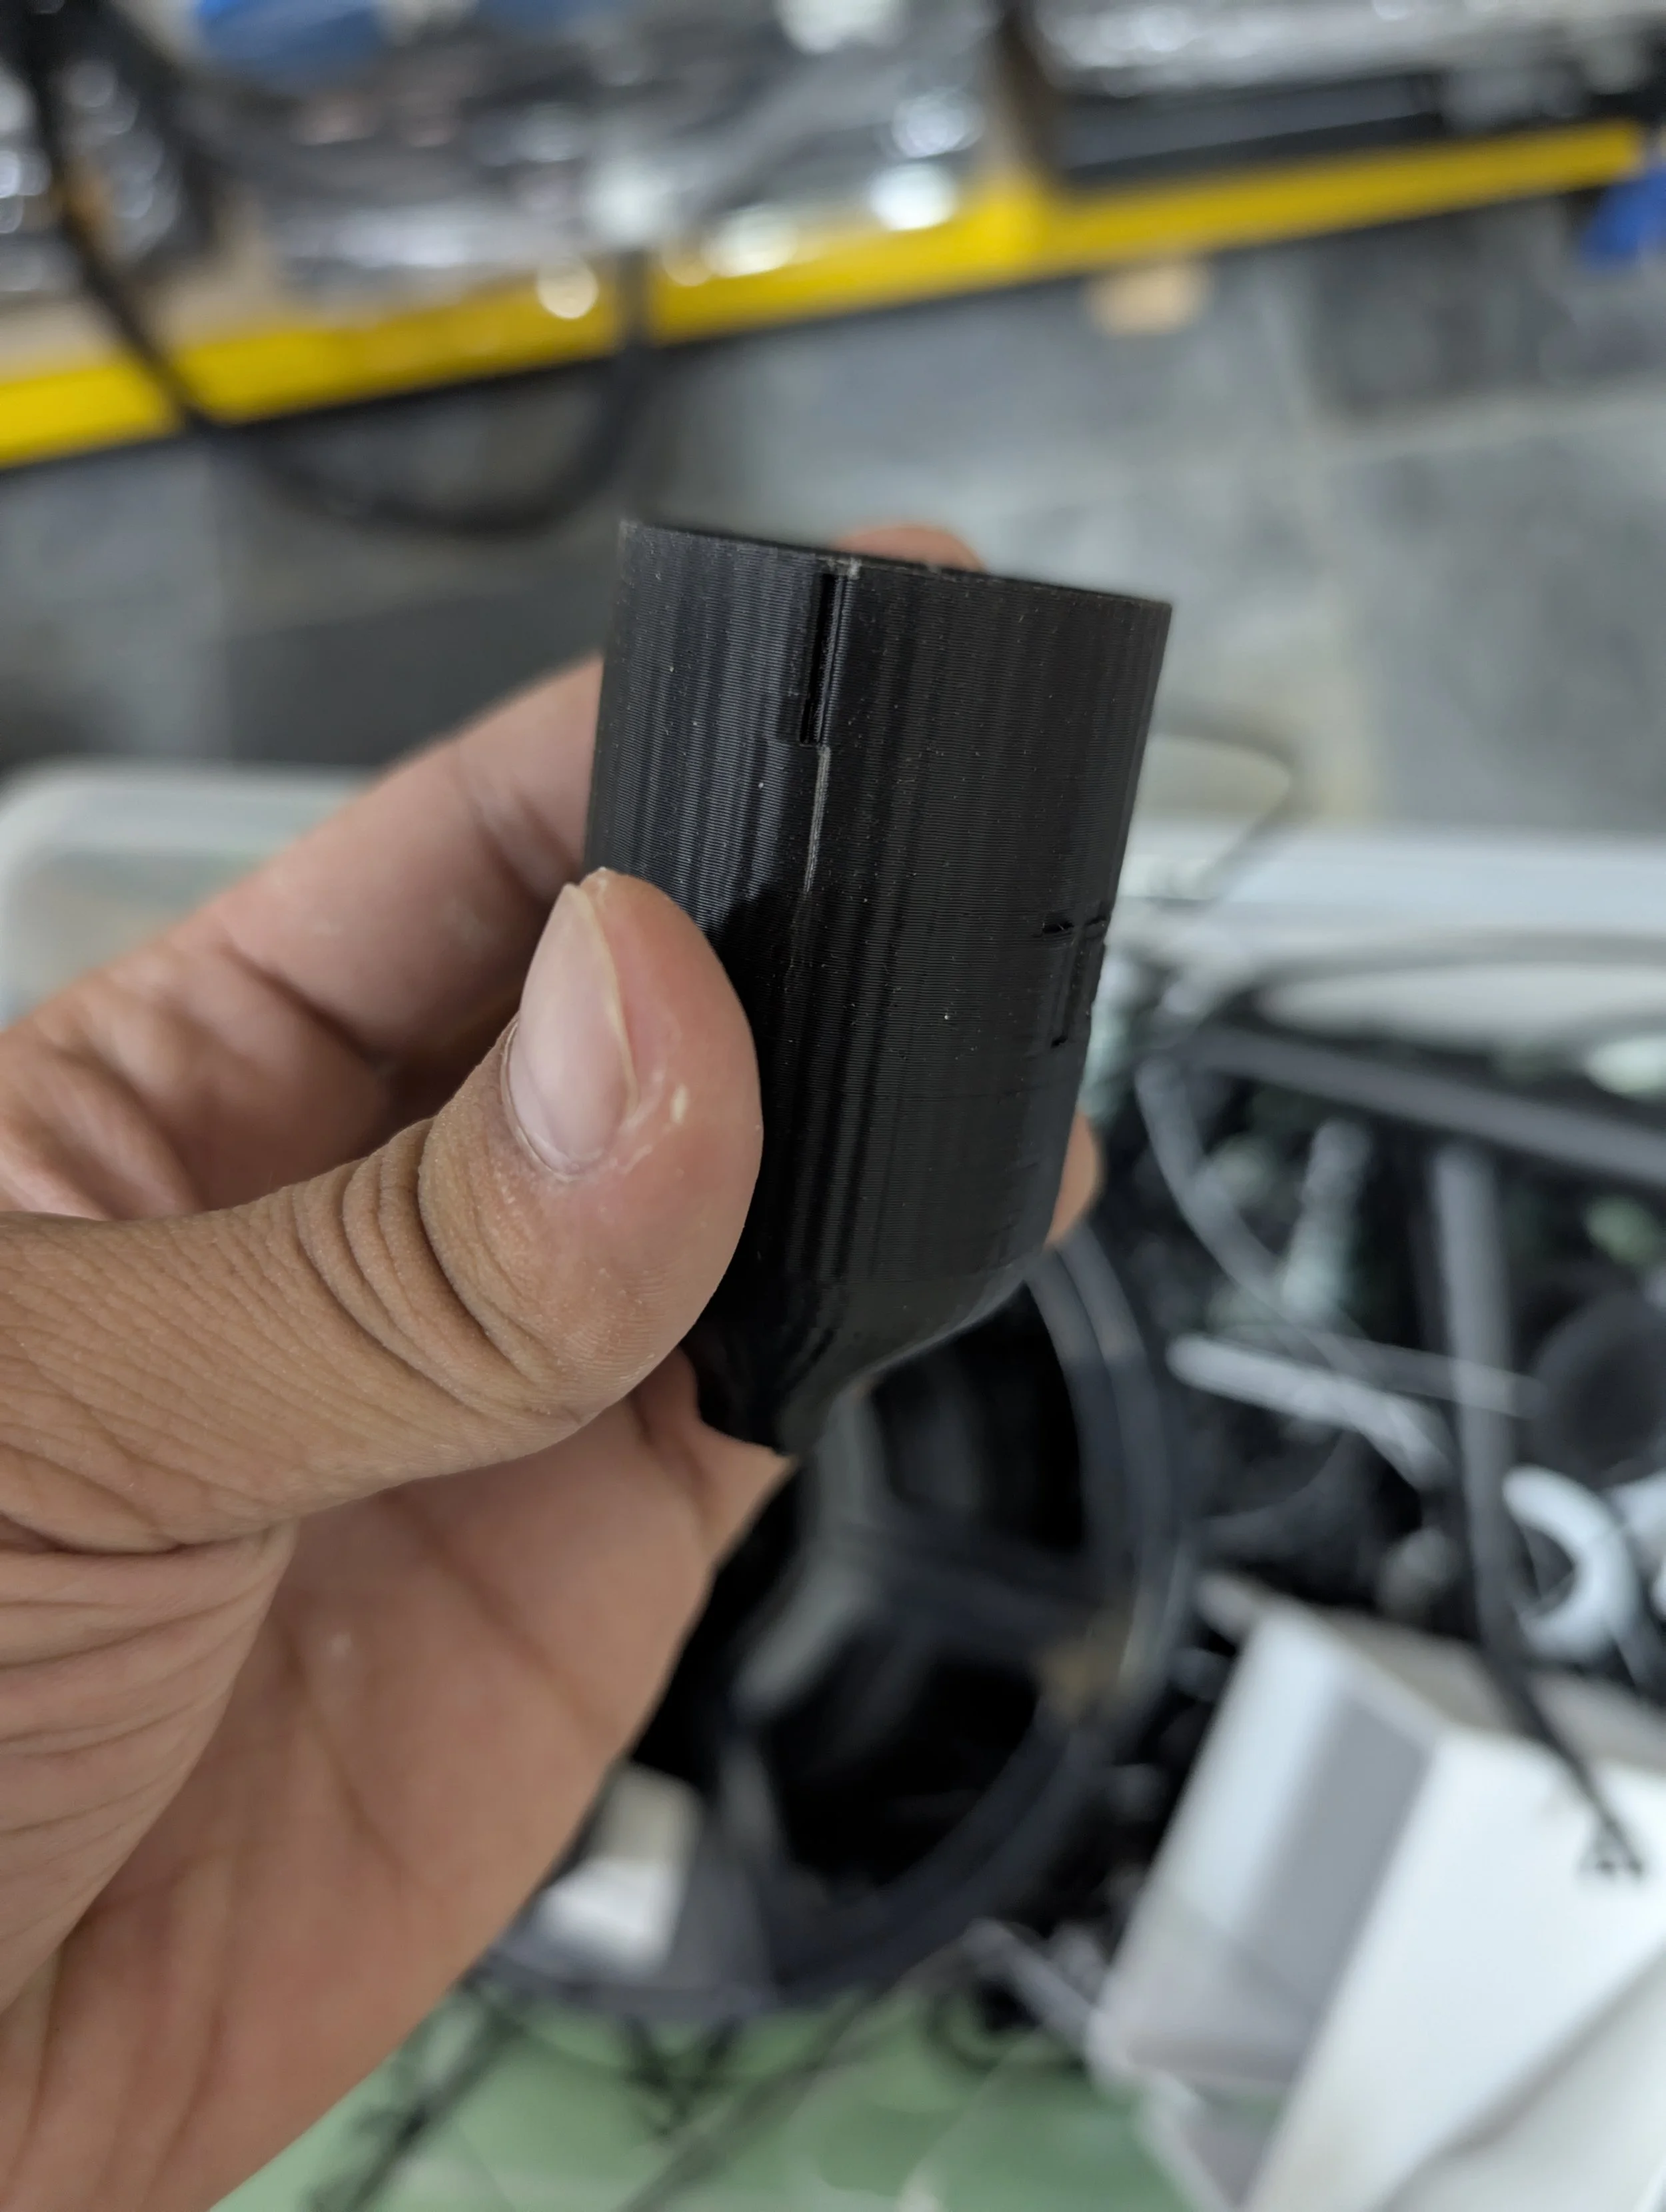
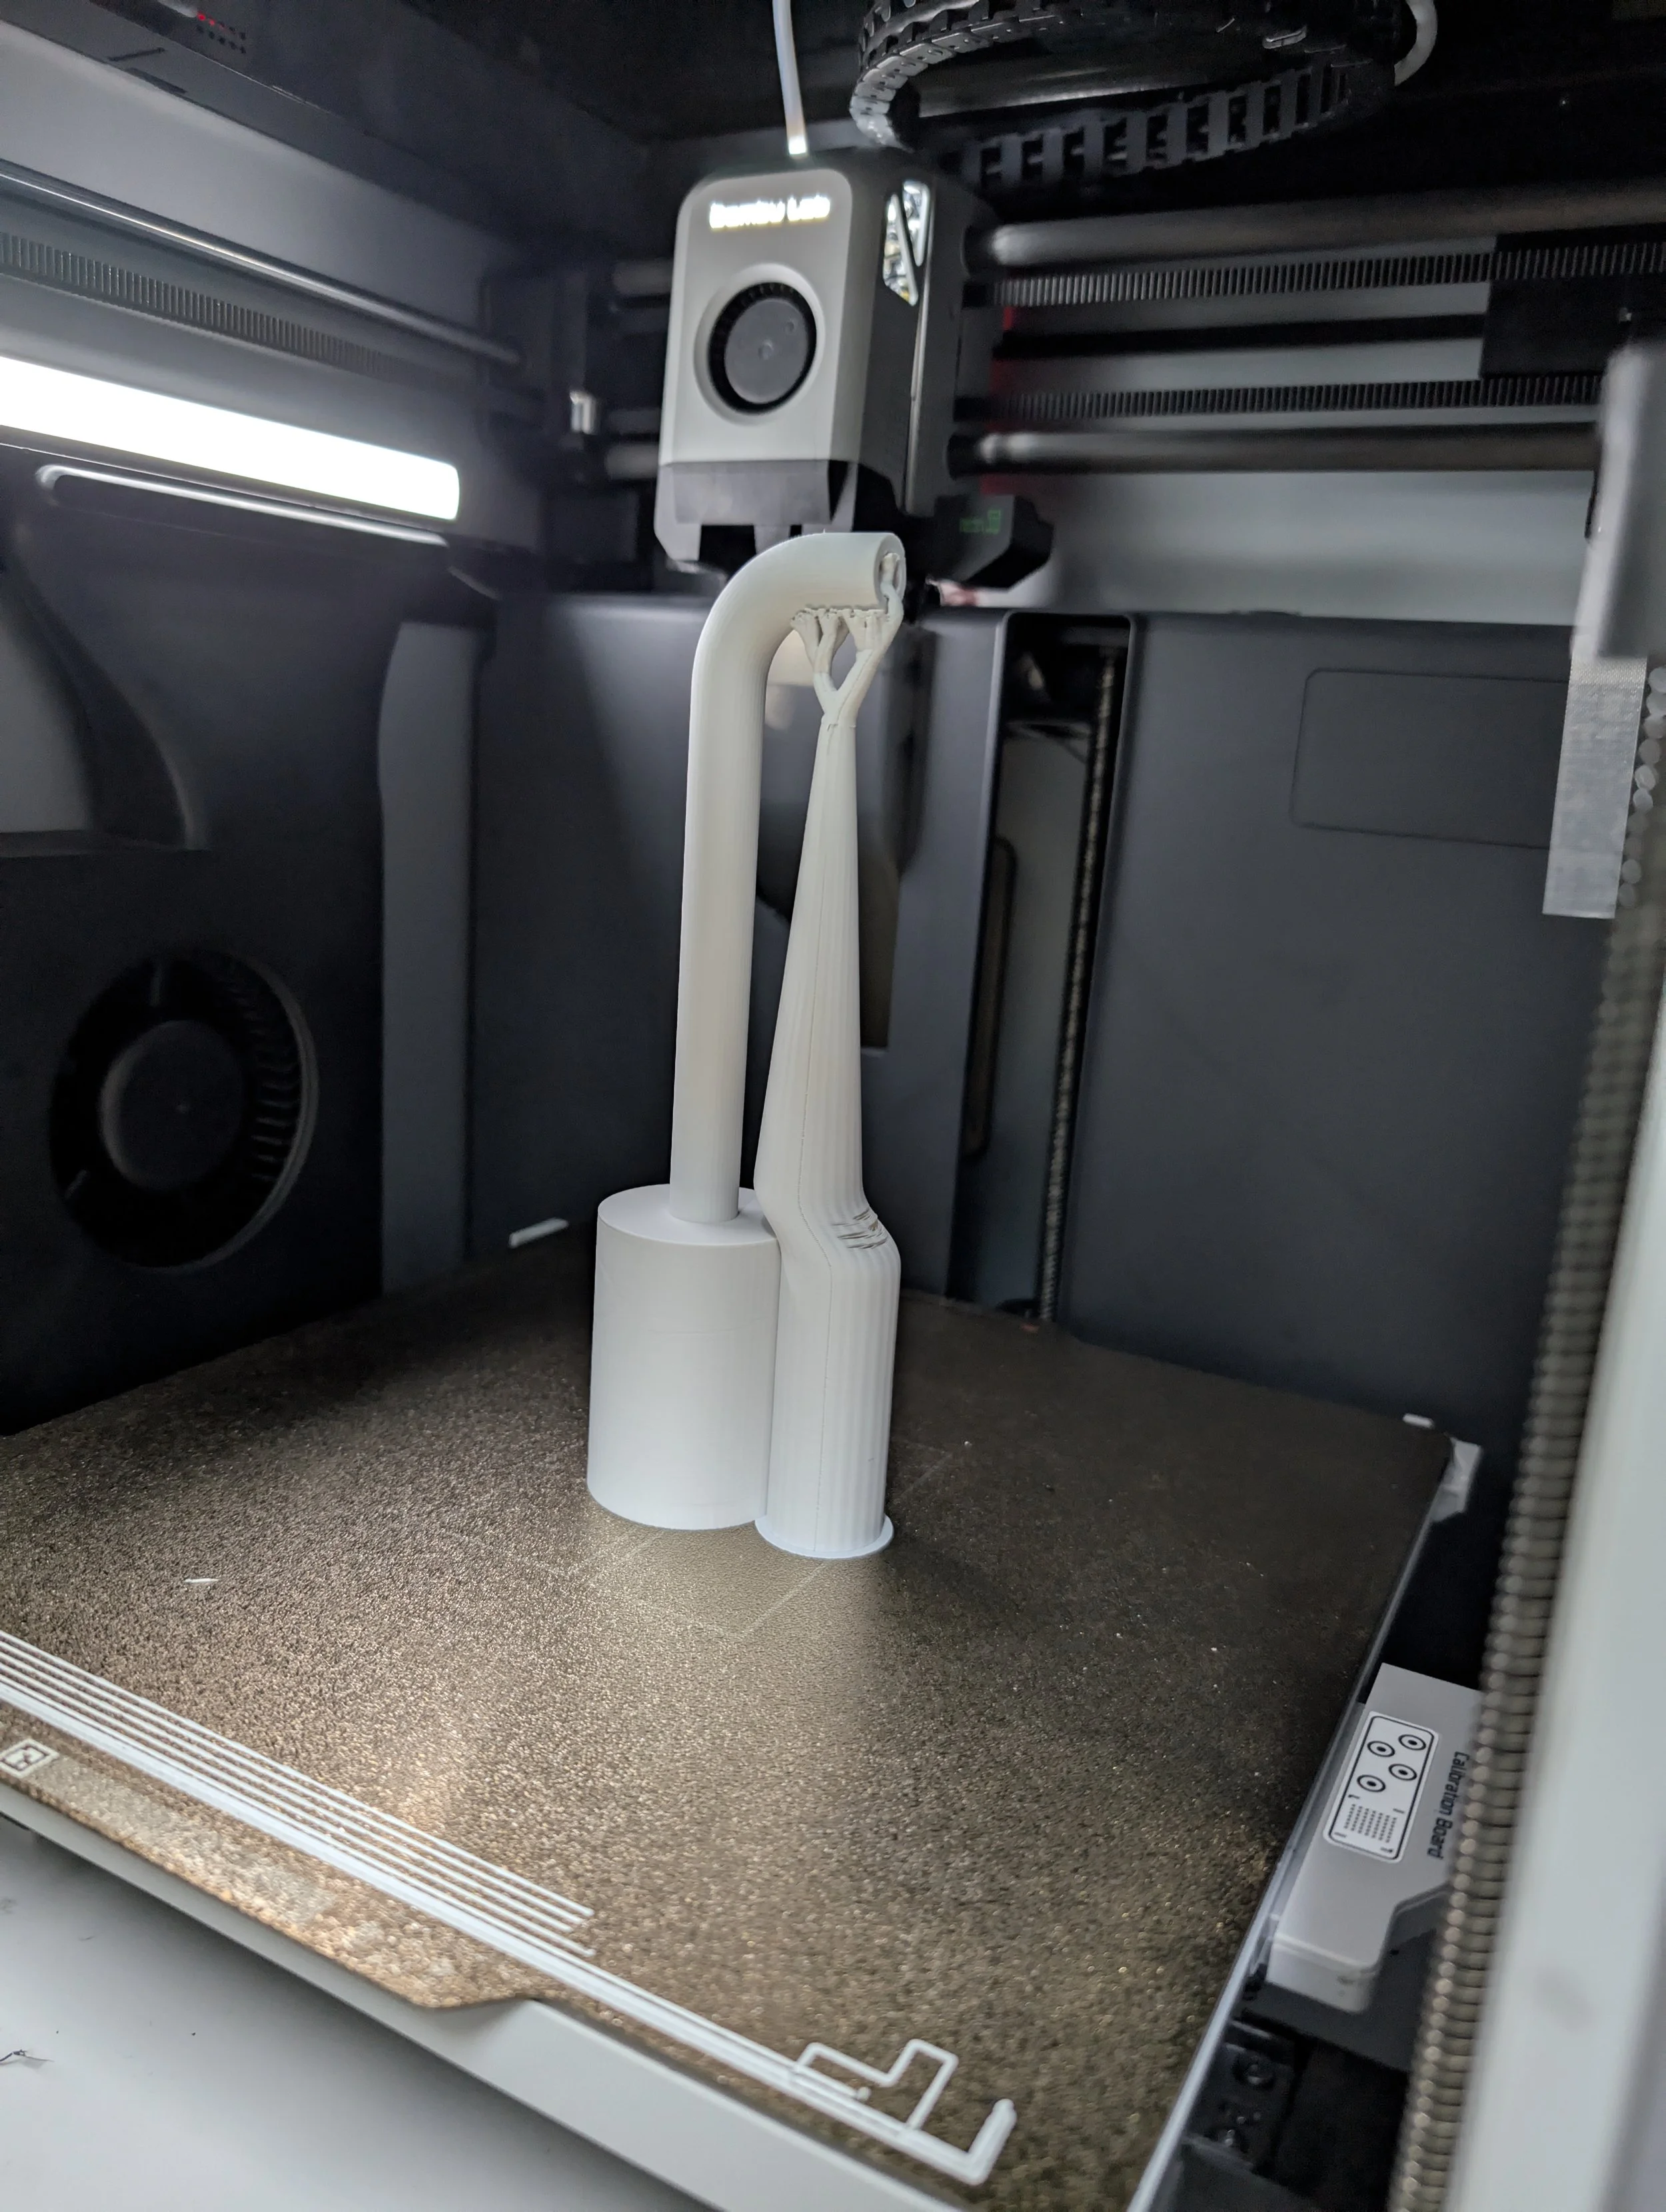
The trophy's design required a small 3D-printed part to create a cavity for the electronics inside the concrete. After the original file was lost, my boss tasked me with redesigning it to be faster and "better." I took this as an opportunity to apply my 3D-printing expertise and improve the part myself.
The previous design was a nightmare to print and clean, with support structures that were impossible to remove. To solve this, I redesigned the pipe to have no overhangs, using a chamfer instead of a curve to ensure it could be printed without any support material. My boss was skeptical, claiming it would break, but my knowledge of 3D printing told me otherwise.
I also made the walls of the pipe just 0.5mm thick to reduce print time, but the team was worried it wouldn't be strong enough to withstand the weight of the concrete. Although I was confident it would hold up, we settled on a thickness of 3mm for a fail-safe. I was so sure of my design's strength because this was the same part I used to punch the foam in my Bunnies design.
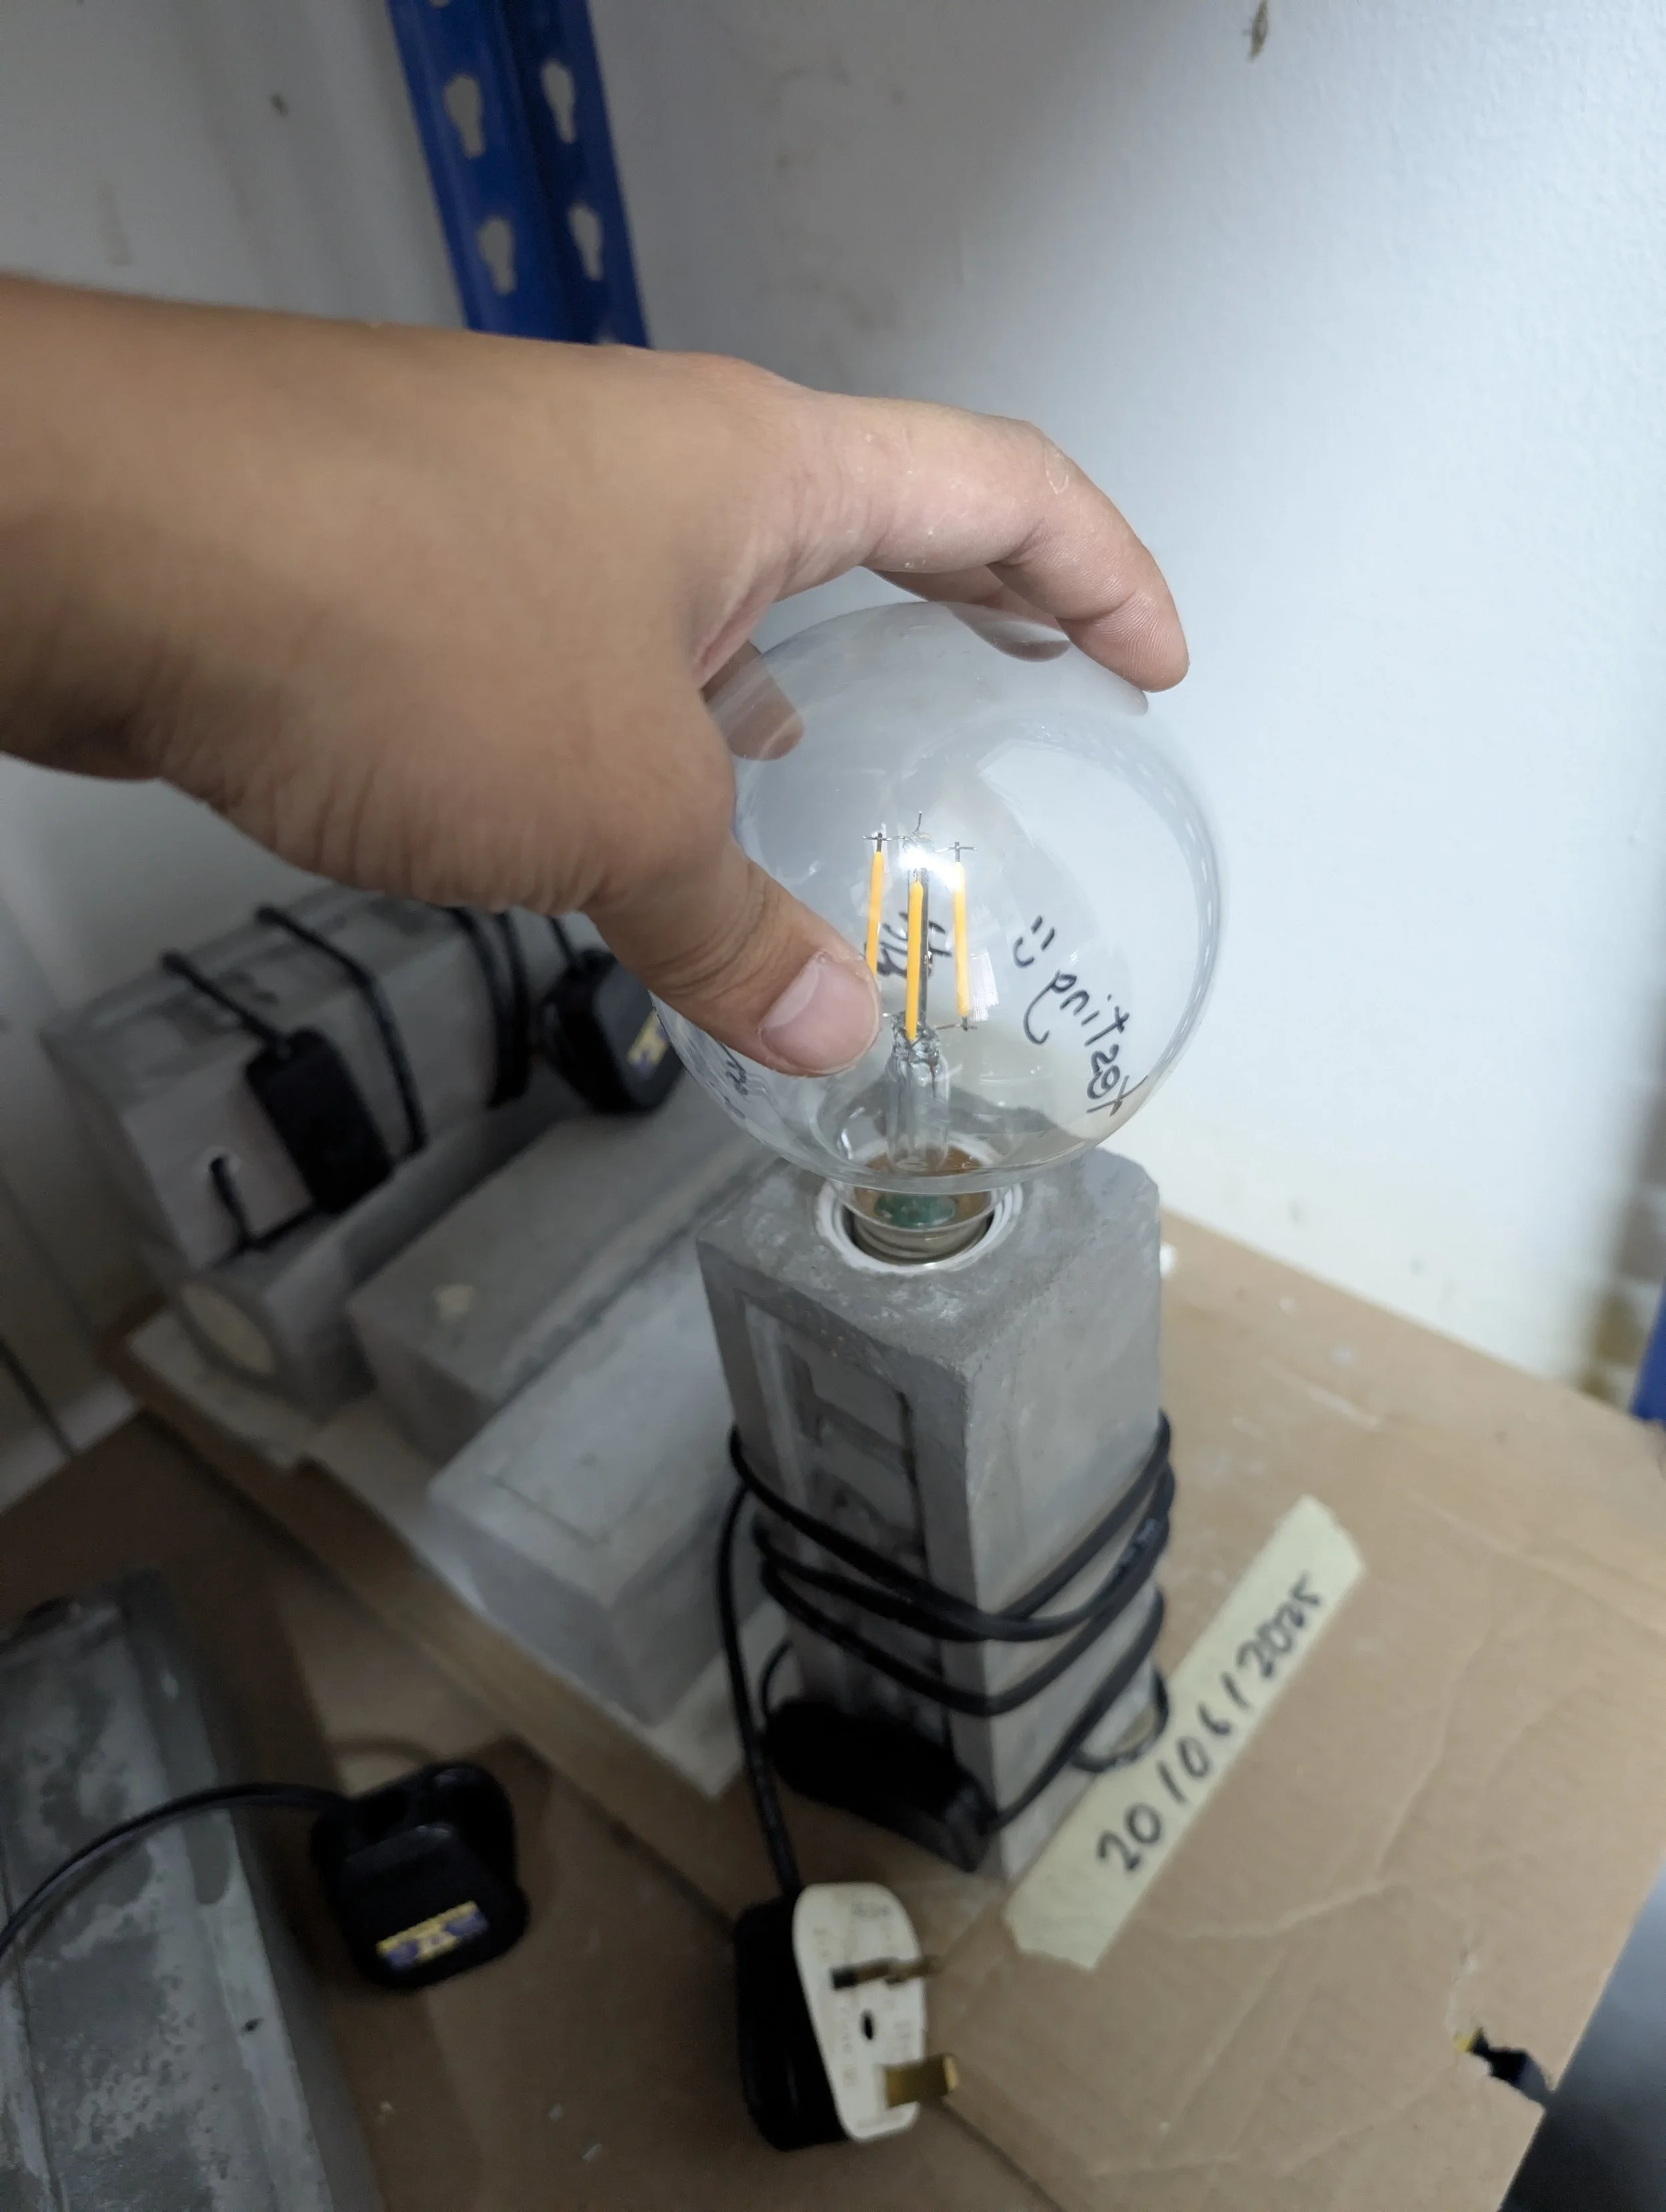
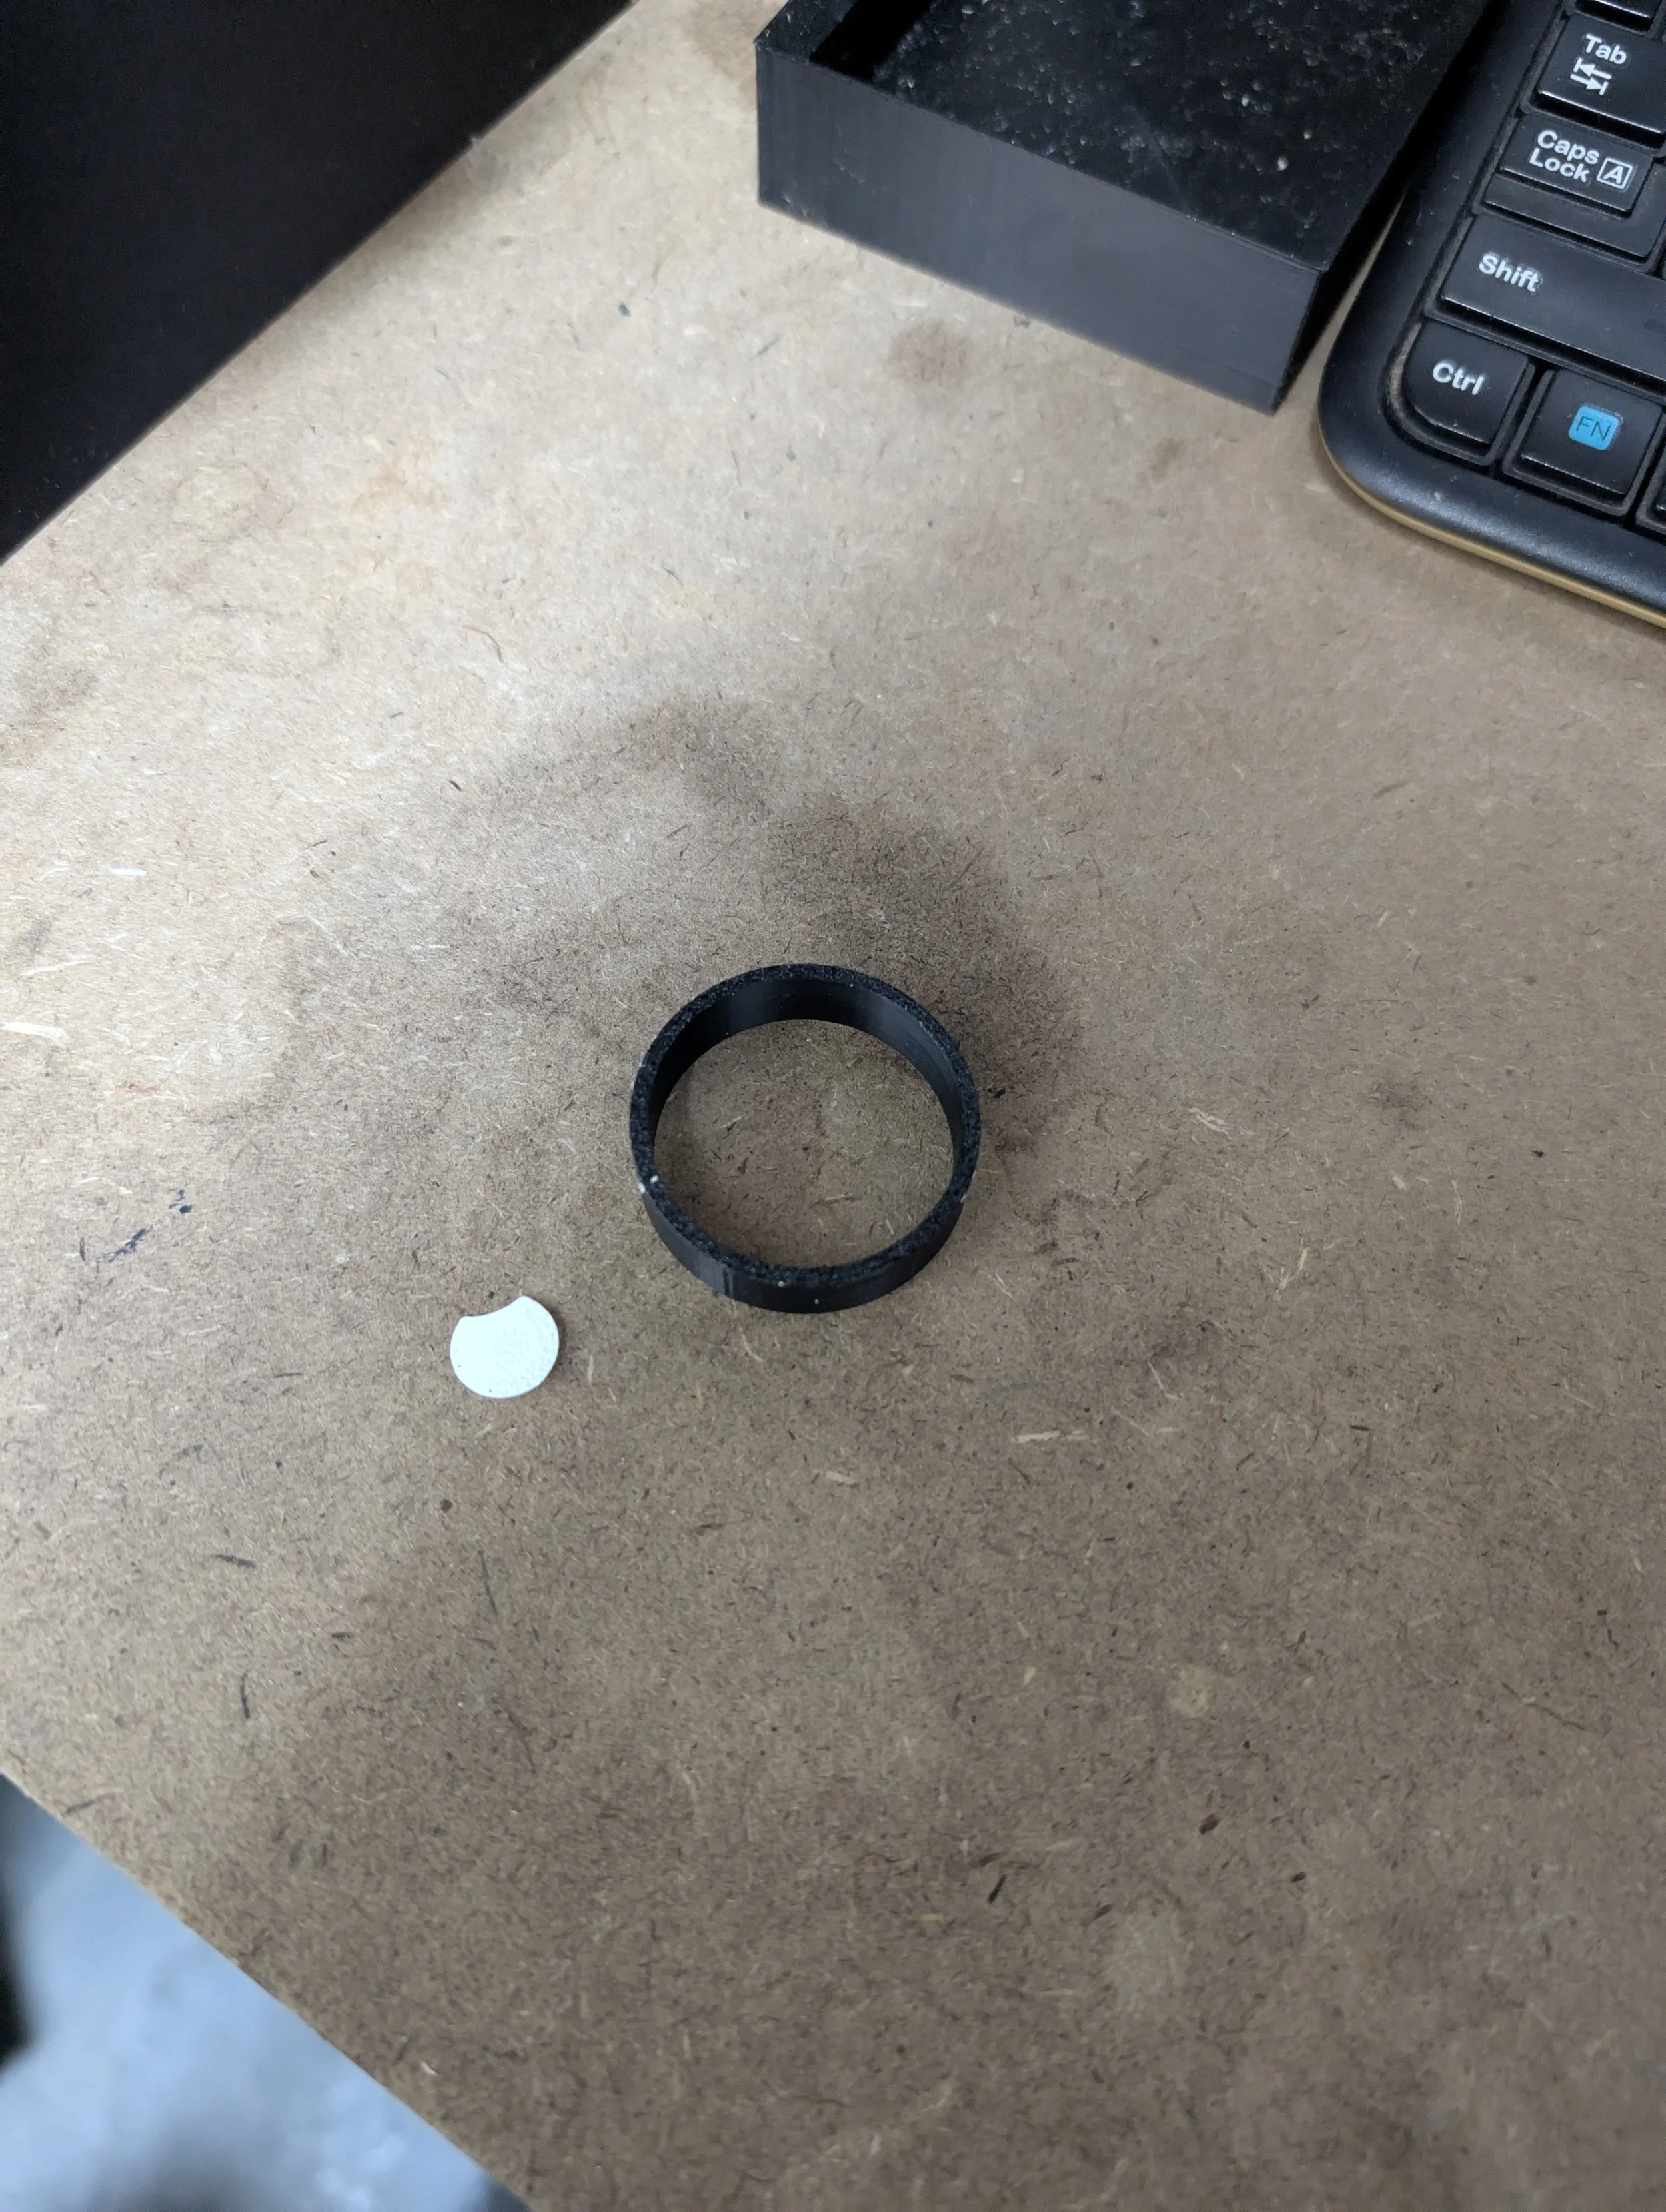
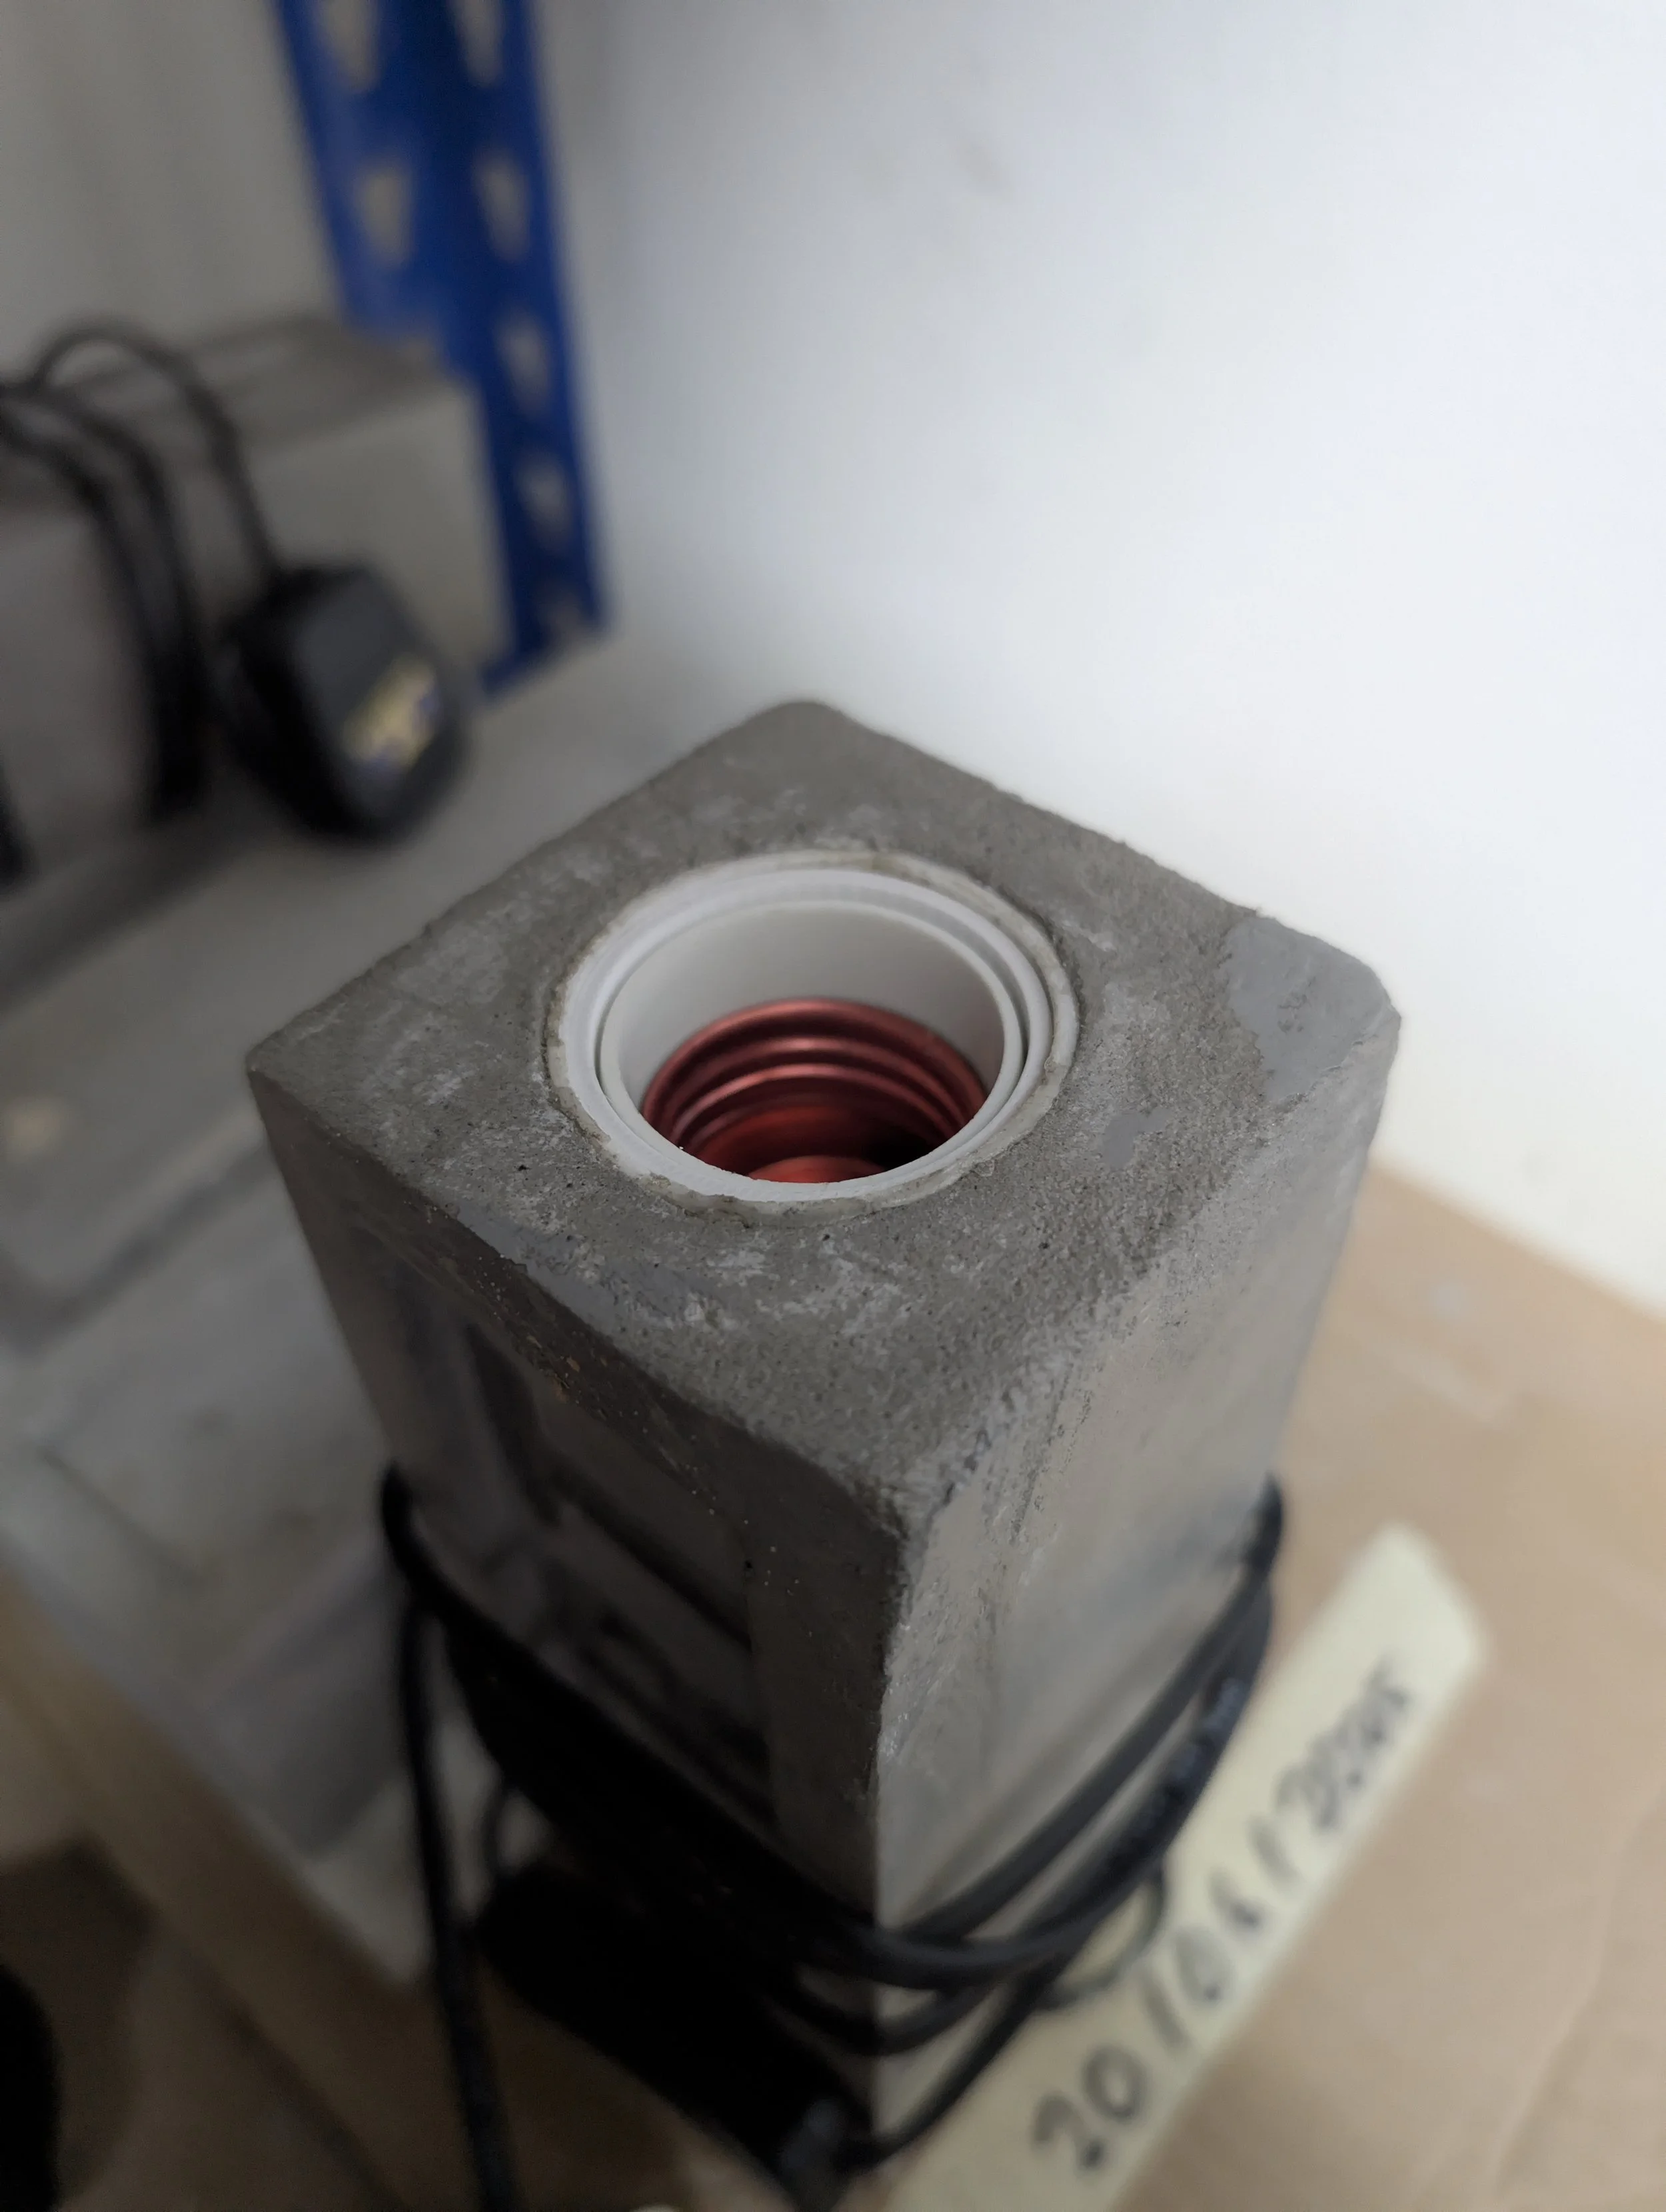
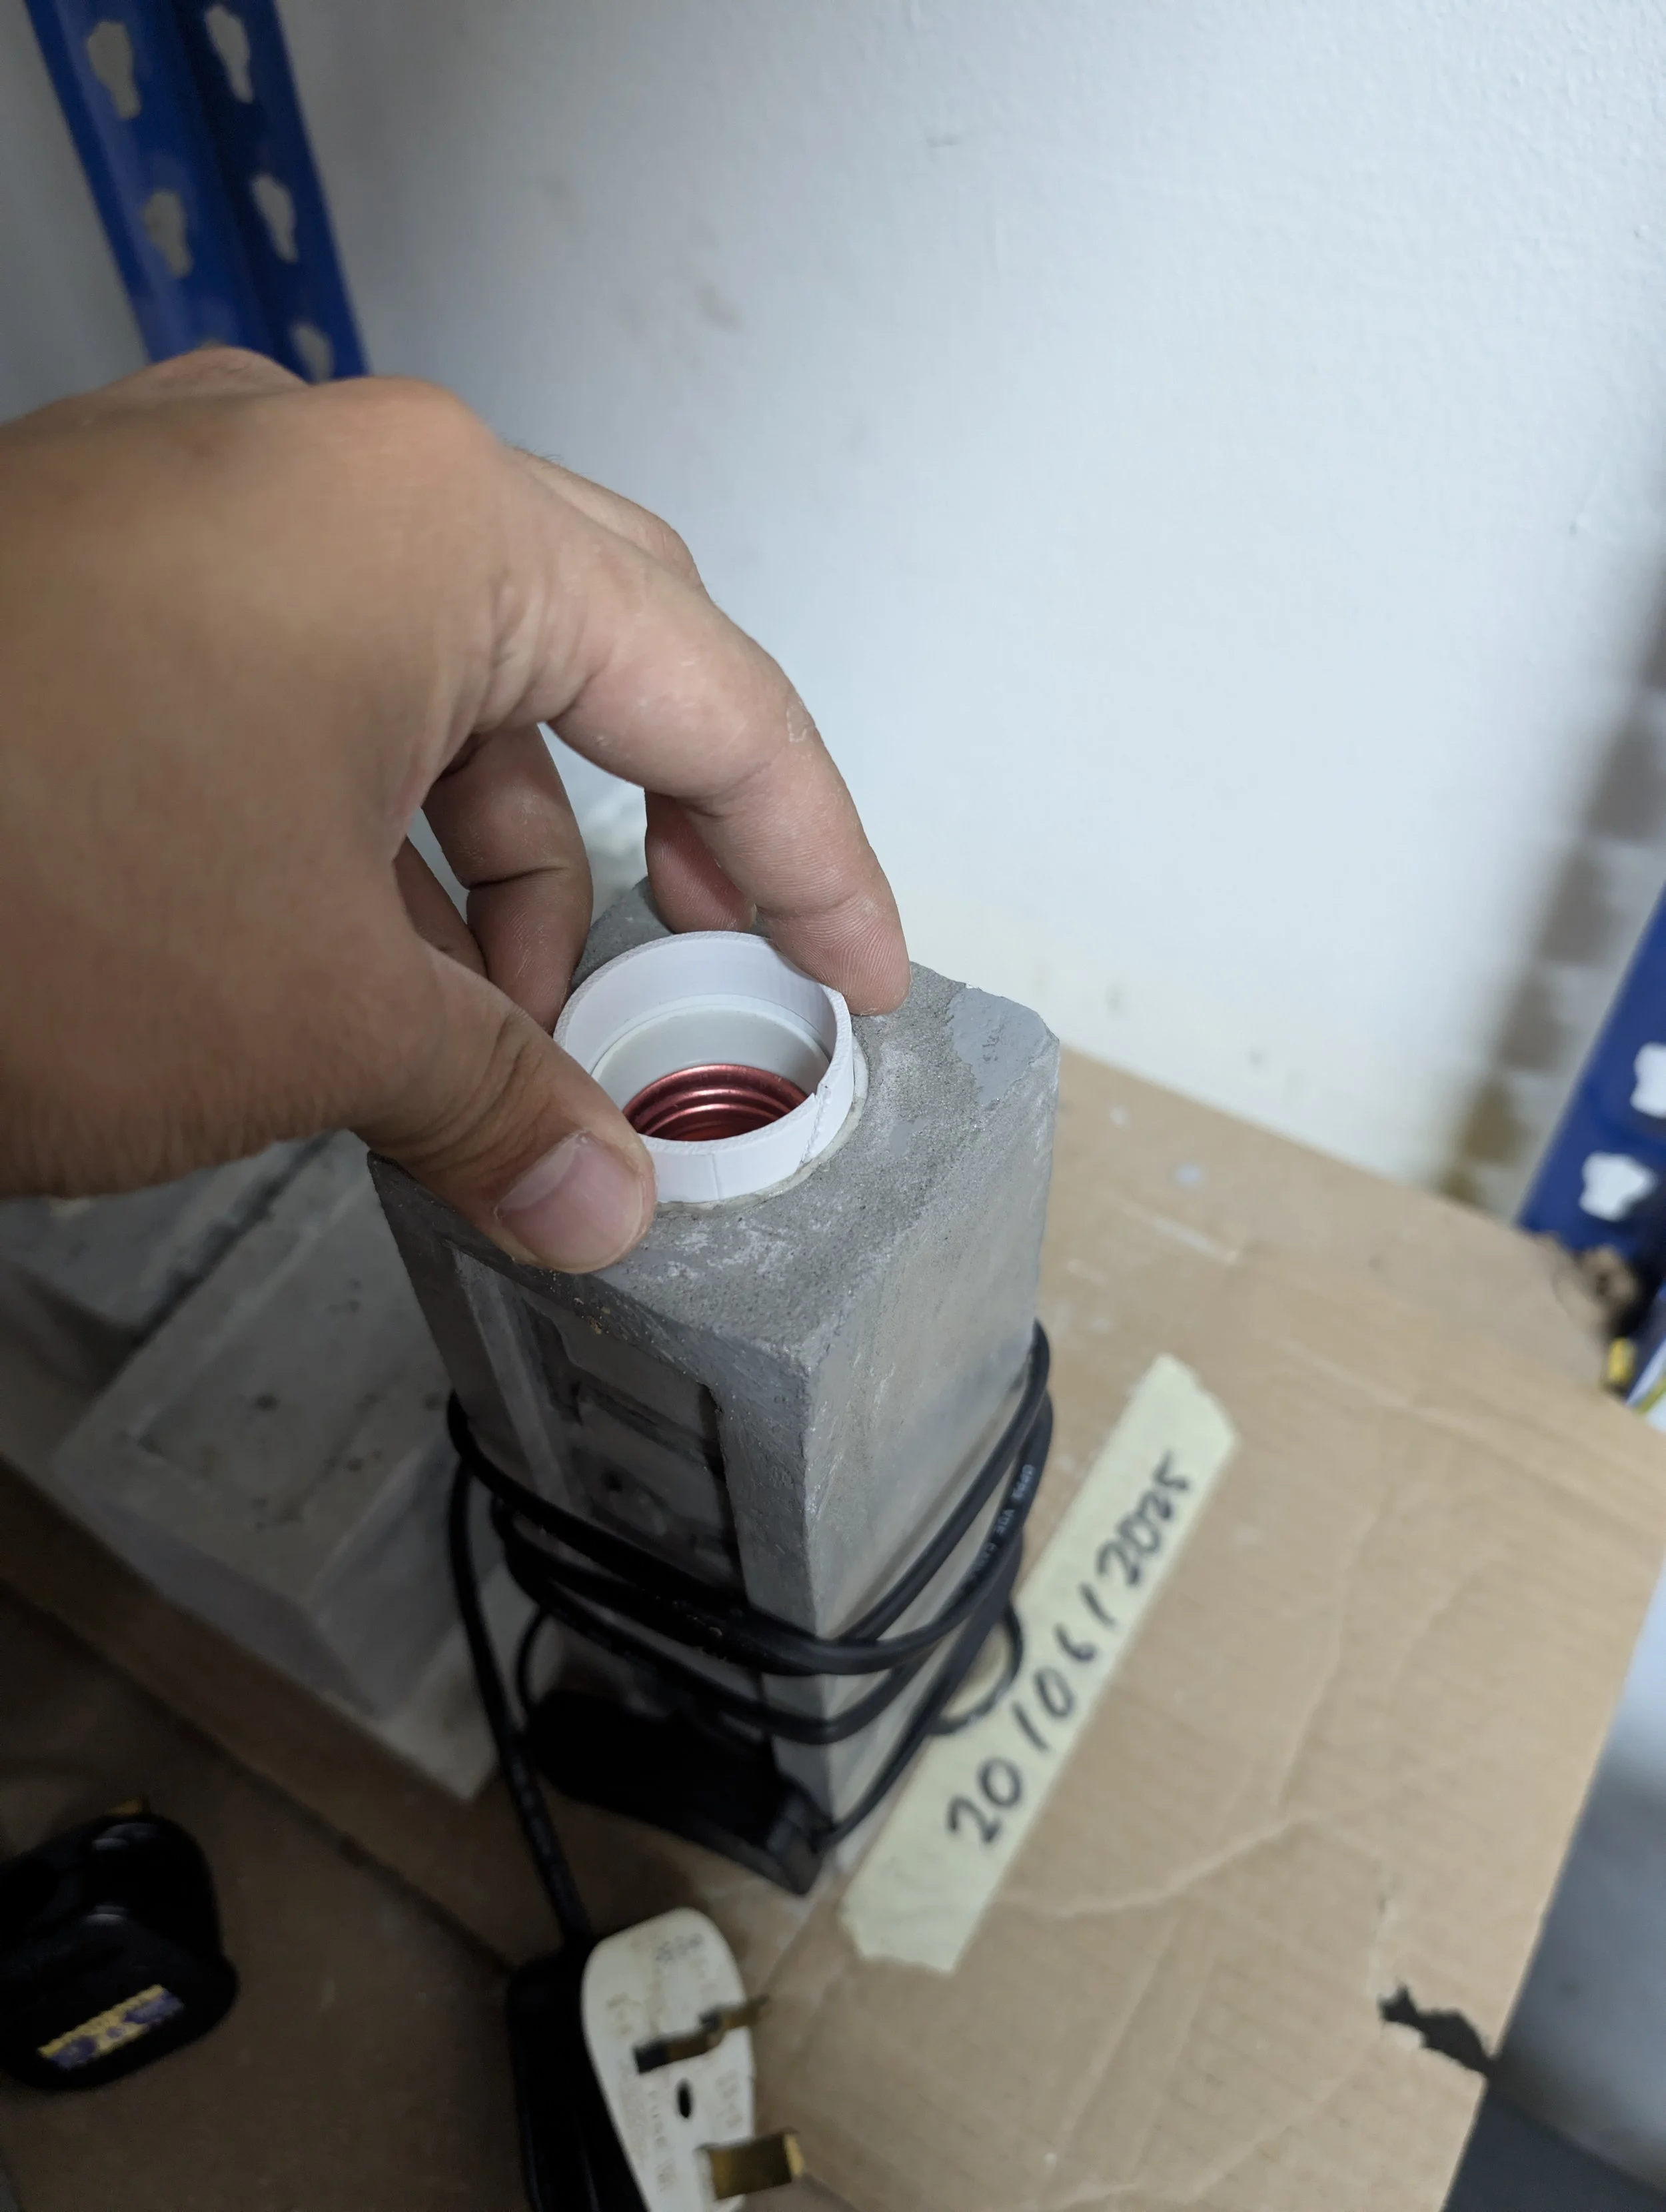
A secondary challenge arose with the original design's large hole at the top of the pipe, which was meant to fit a light bulb holder. However, the light bulb holder had an extra-wide section at the bottom, which caused it to wobble inside the hole. This was a problem because the length of the bulb created a mechanical advantage that would make the wobble even more pronounced. To fix this, I was tasked with designing a separate 3D-printed washer to fit between the two parts.
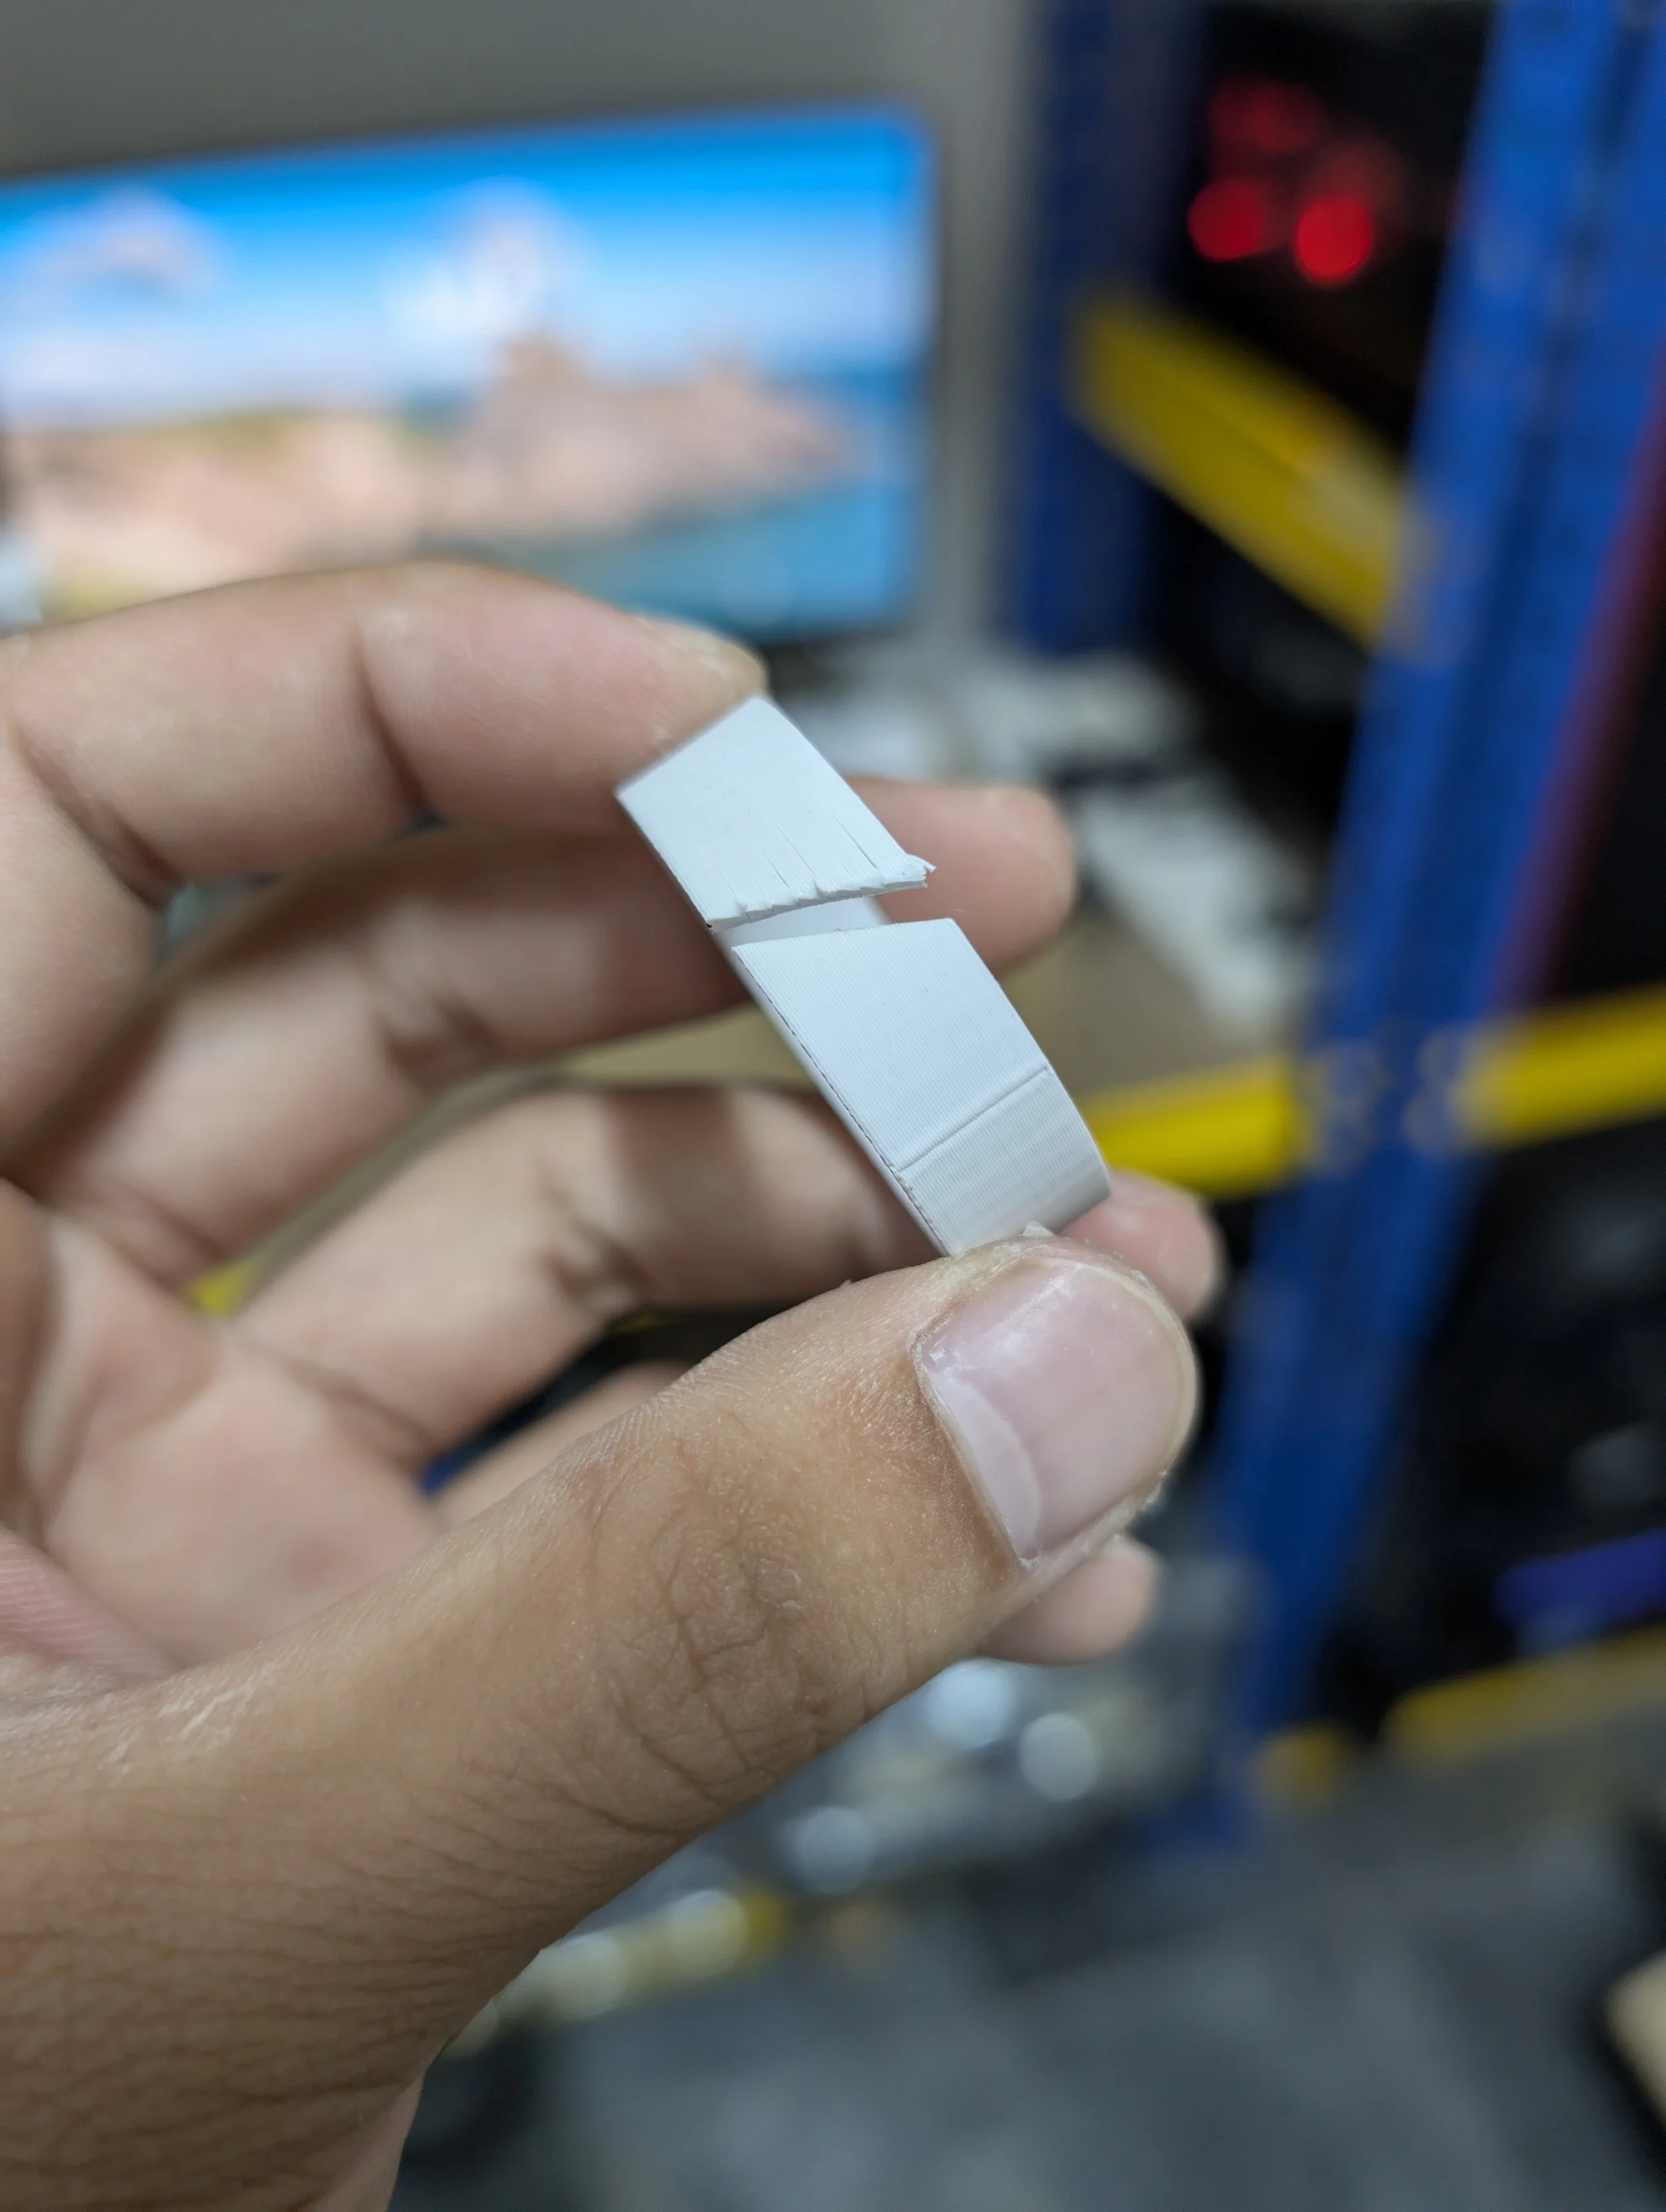
My first idea was to design a flexible ring with a slit, like a variable washer, and snap it into place. This didn't prove useful, as plastic's flexibility is not the same as a metal's malleability. It just wouldn't hold its shape. So, through several iterations, I finally created a solid ring that had the perfect fit. It was a great lesson in the importance of iteration and understanding the unique properties of a material.
To make the whole assembly more reliable, I also added a few extra features to the pipe itself, including a version number, a "top" label for brainless assembly, and a middle point to help with alignment. This was crucial for ensuring the light bulb was perfectly centered, a perfect example of how a small design change can dramatically reduce human error in the assembly process.
Phase 6: The Challenge of Packaging
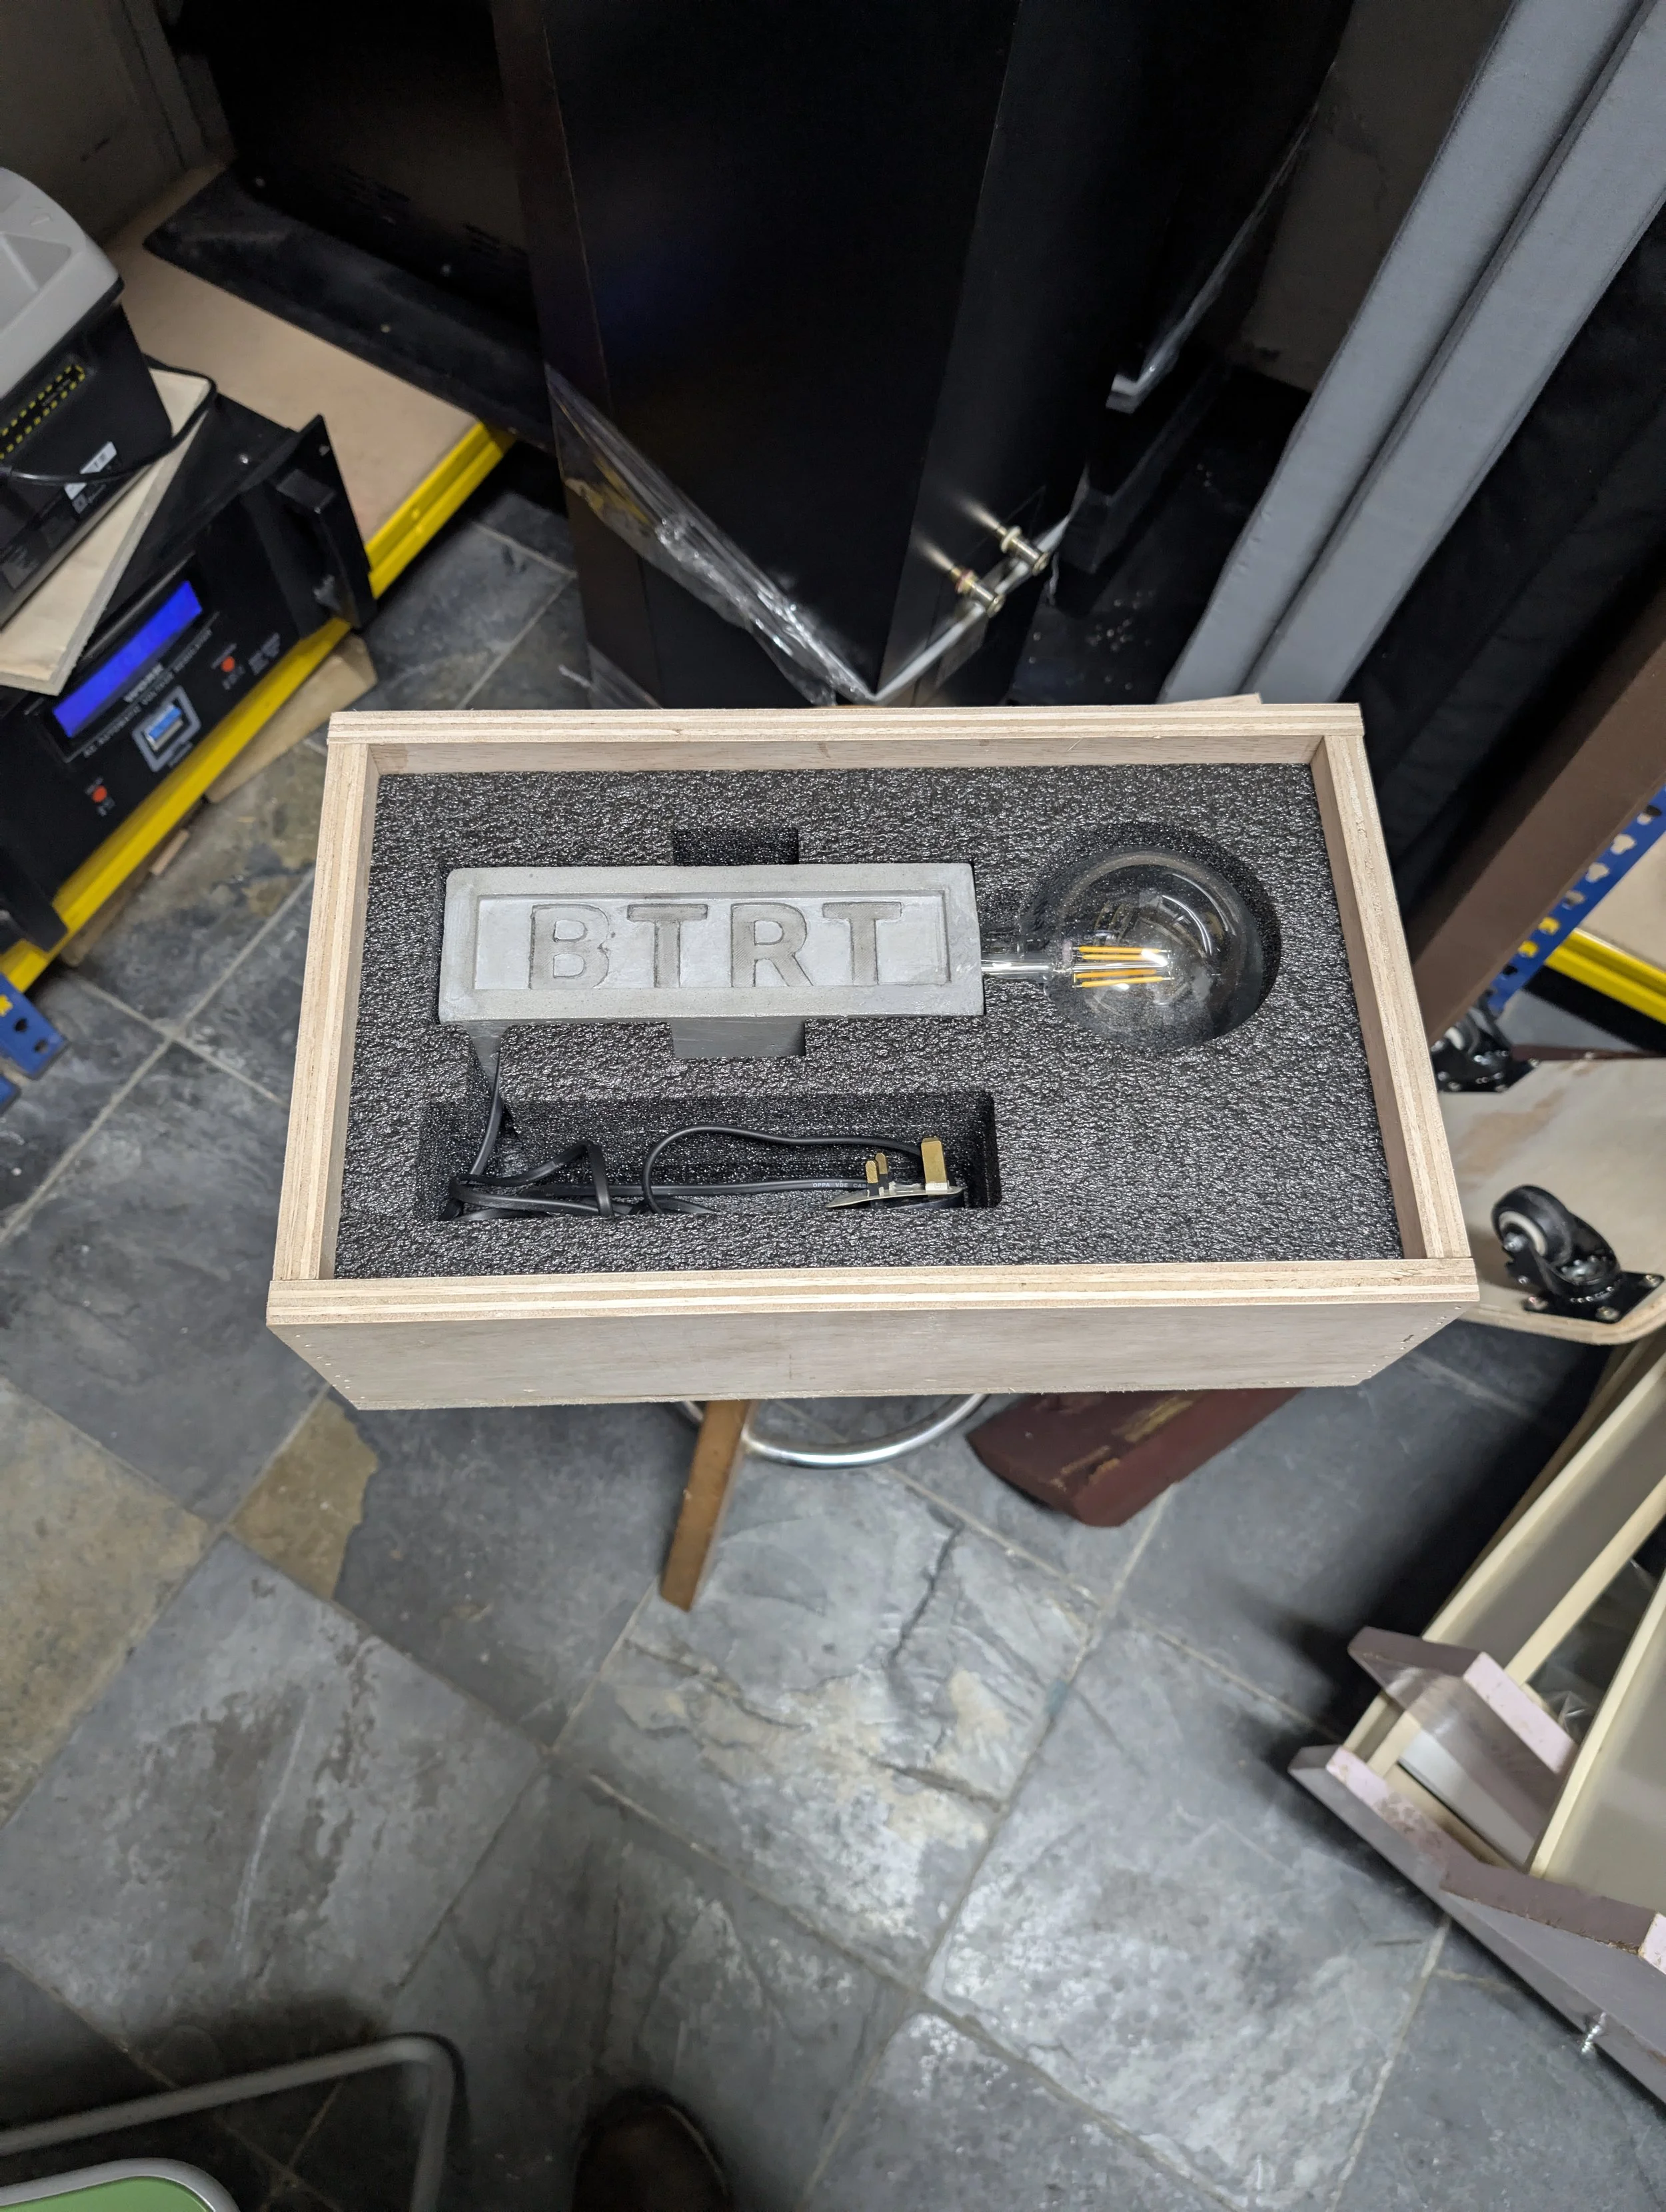
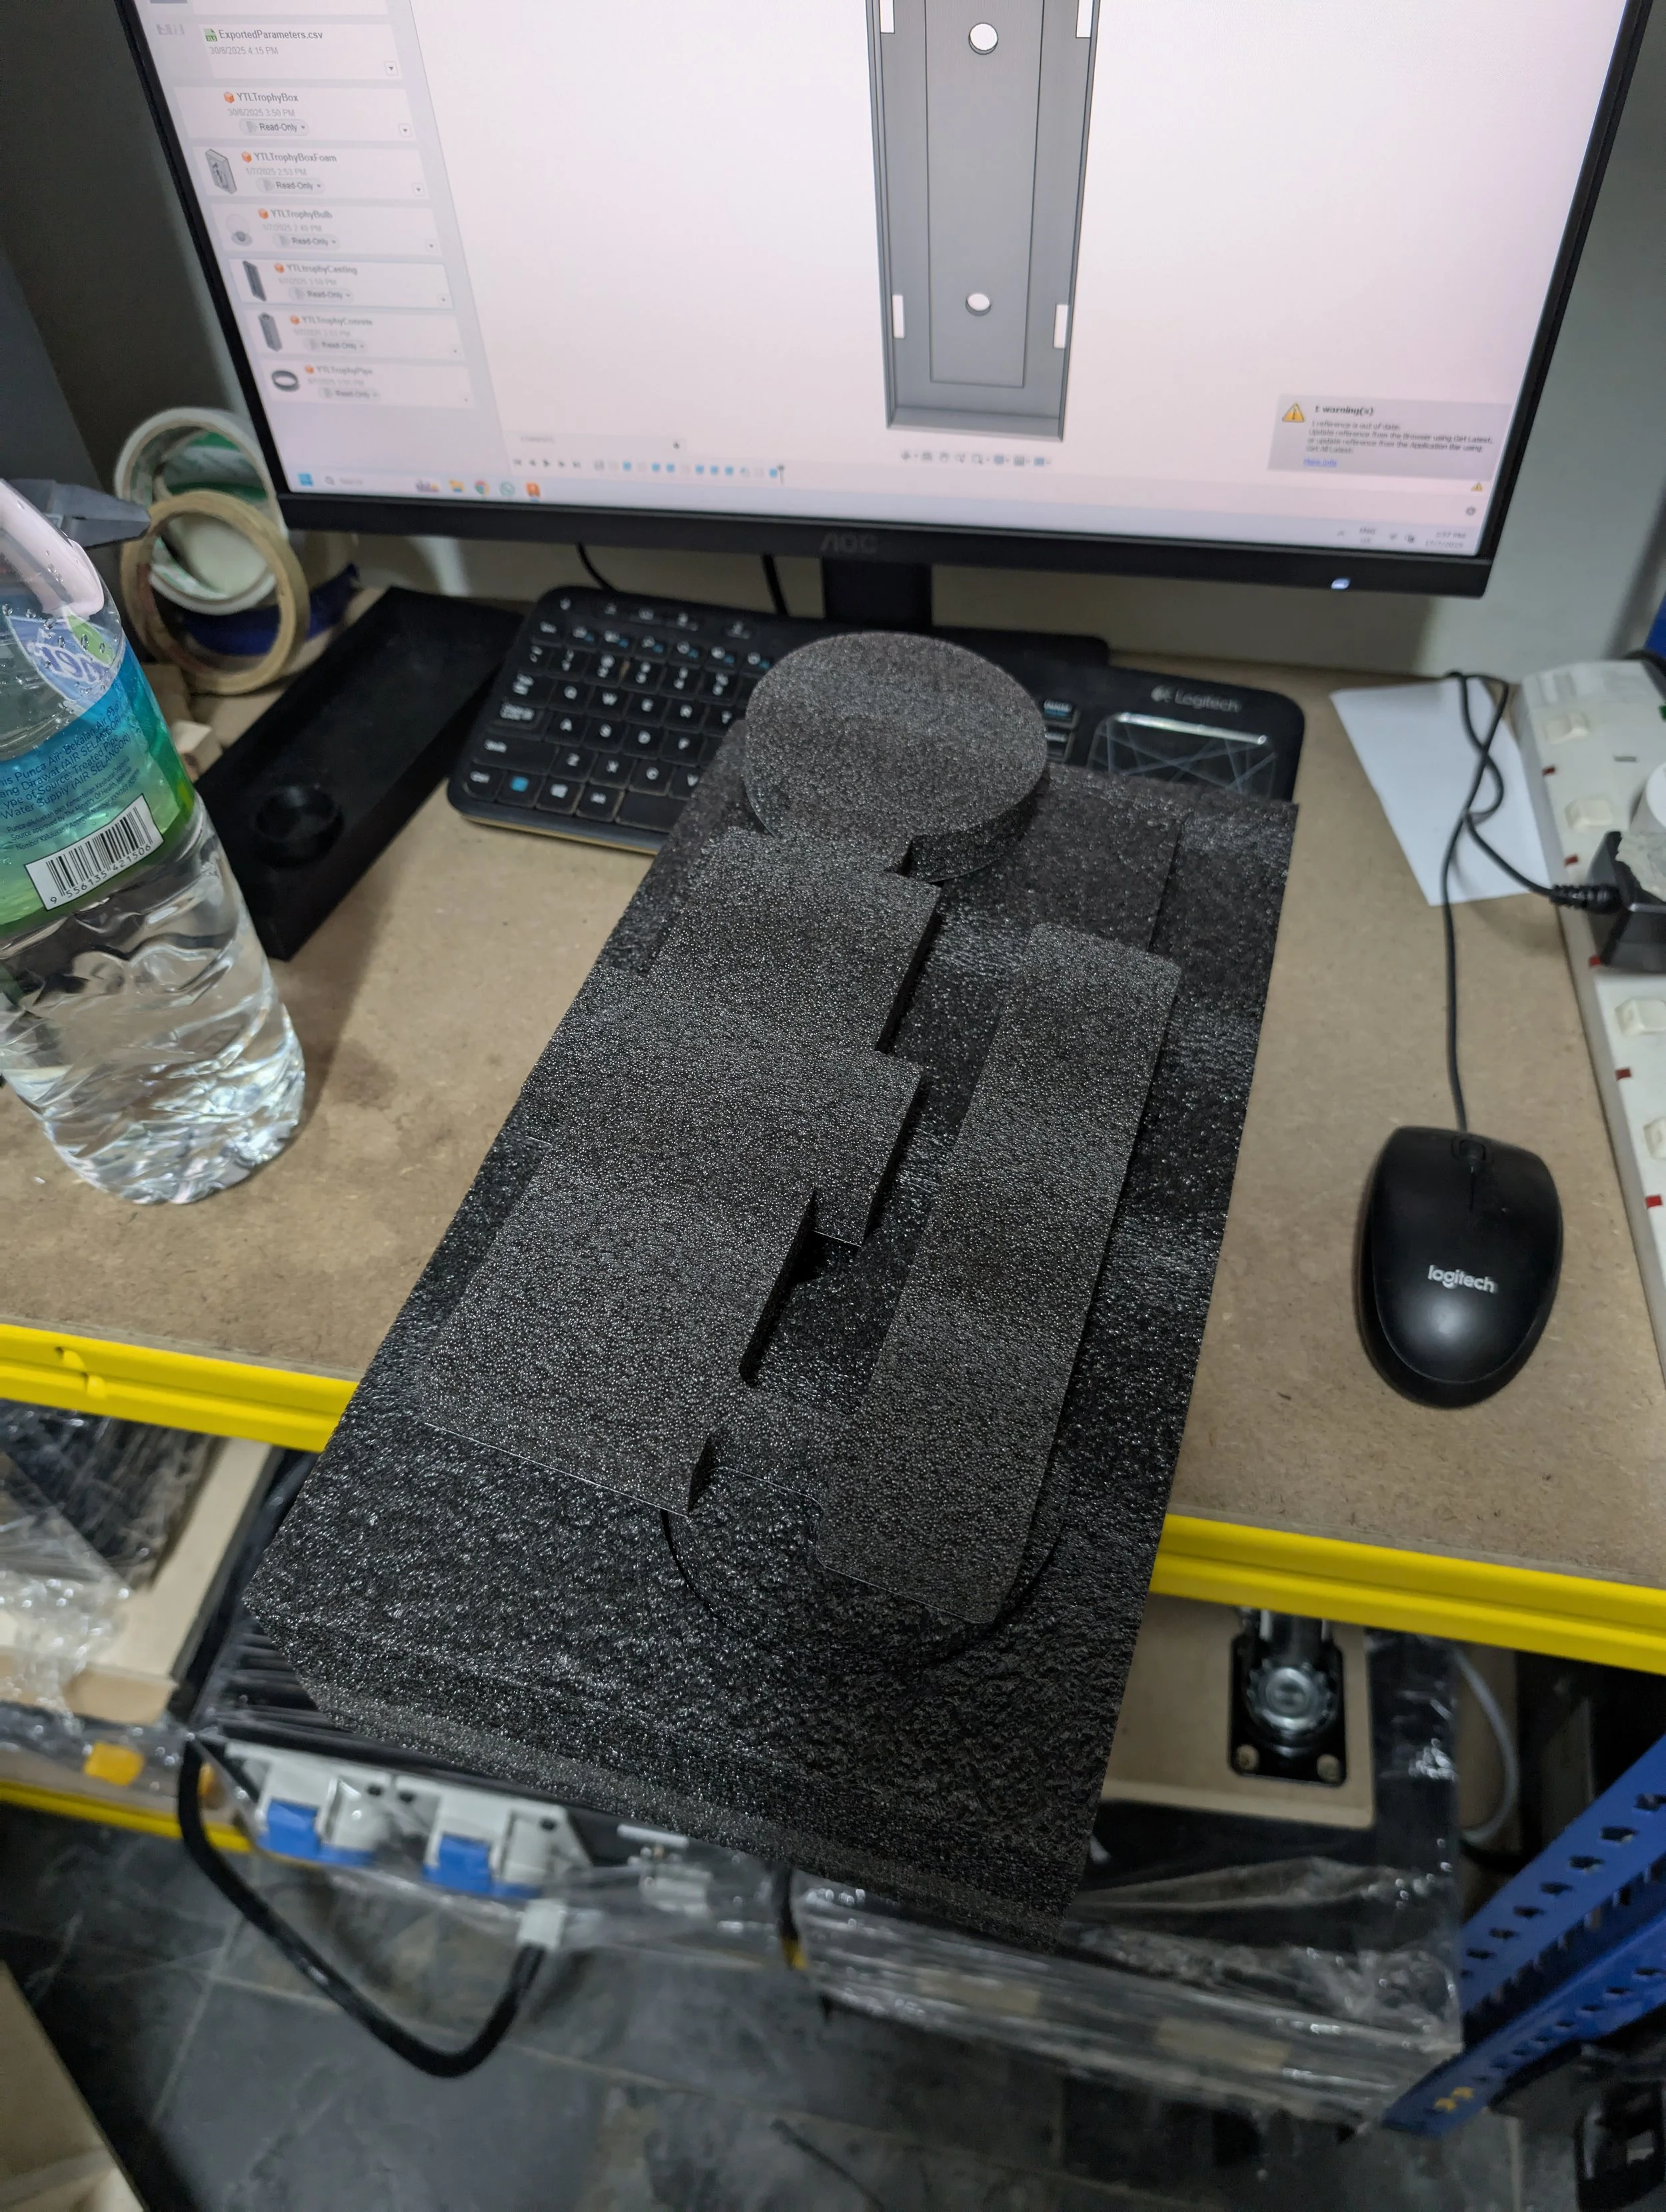
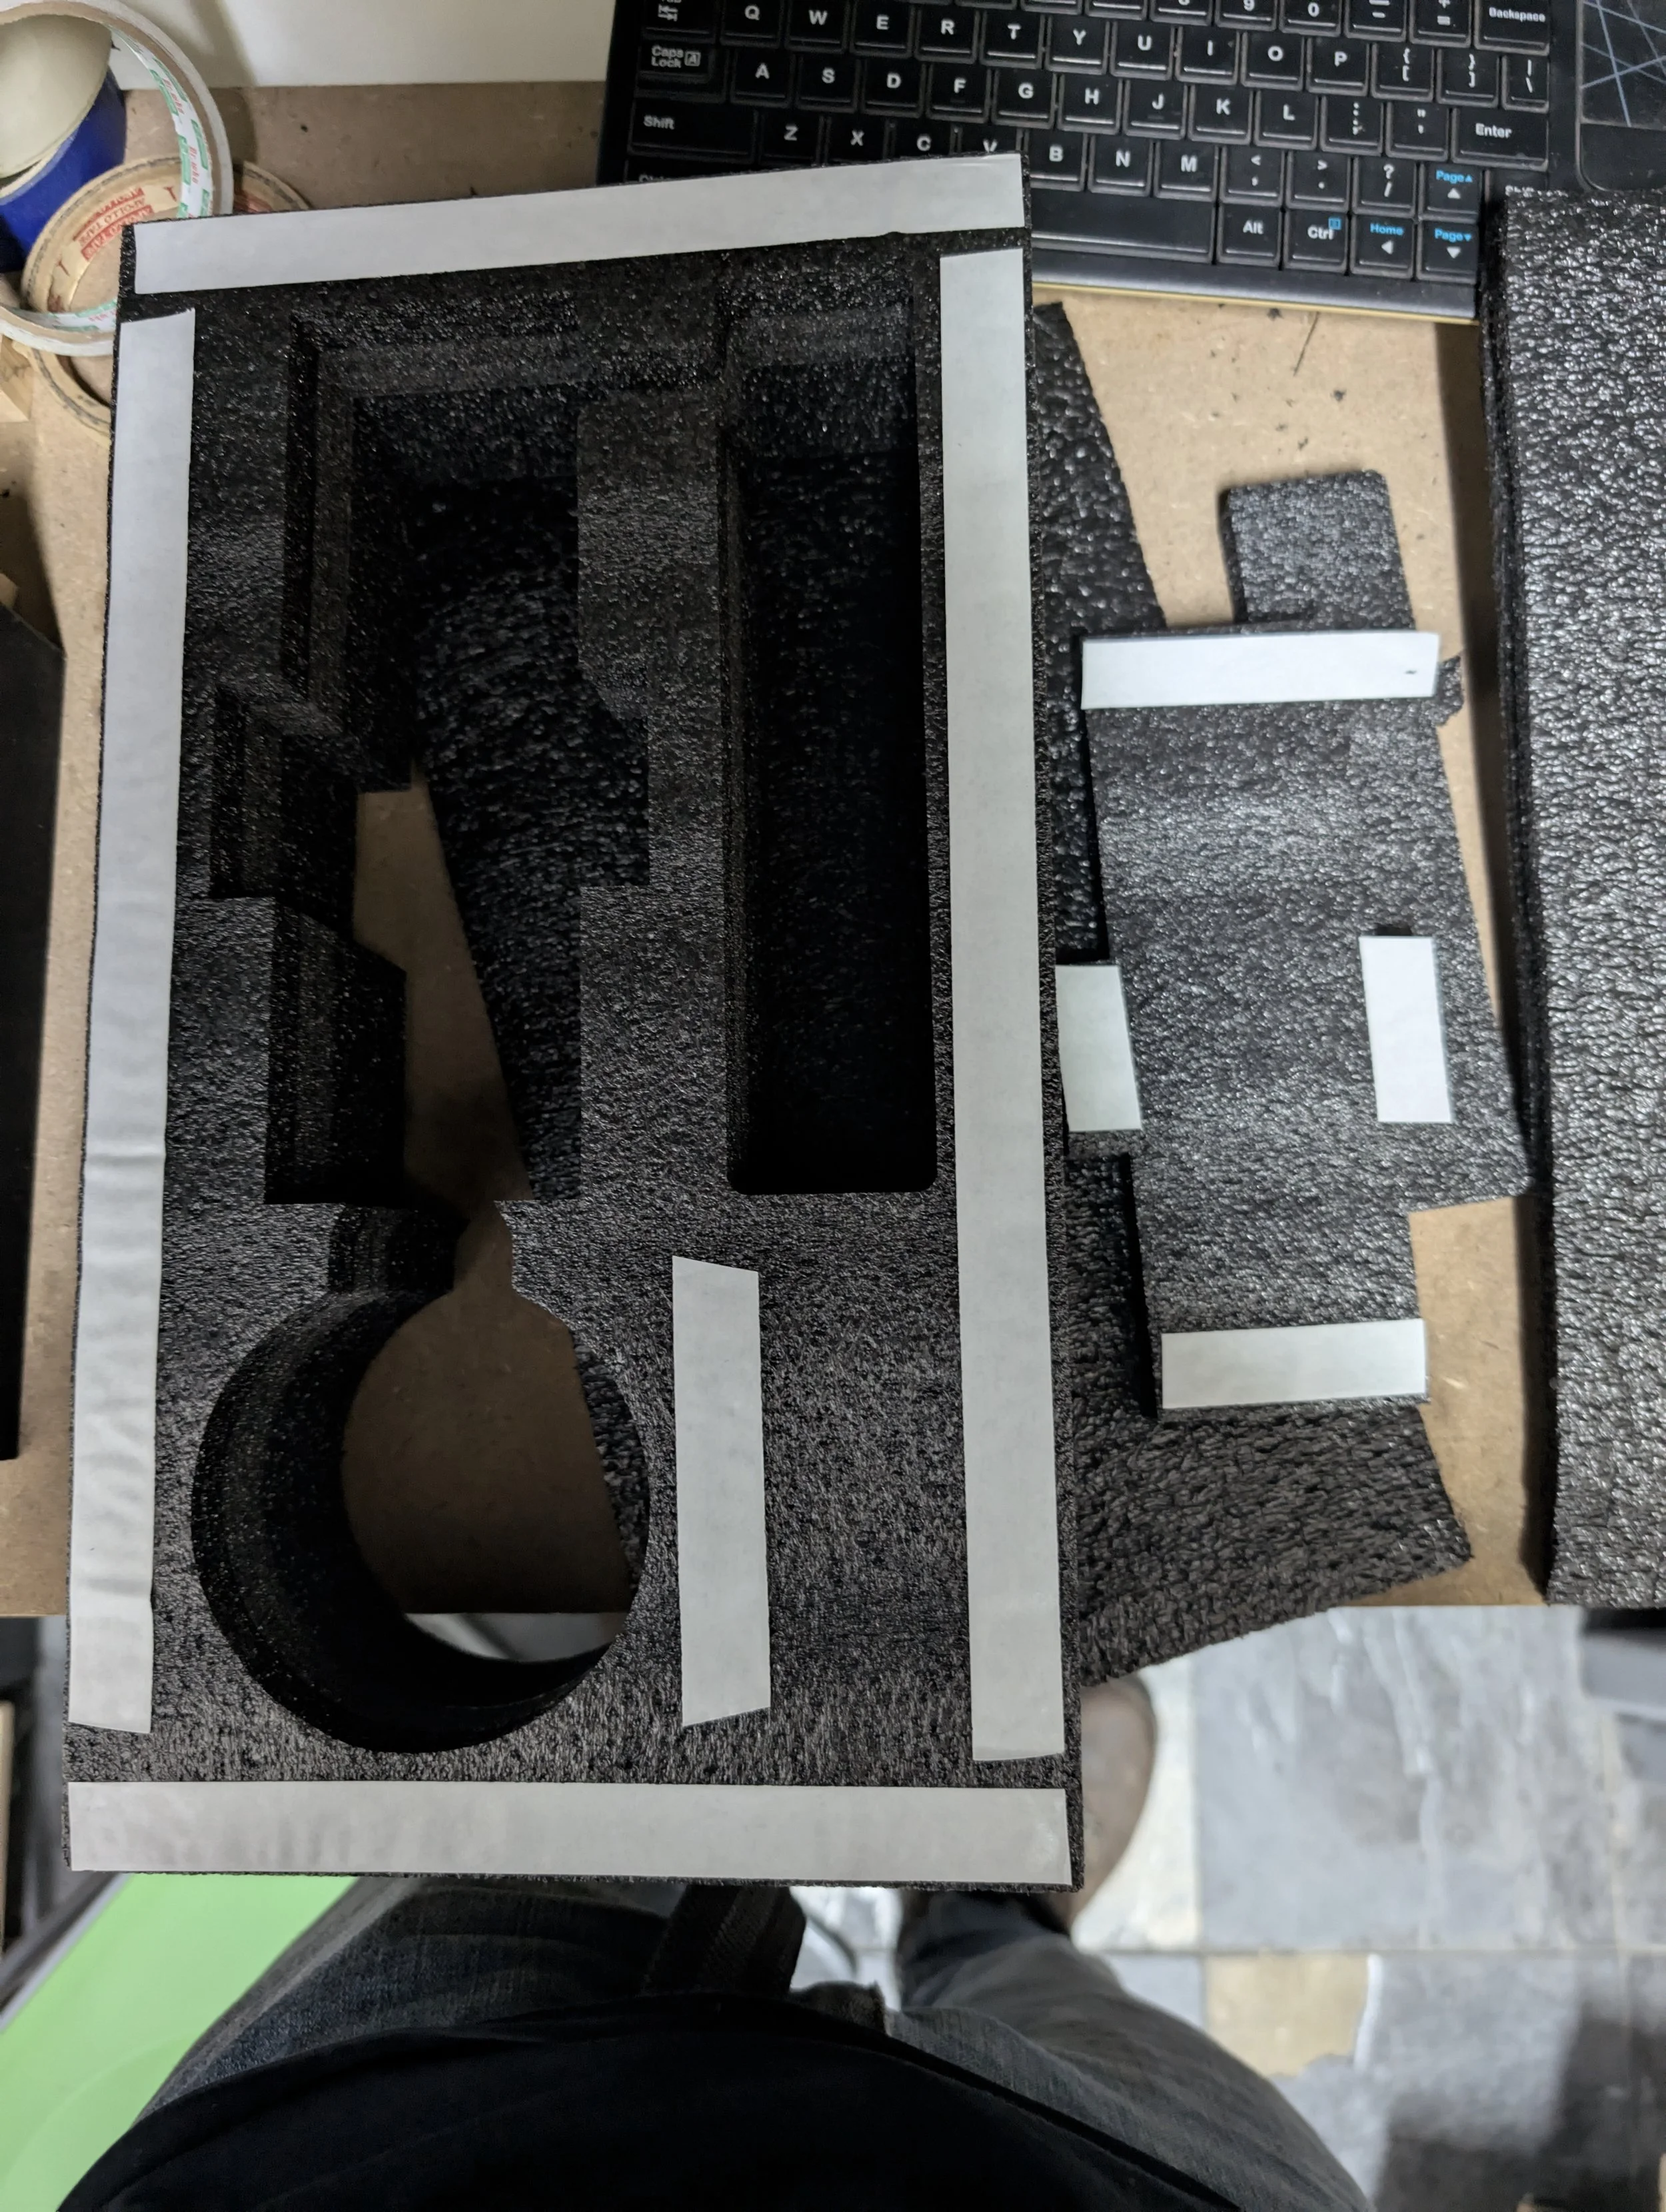
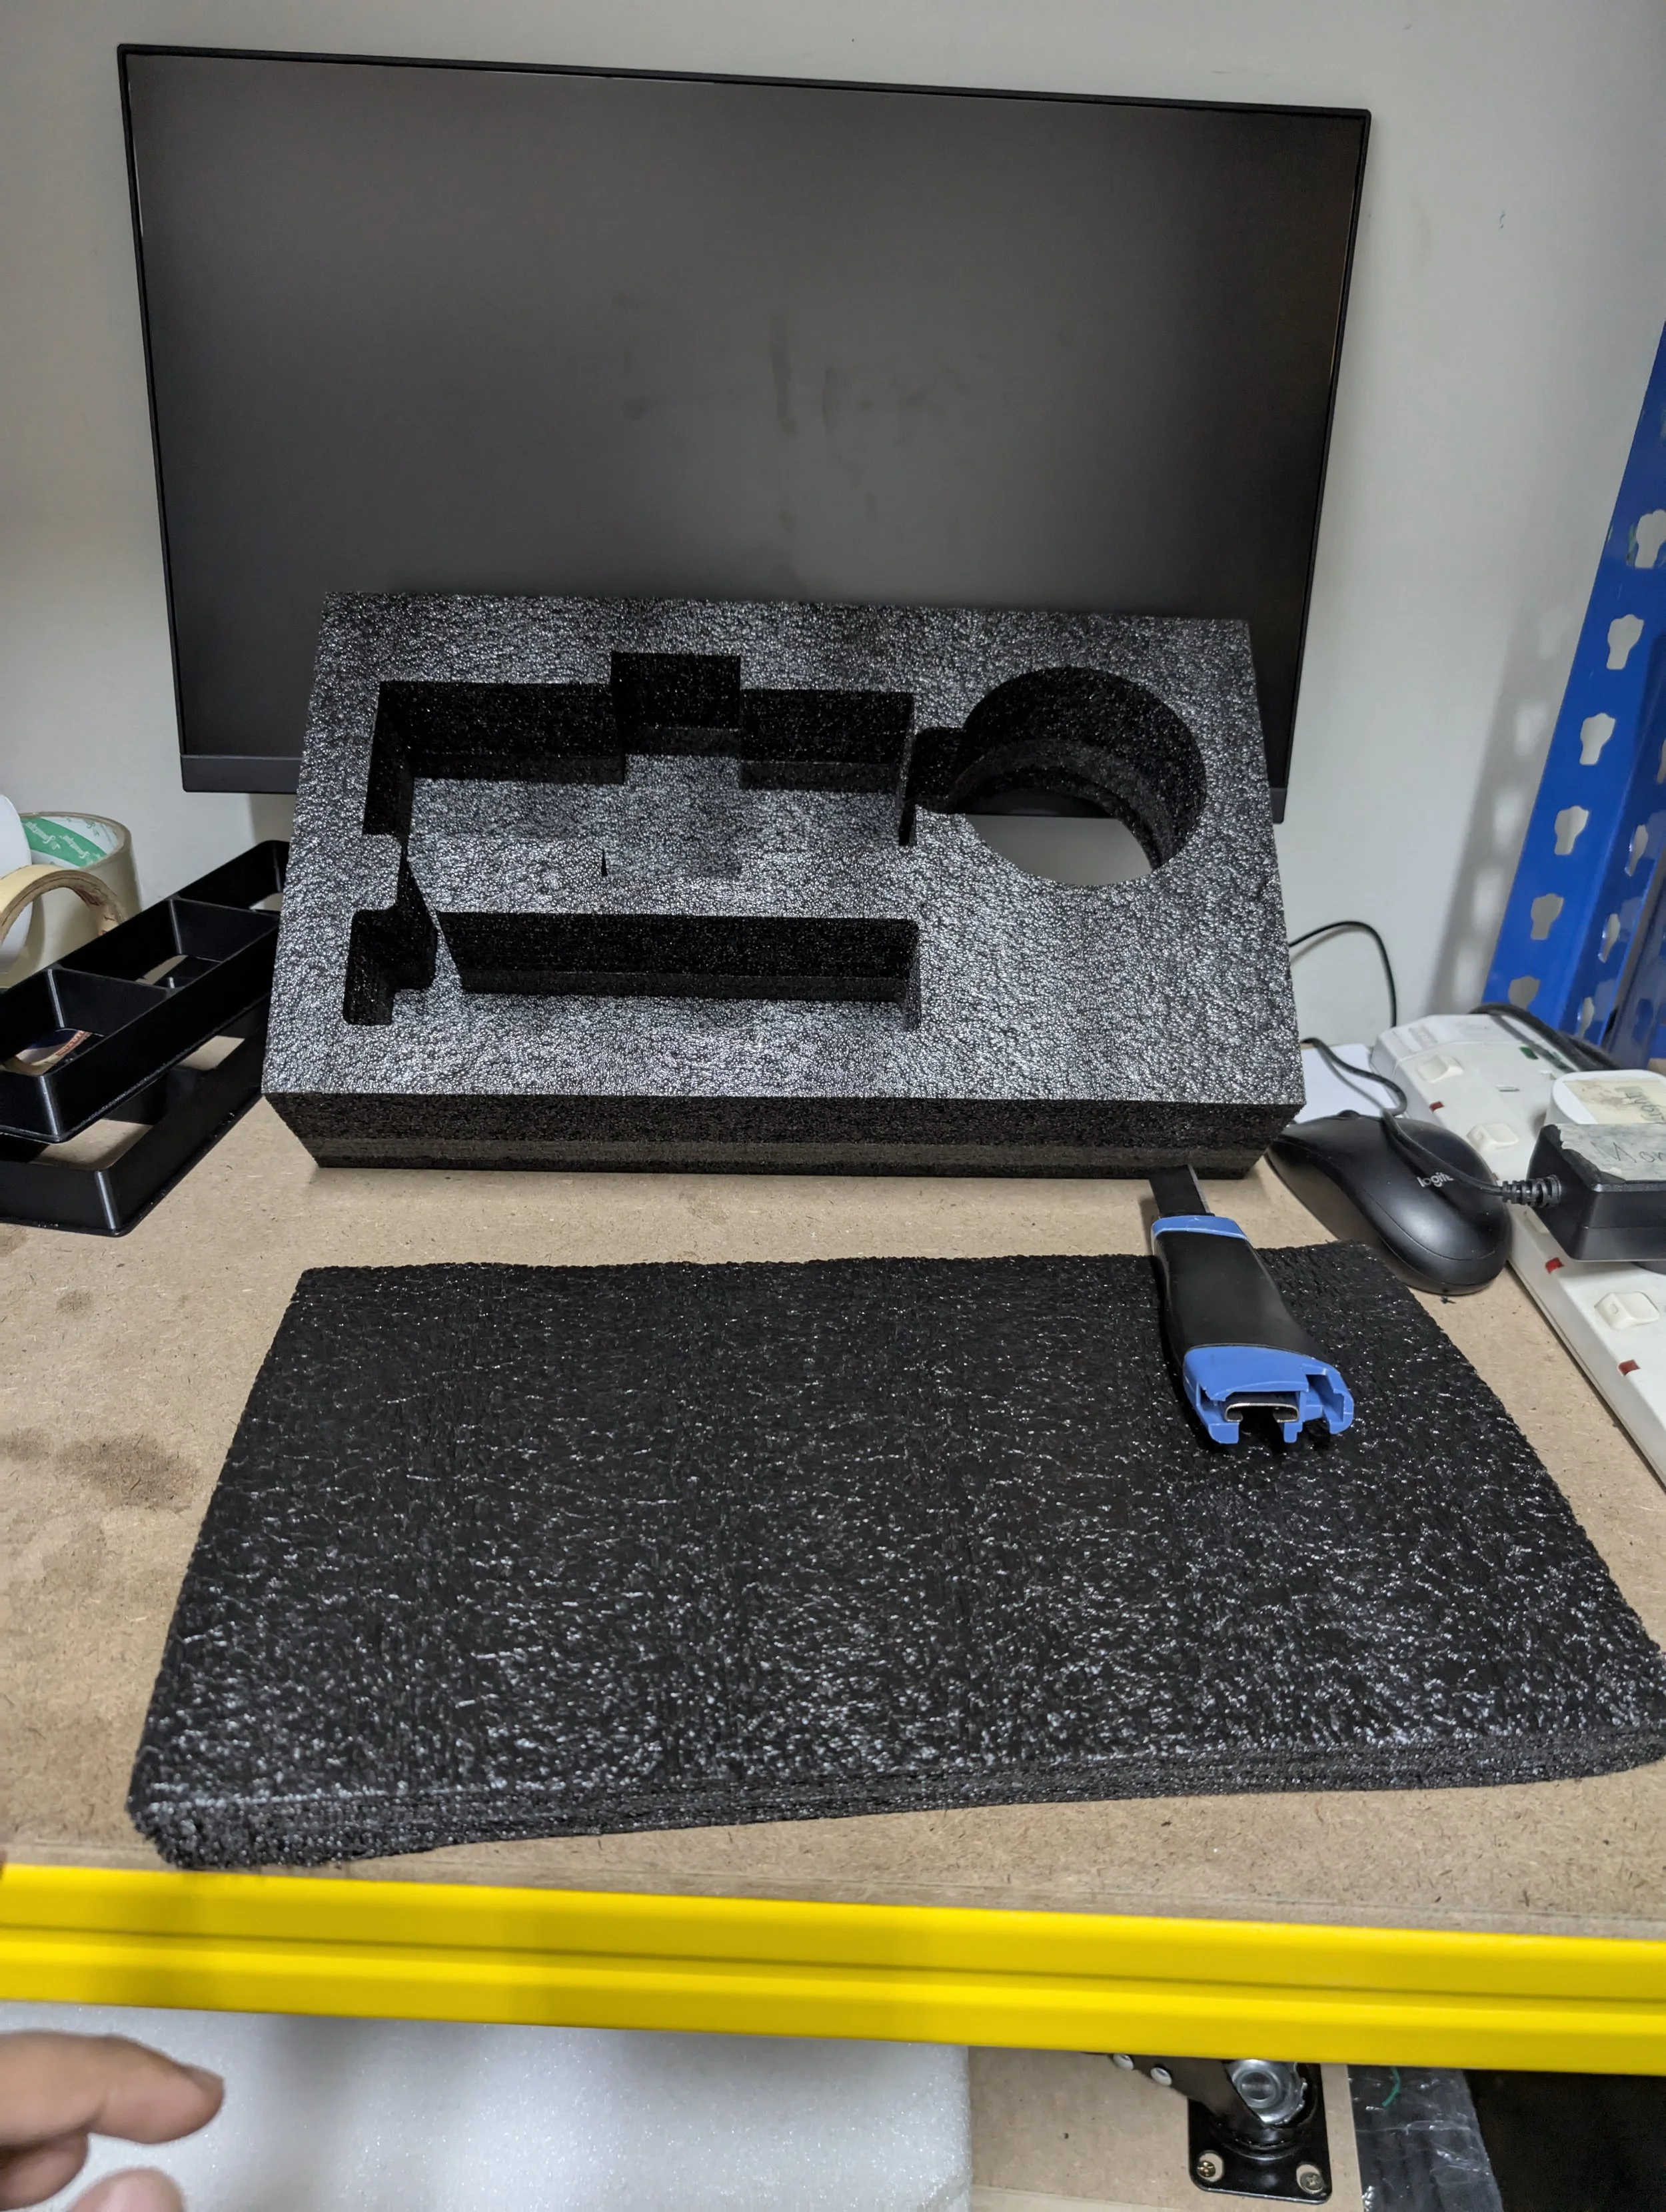
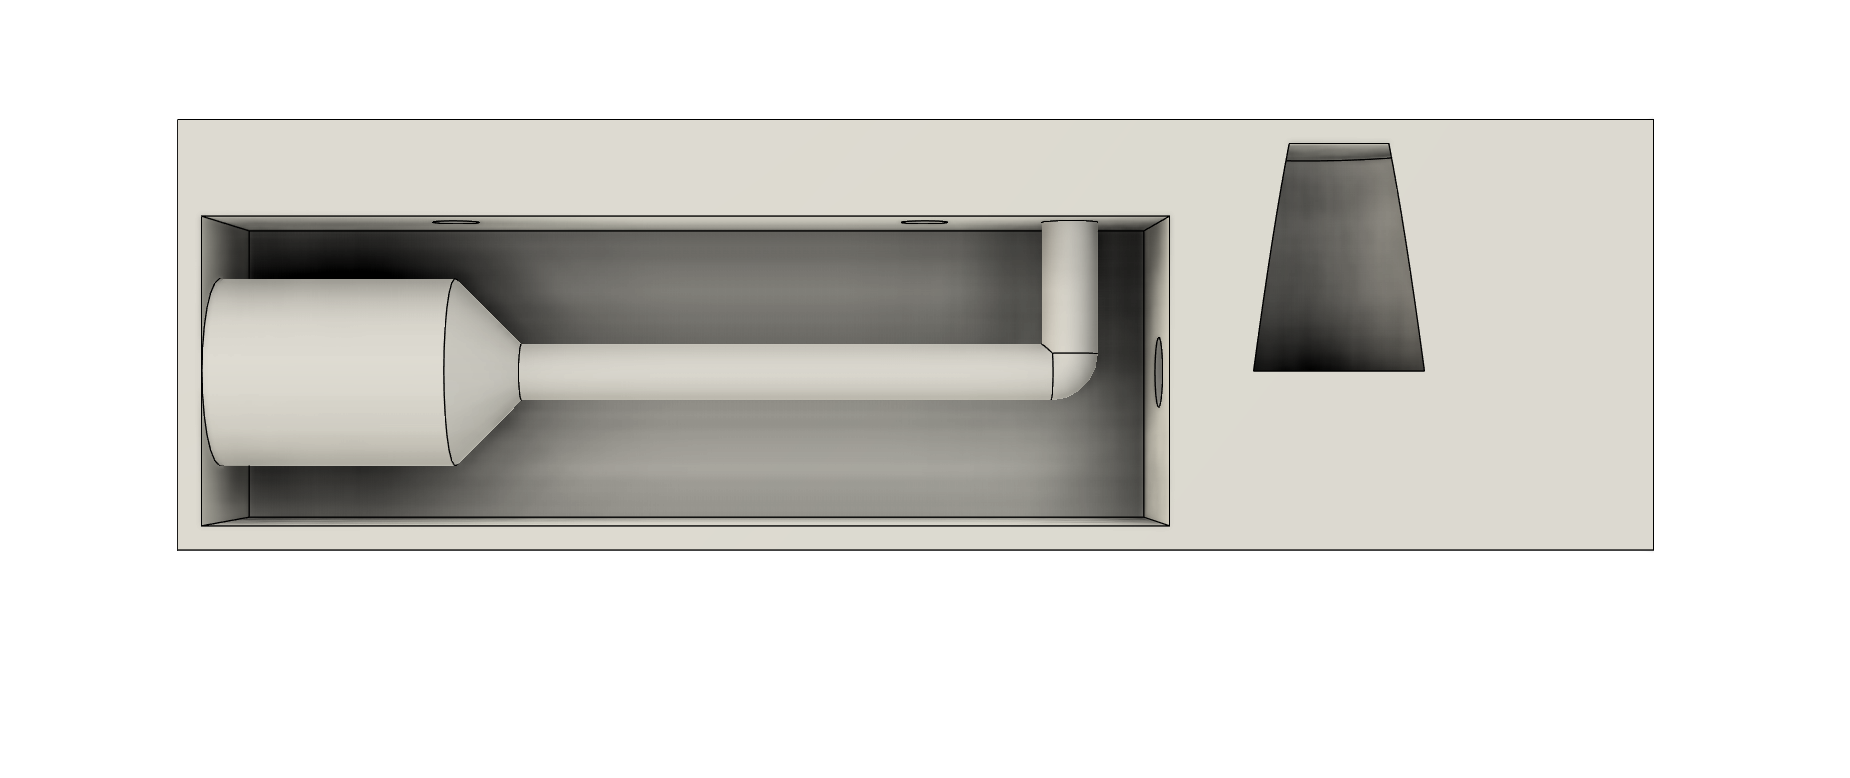
Designing the packaging to protect the trophy and its fragile bulb was my final challenge. The process began with a frustrating realization: before I could even get a sample from the manufacturer, I had to make the foam packaging myself. This proved to be a real struggle, as getting a perfectly flat foam was nearly impossible with just a knife. This hands-on experience made it clear why my boss wanted to outsource this part of the job.
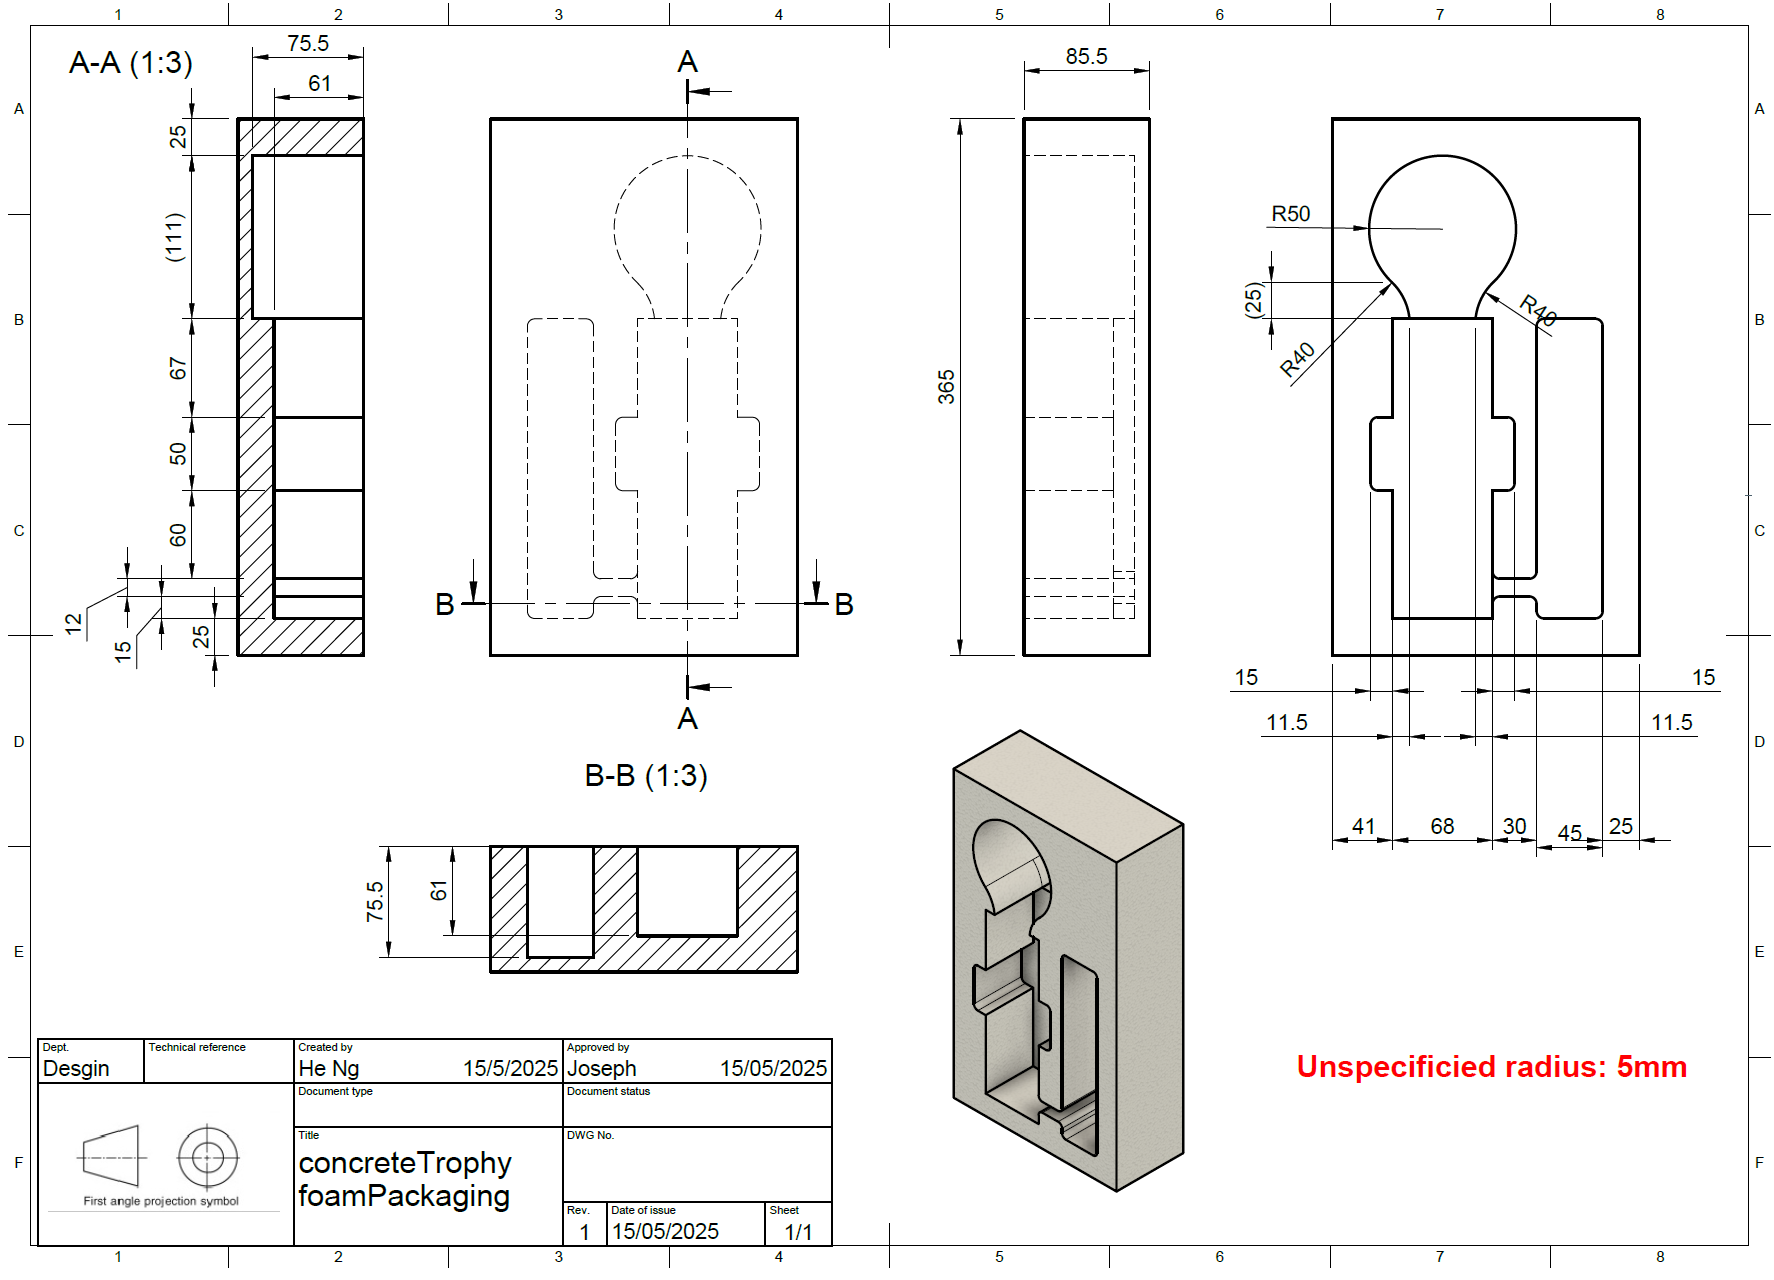
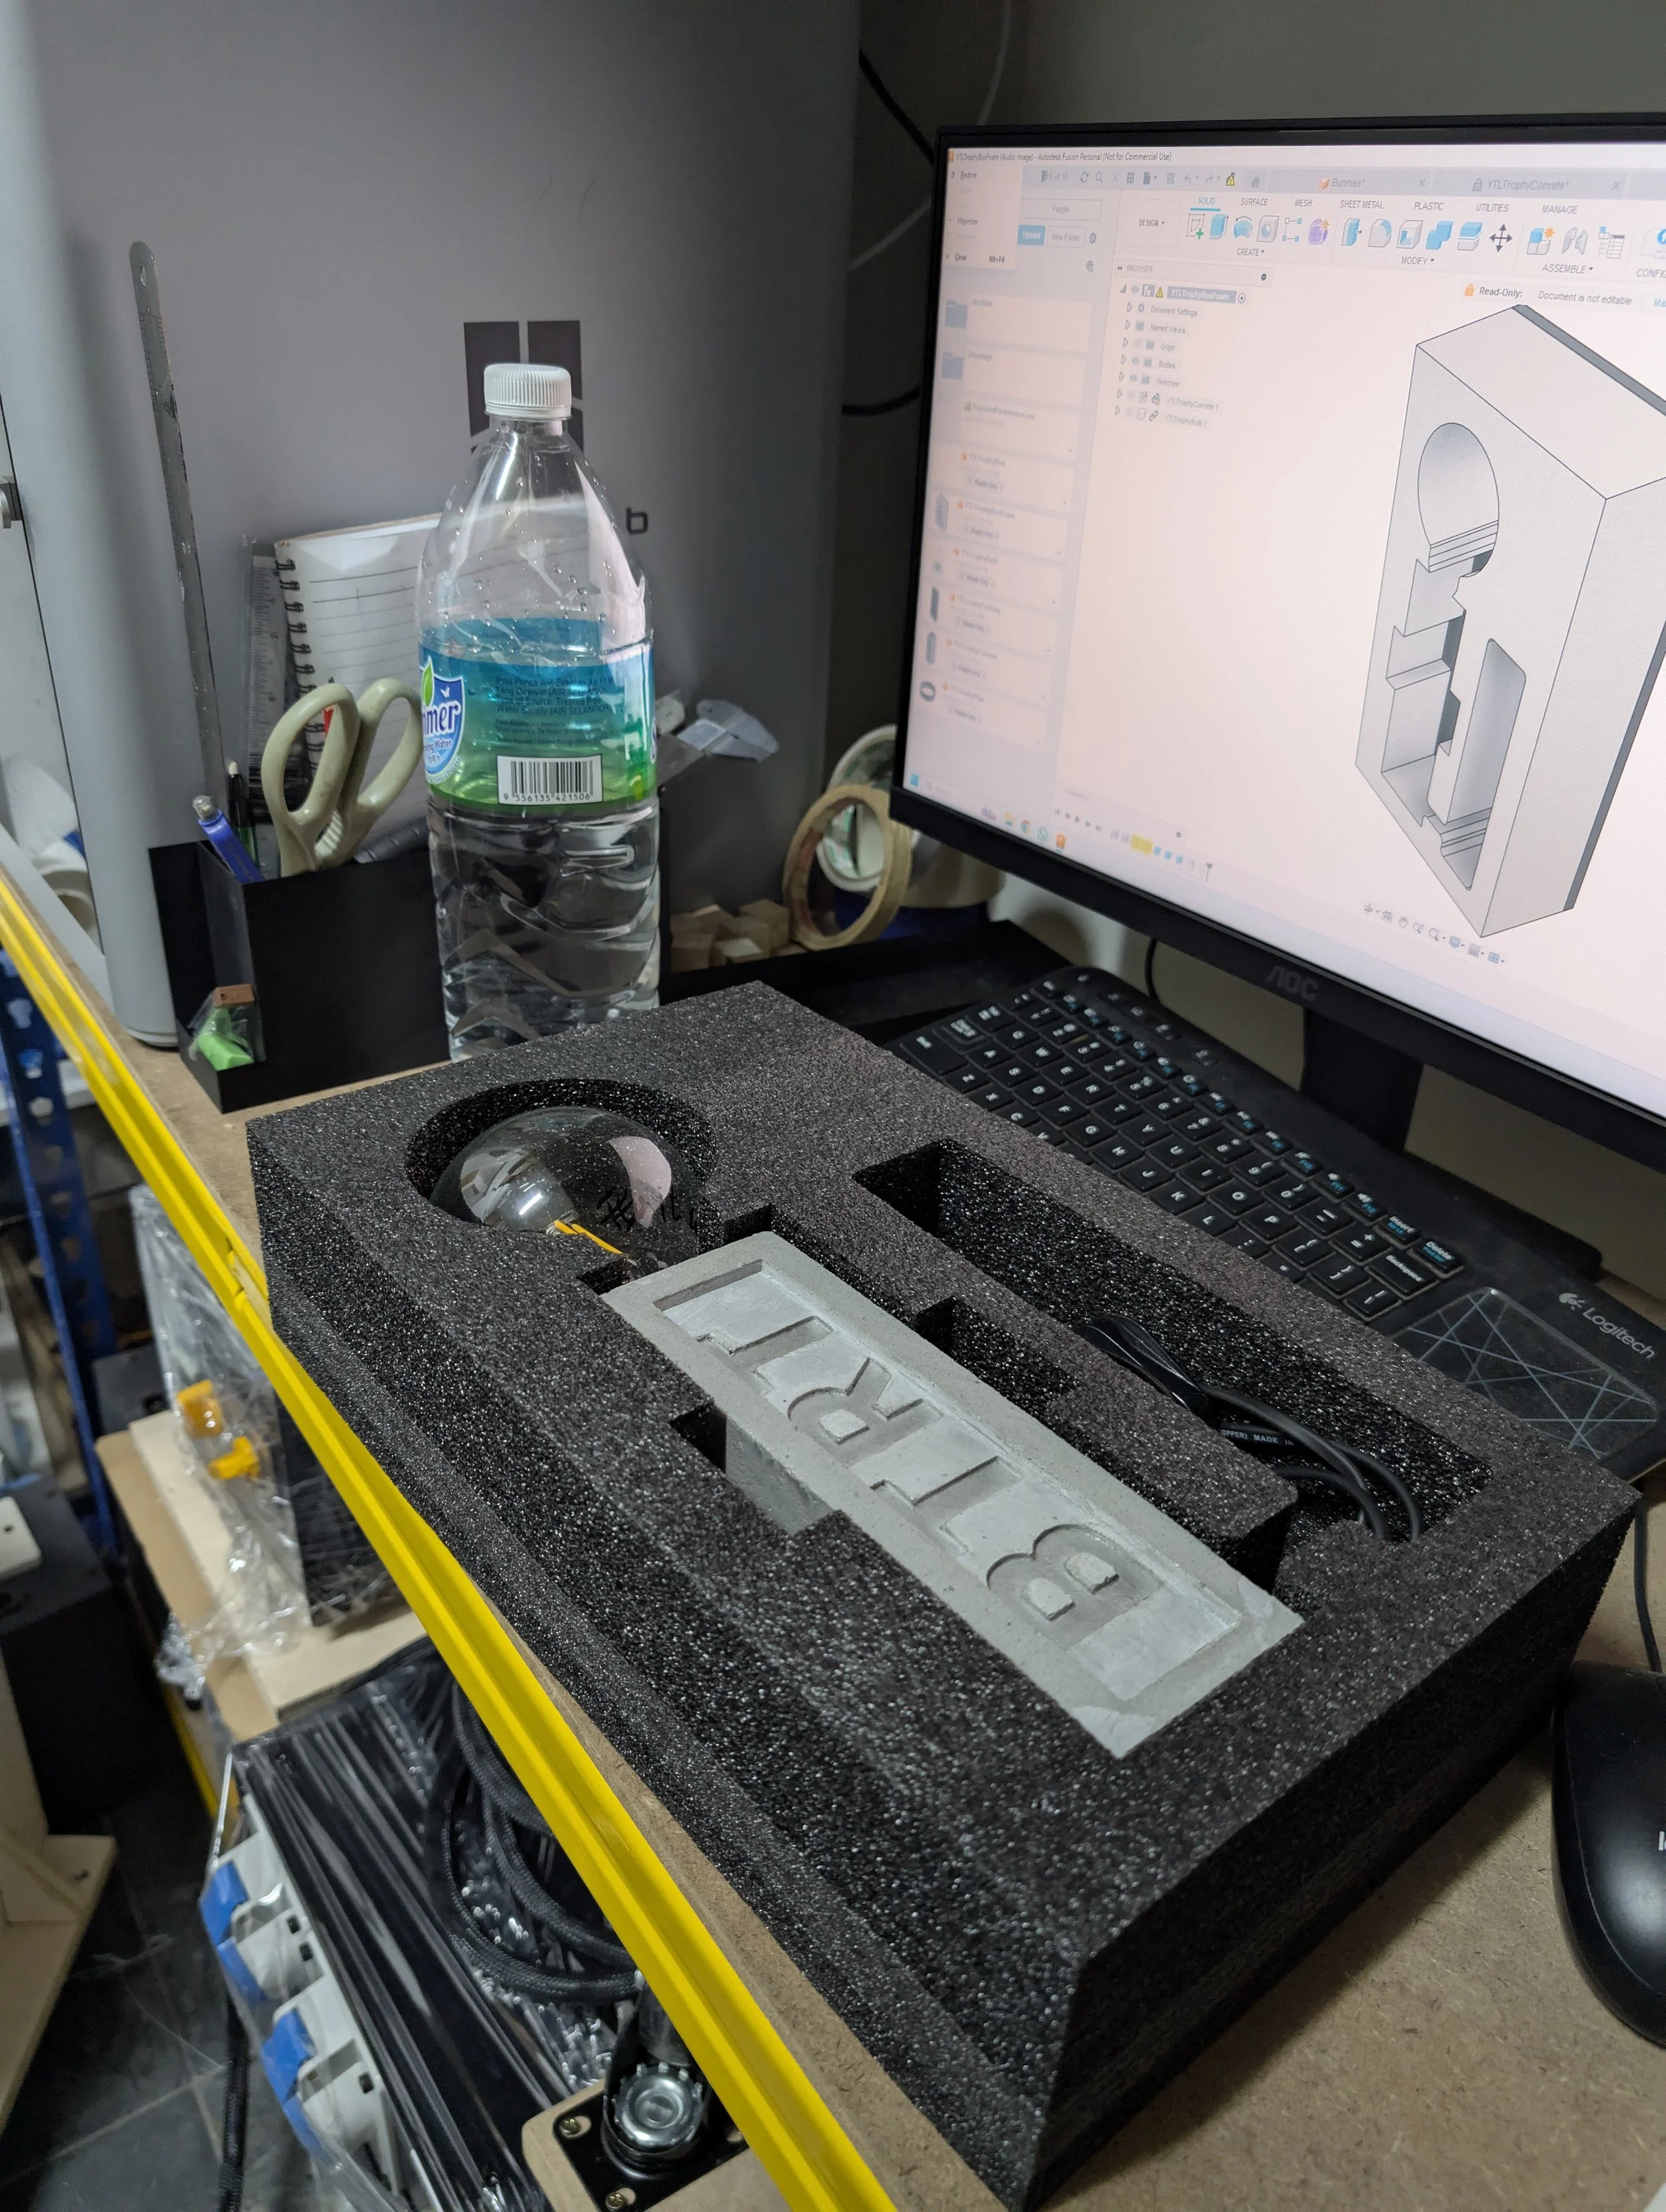
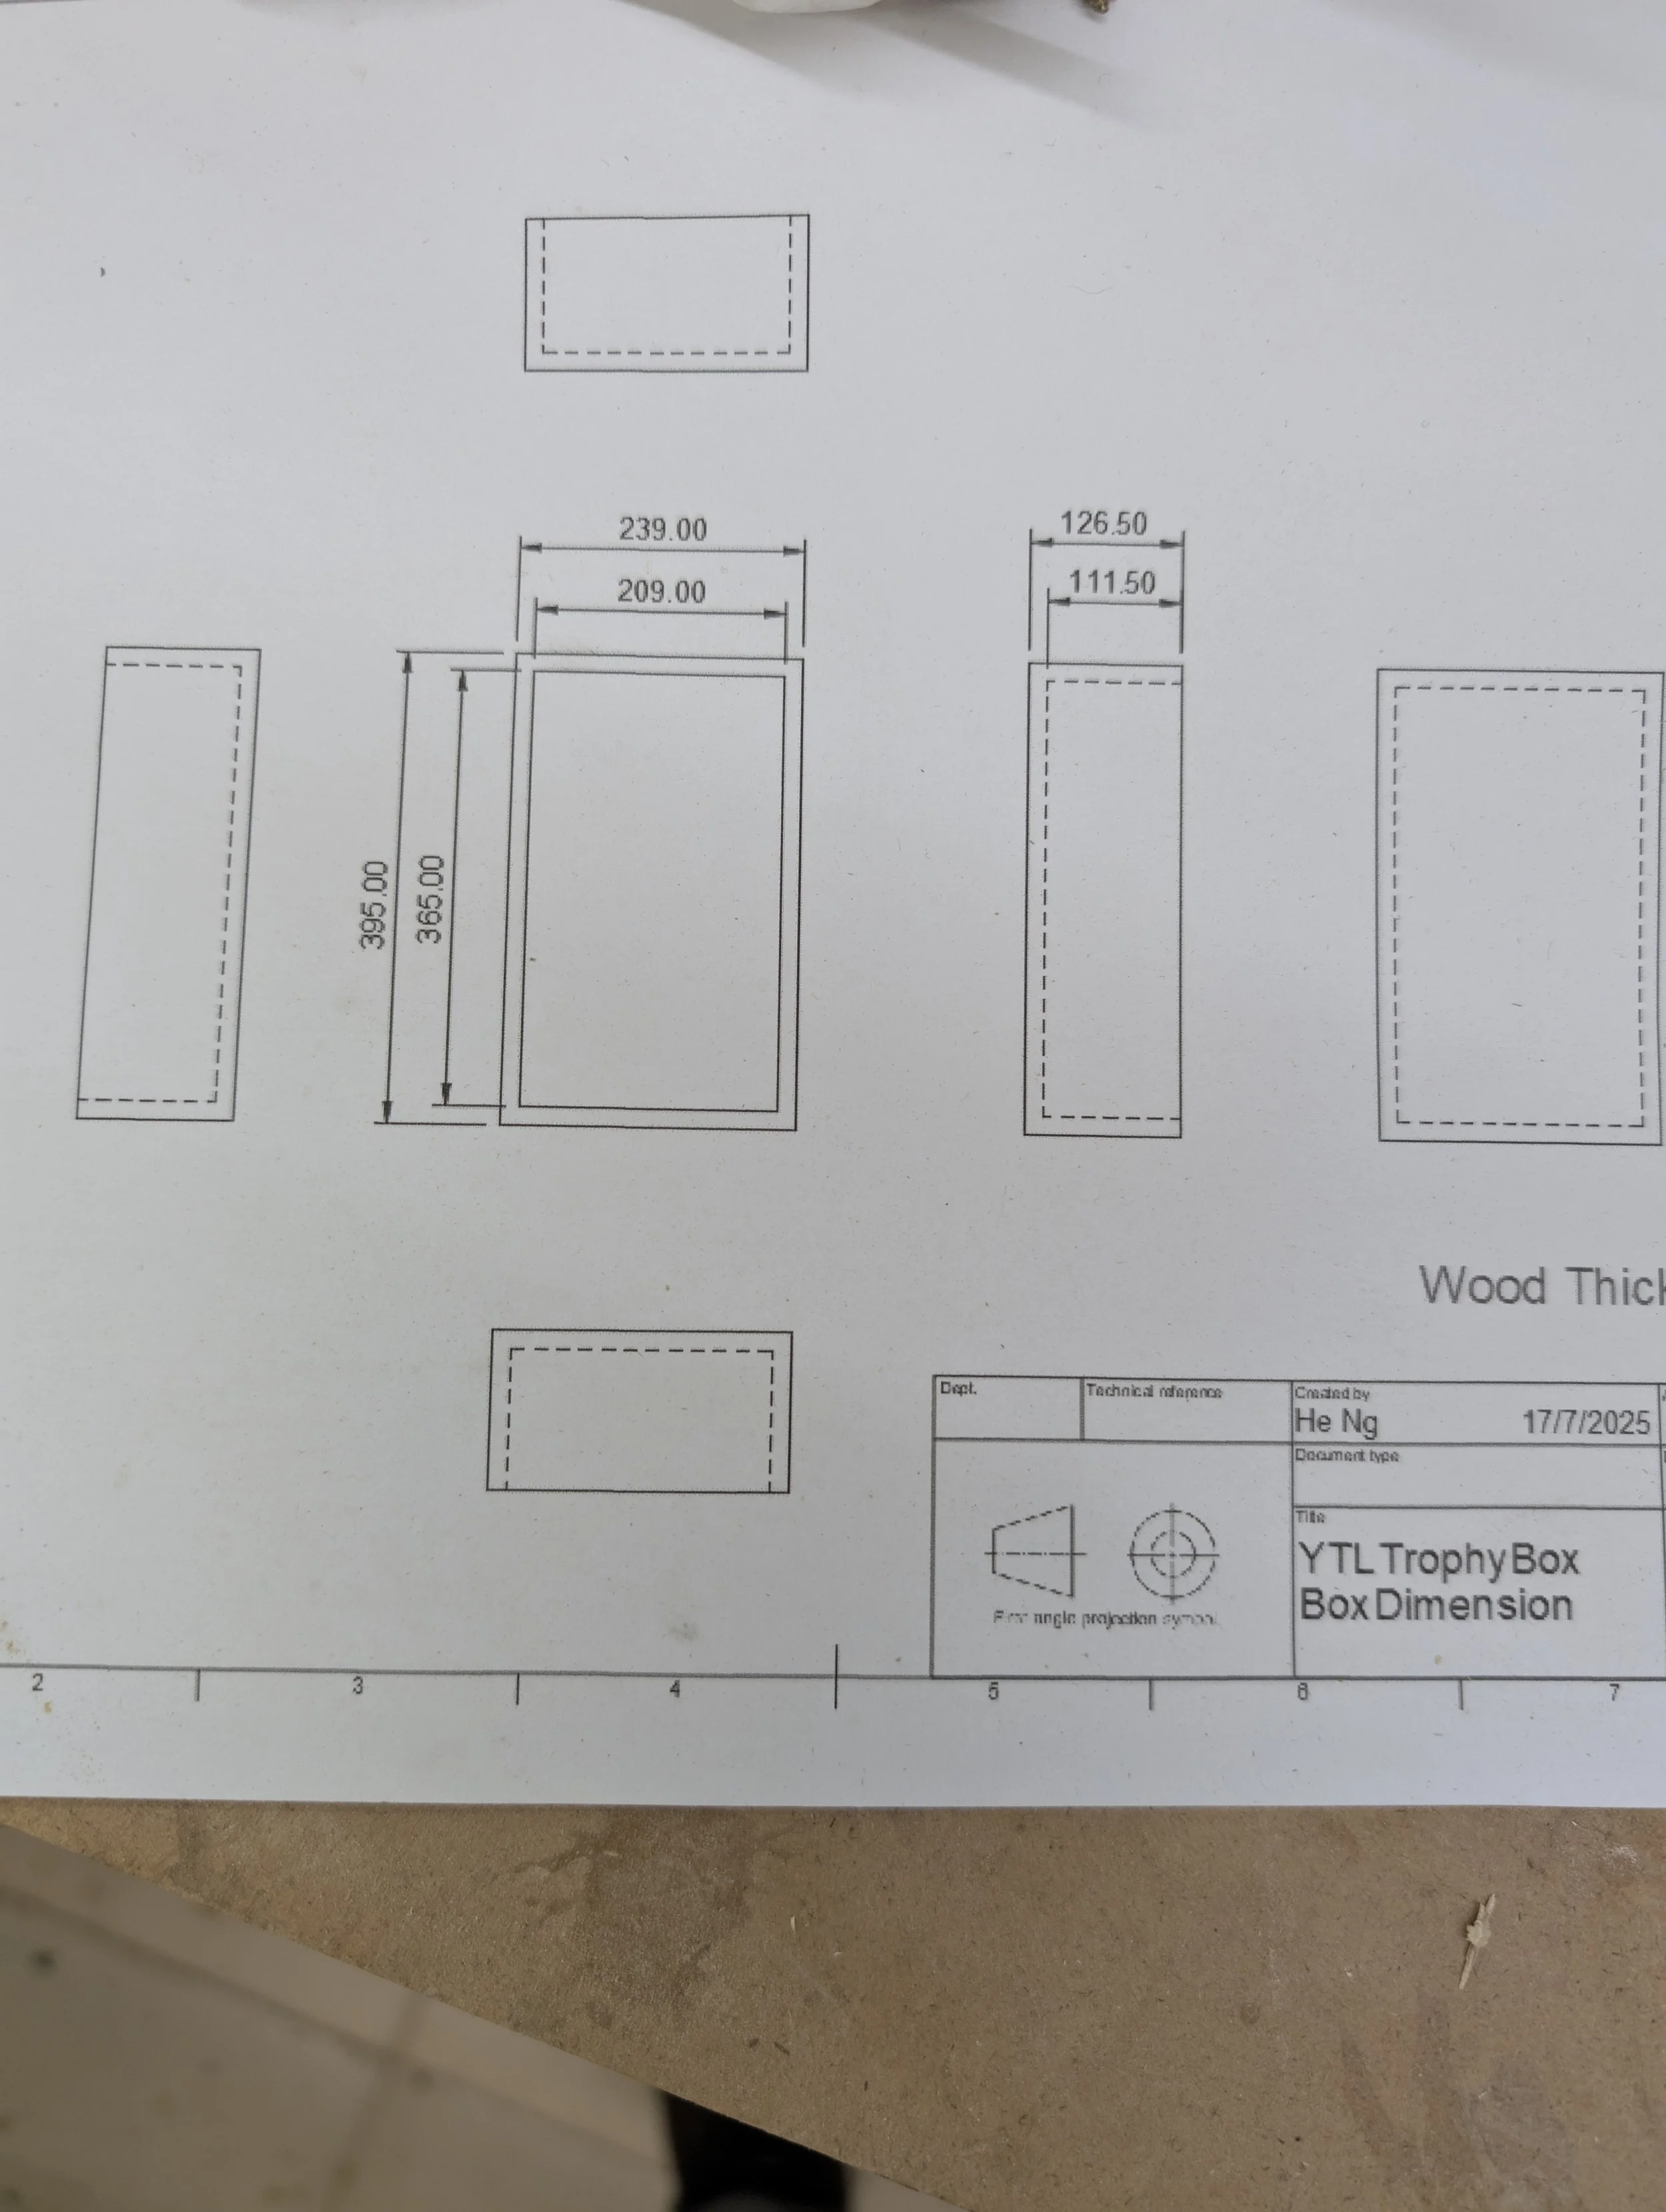
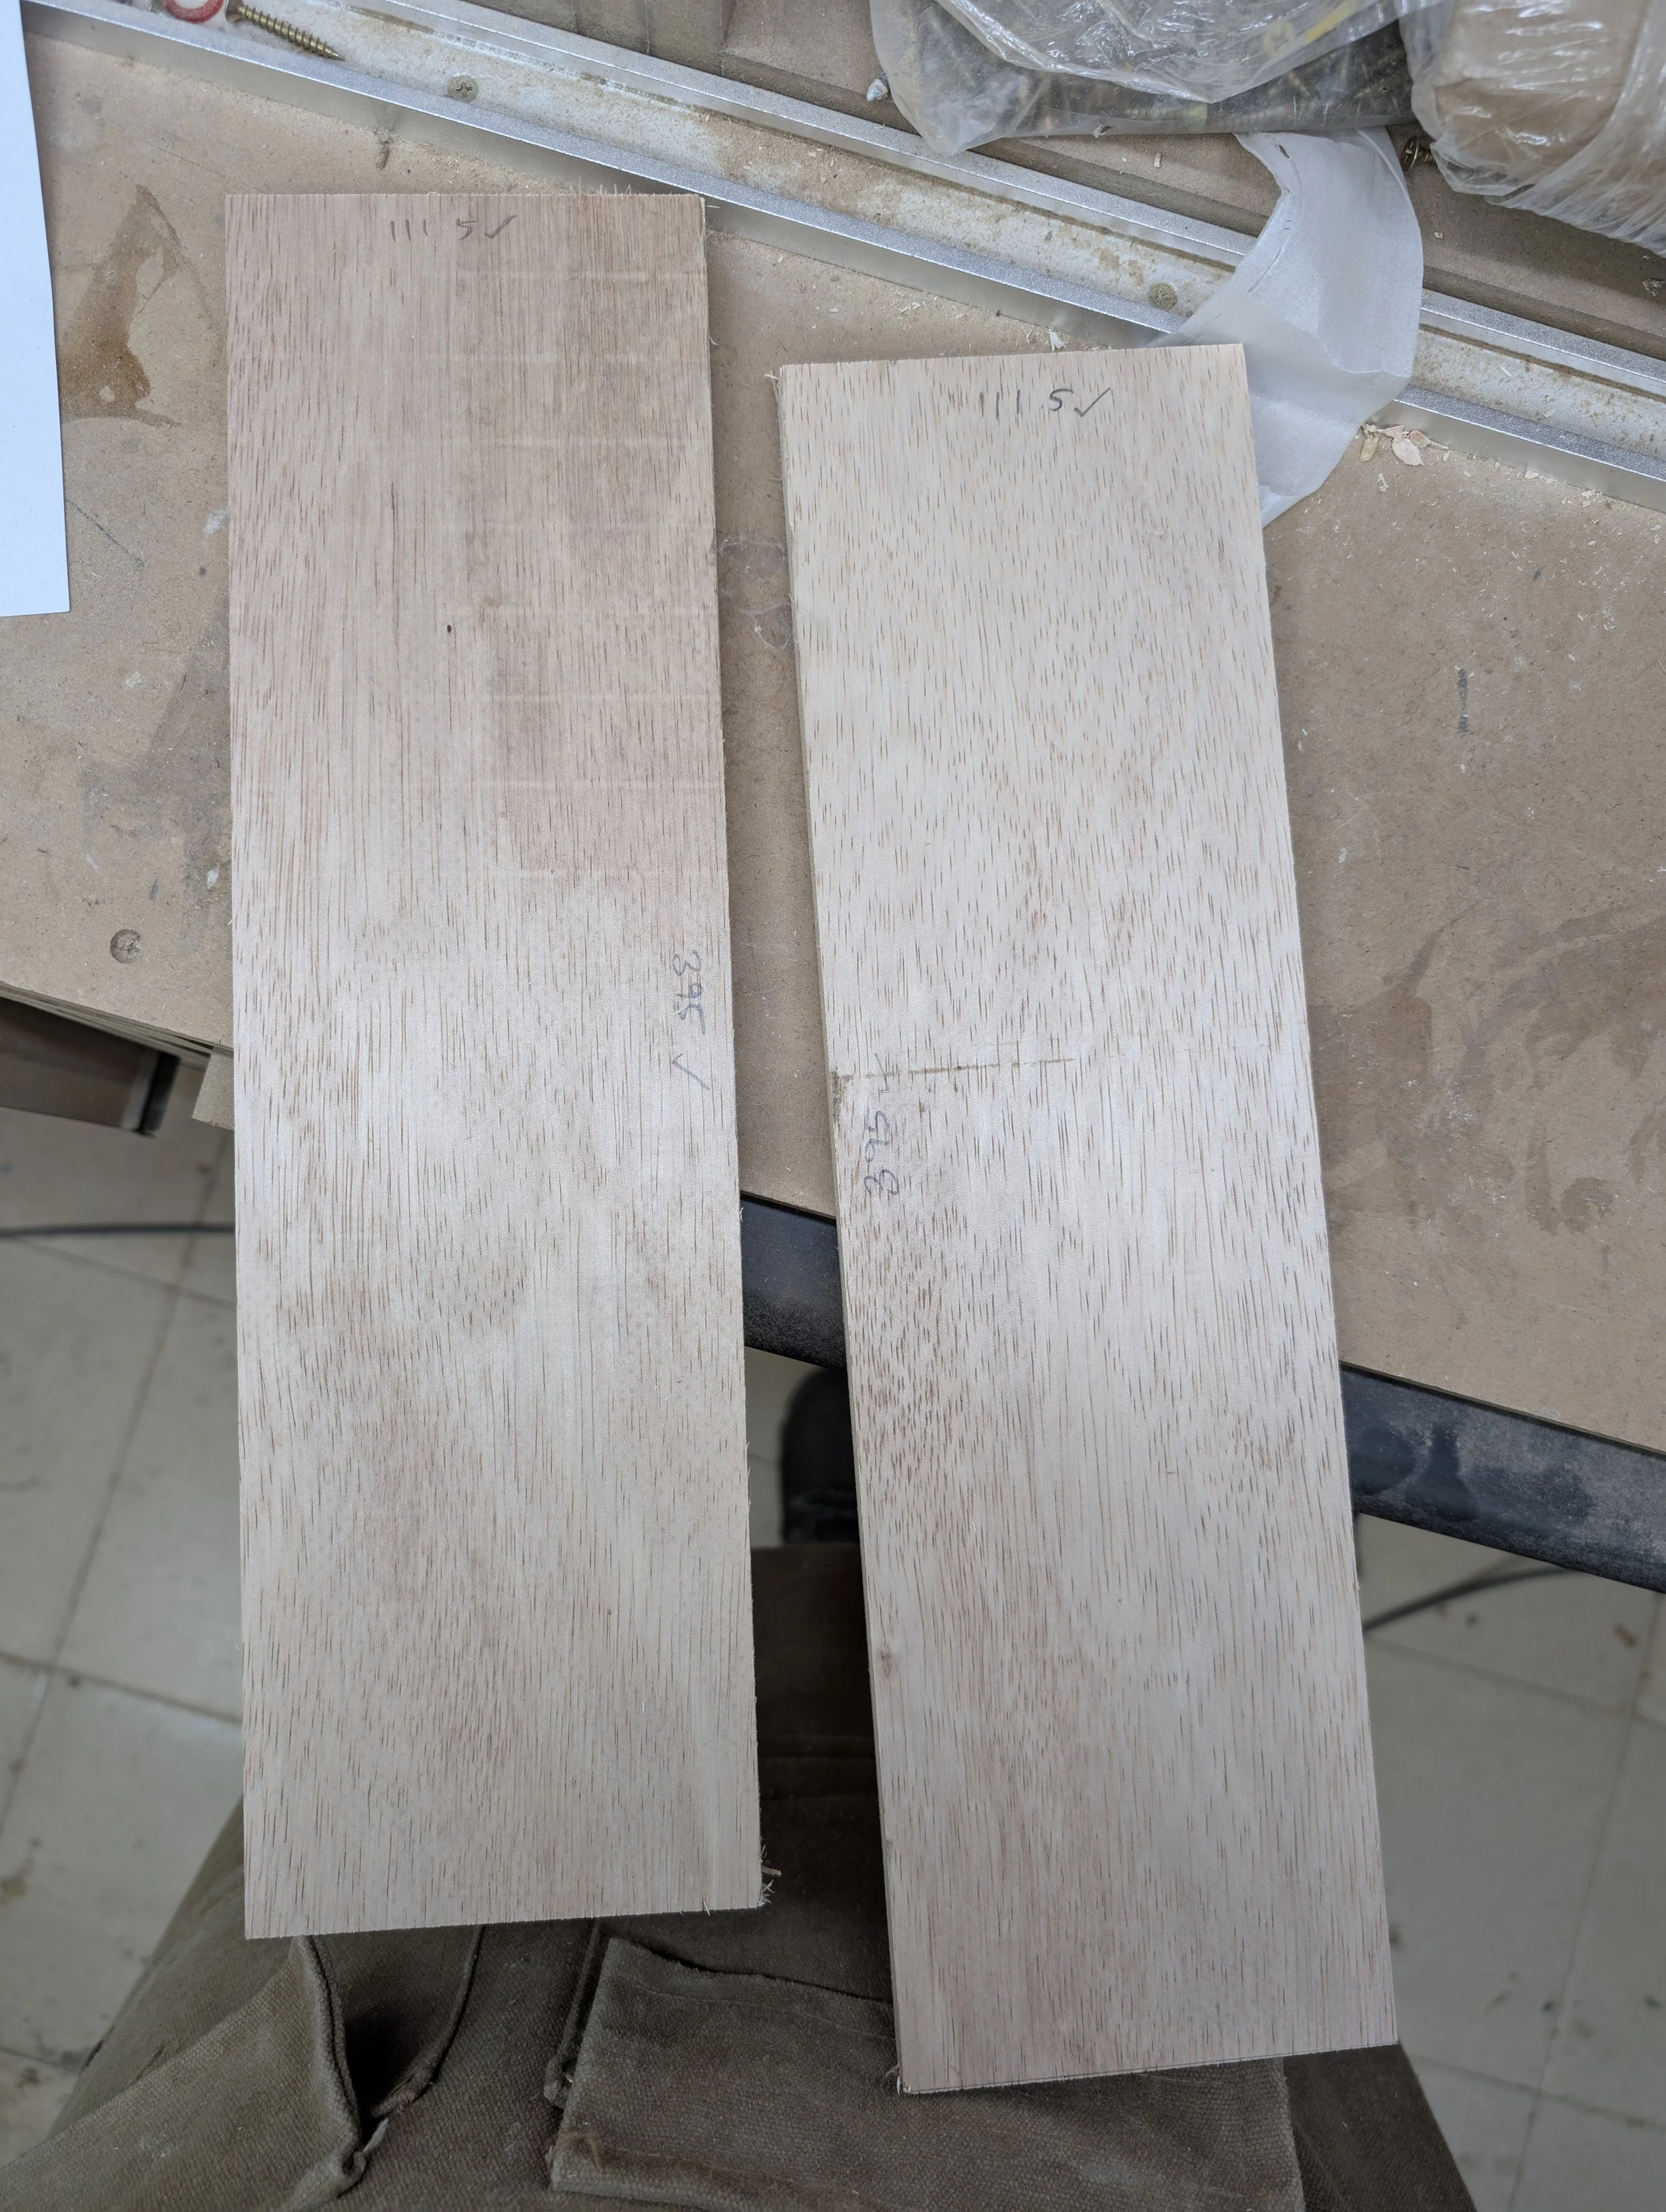
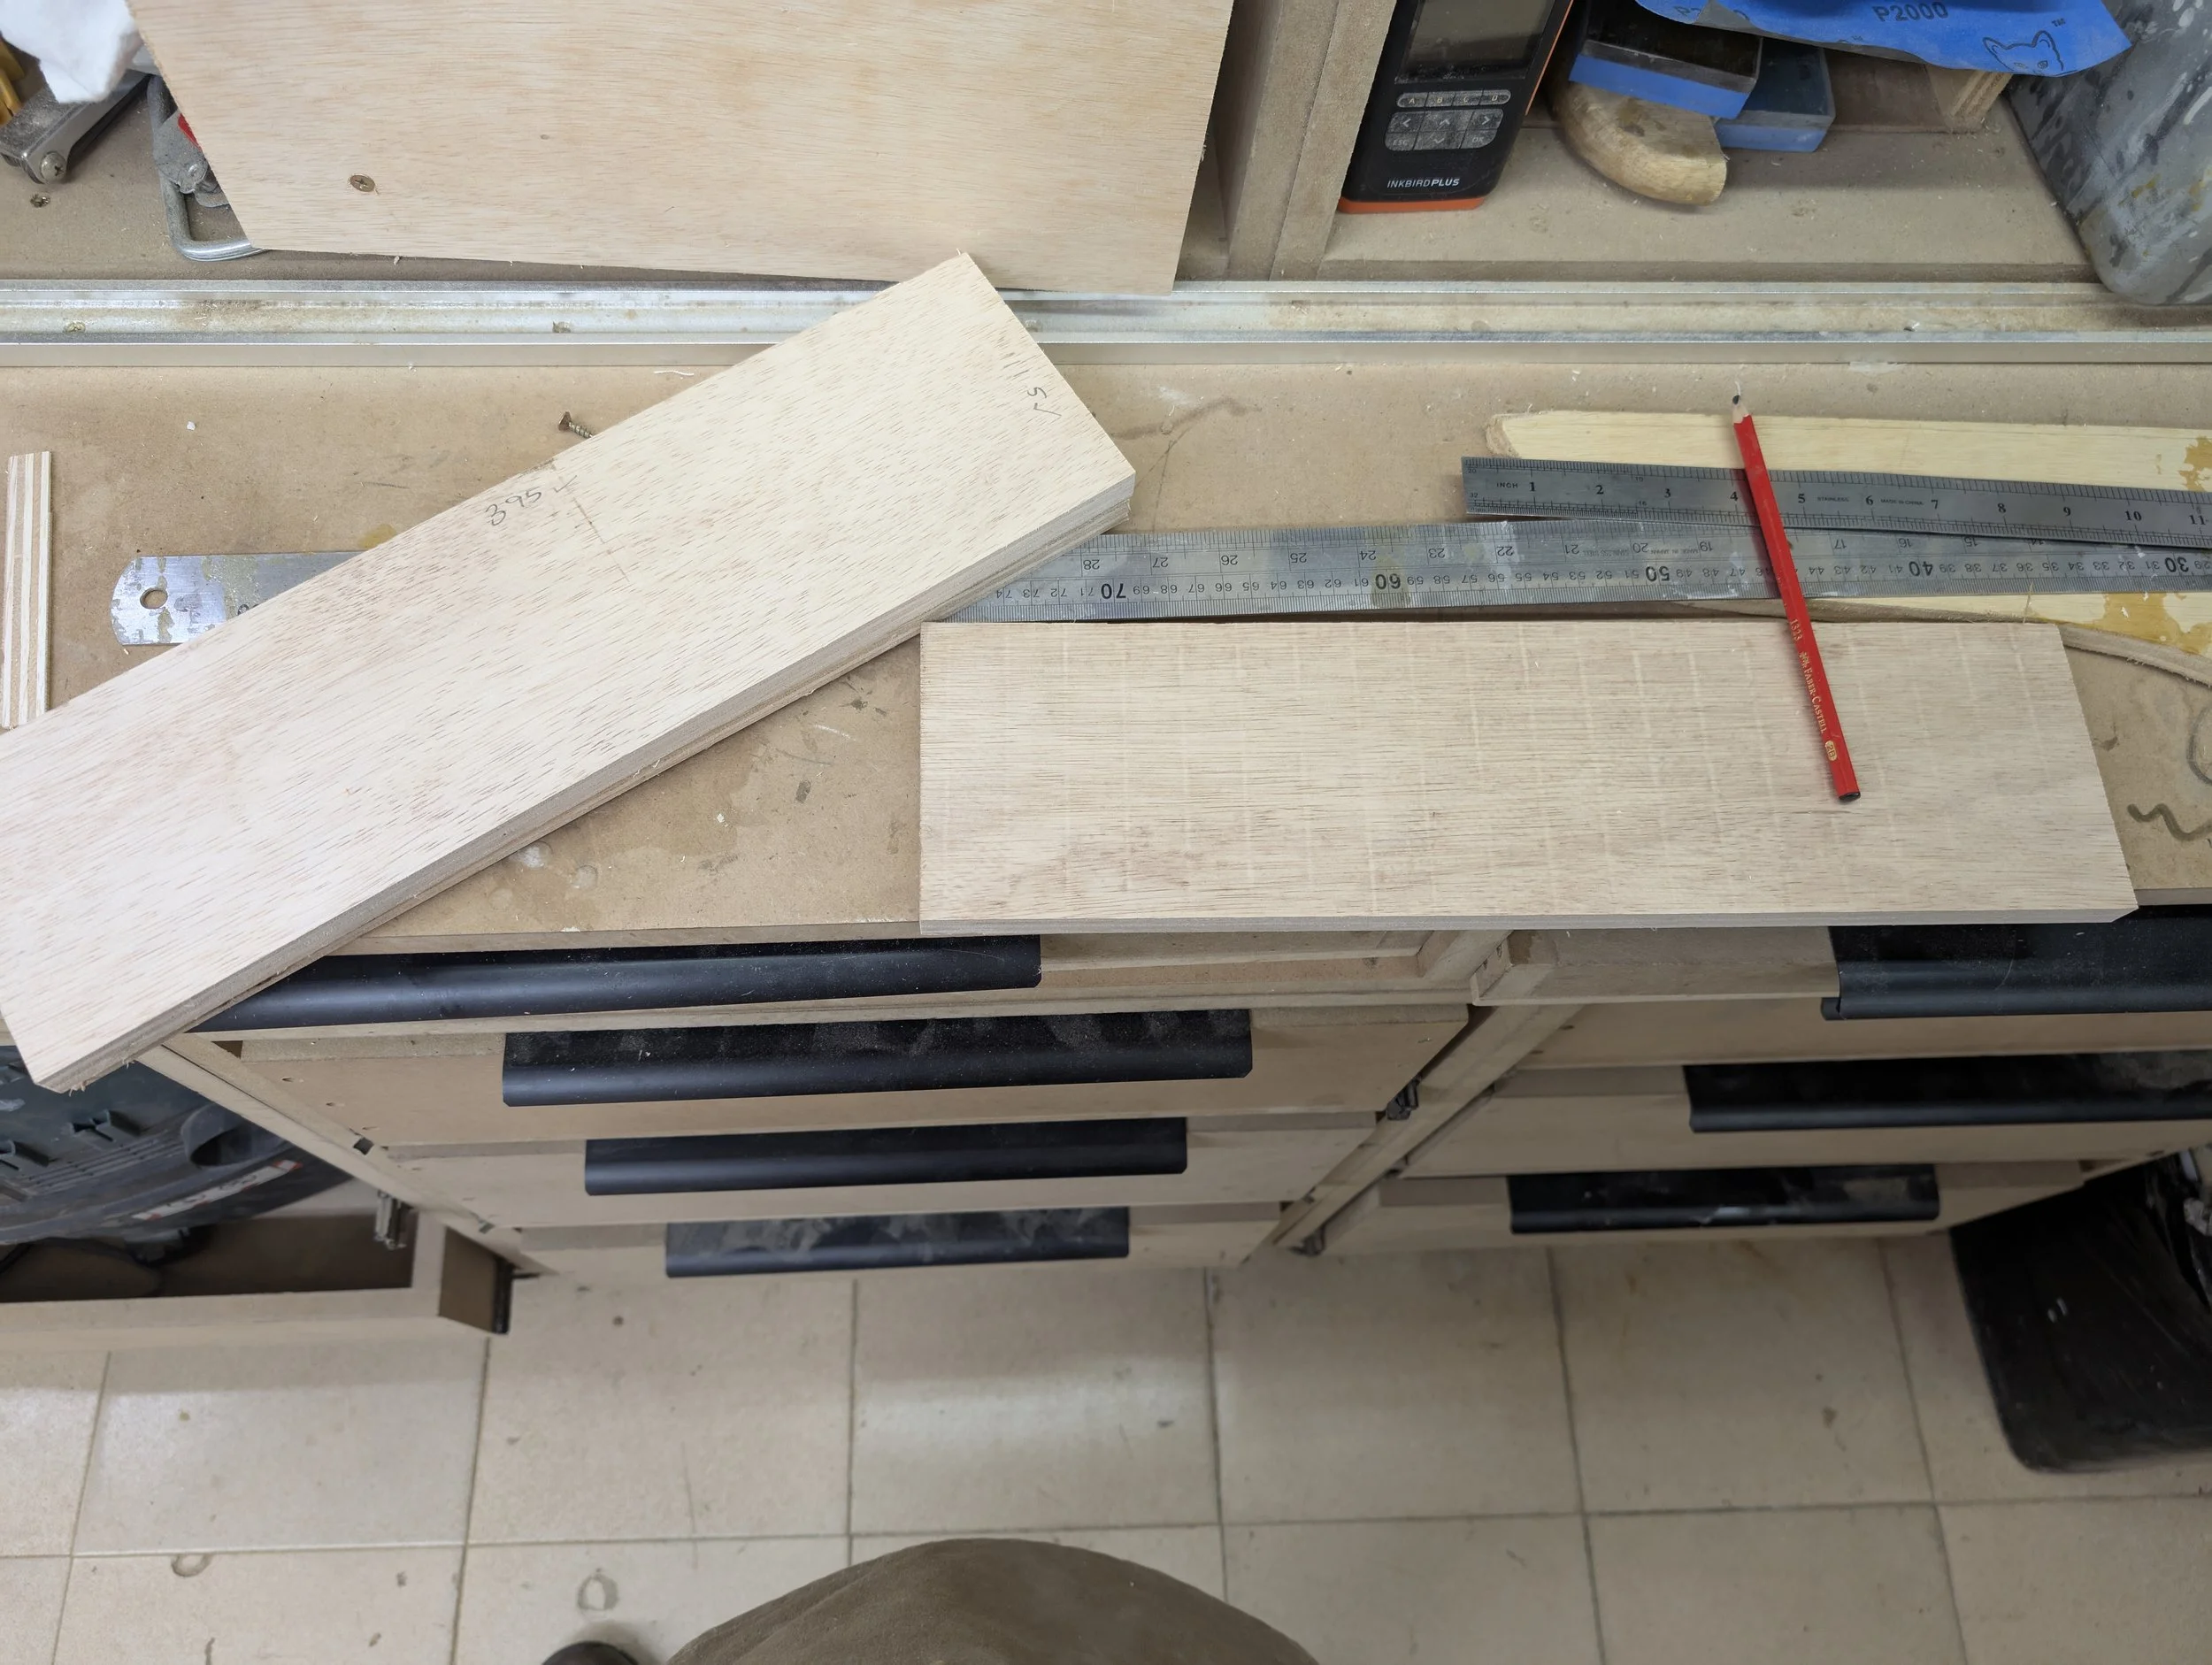
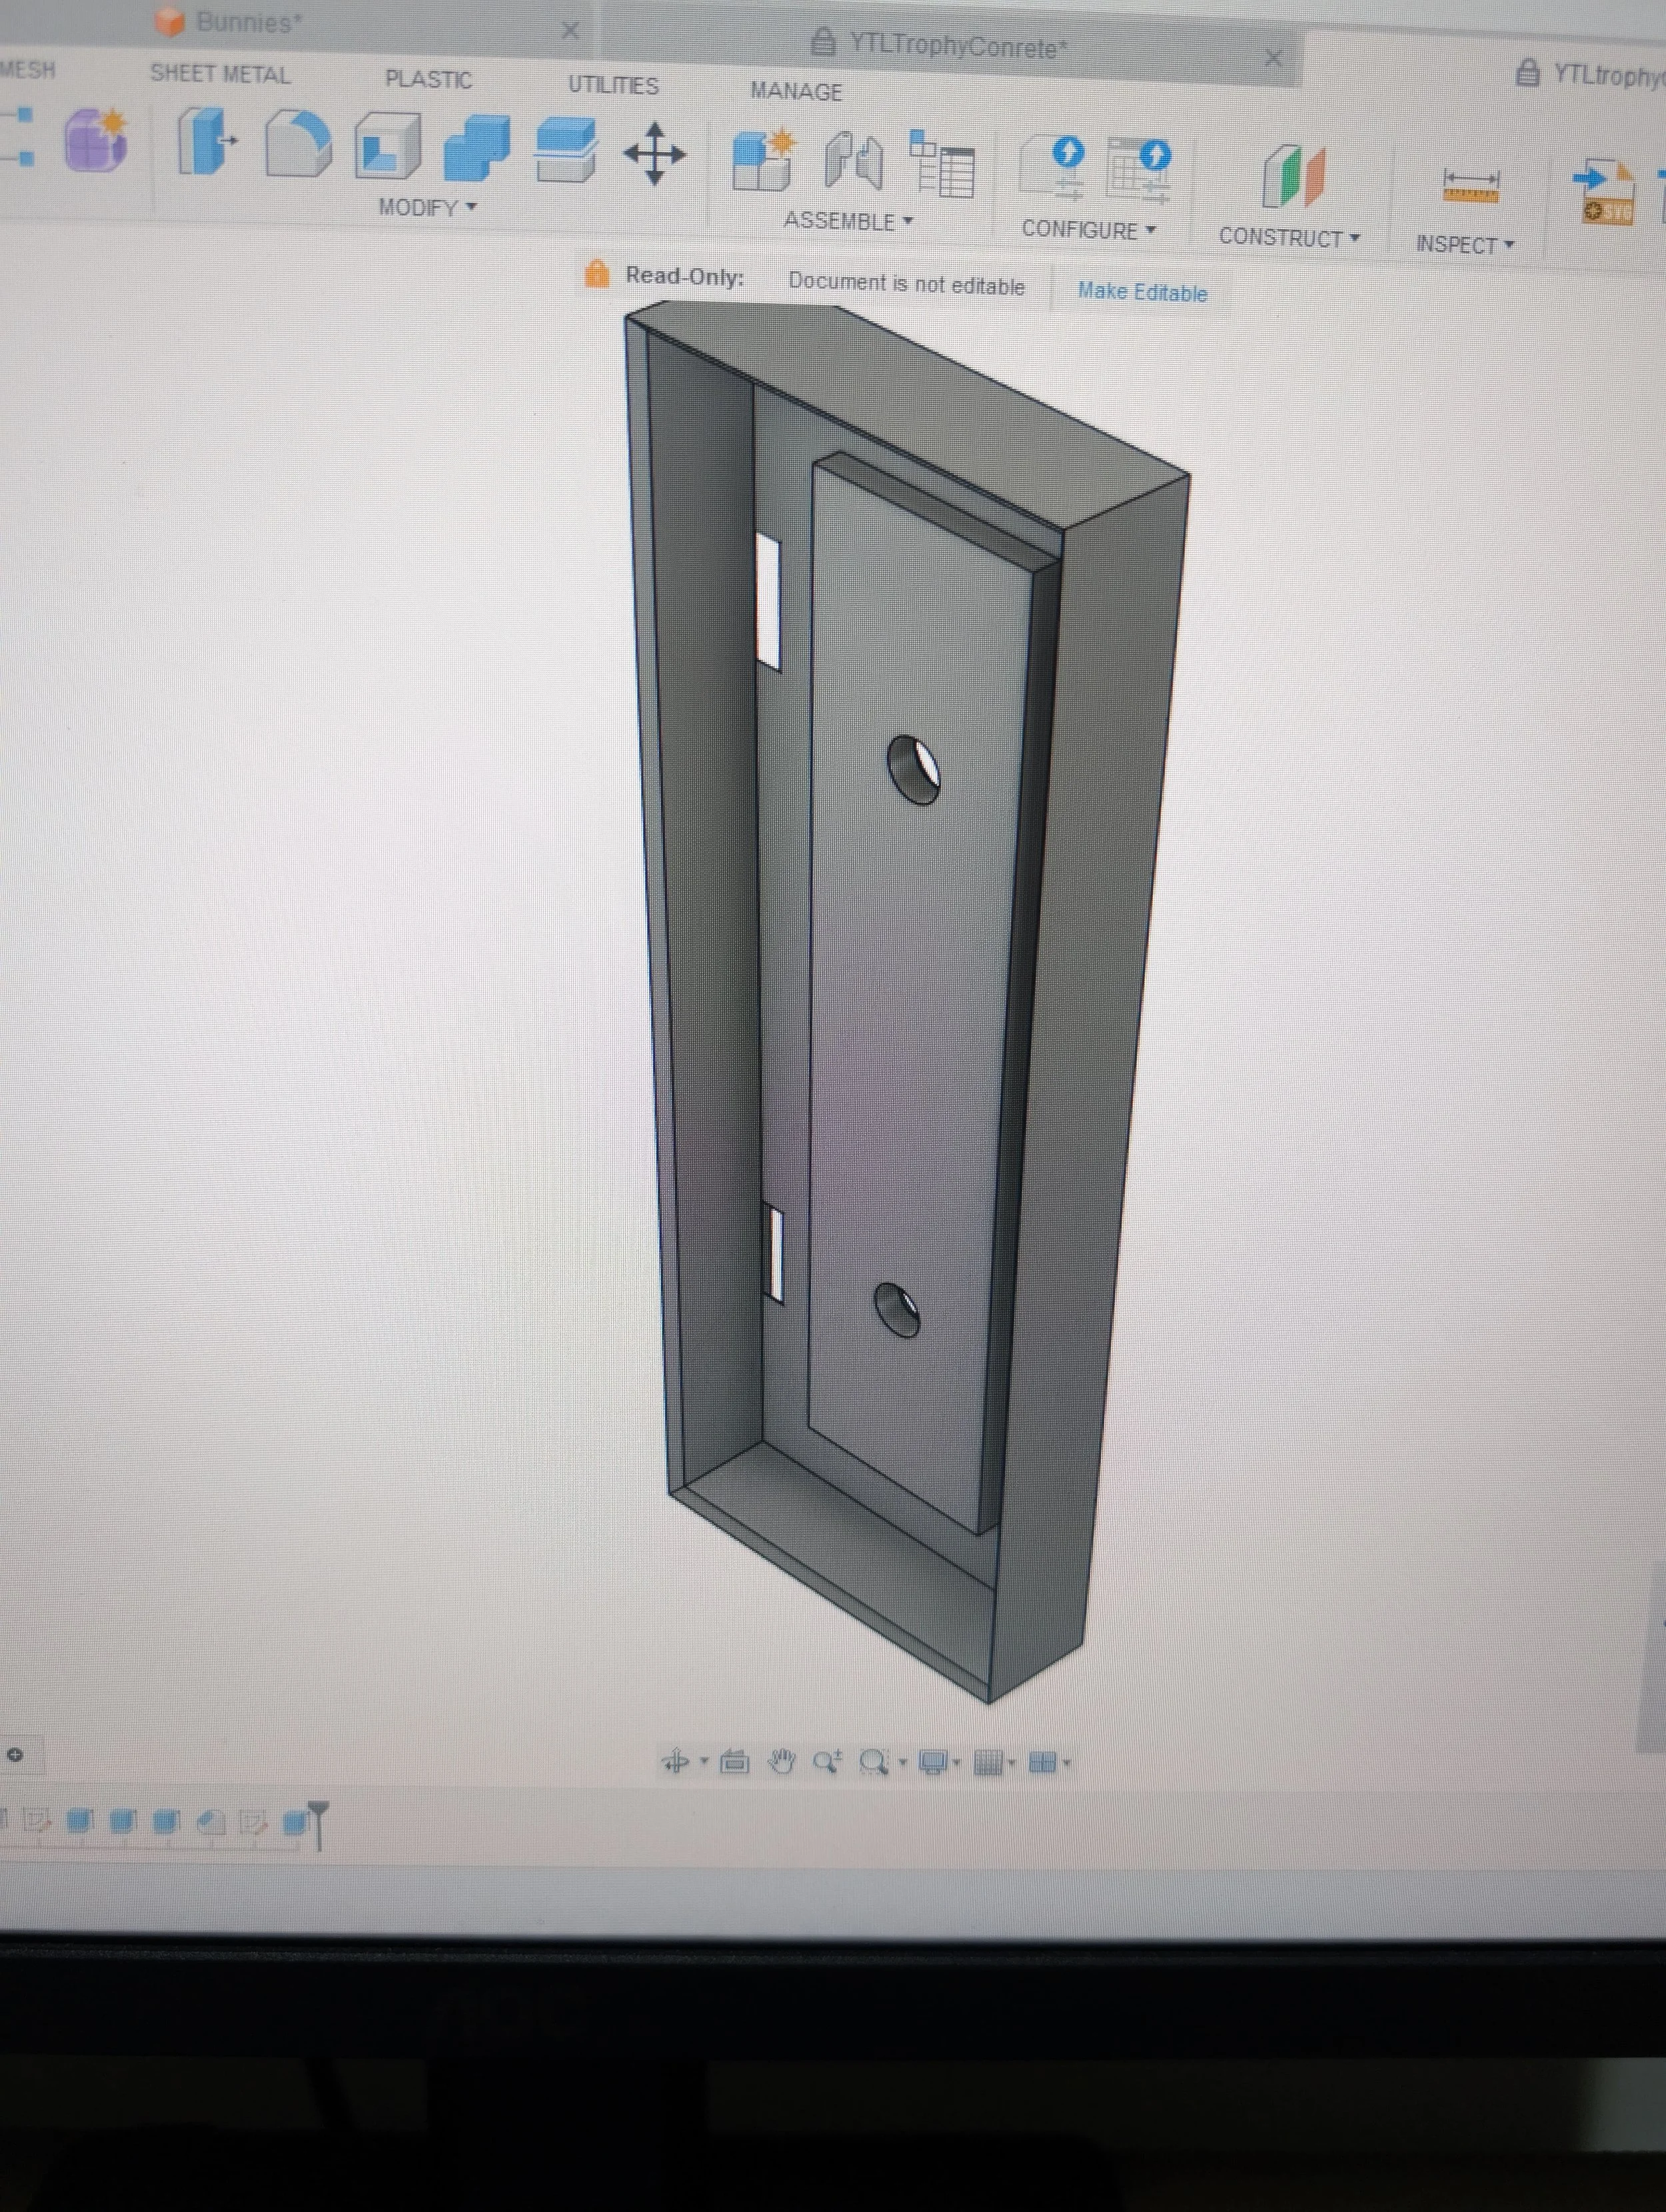
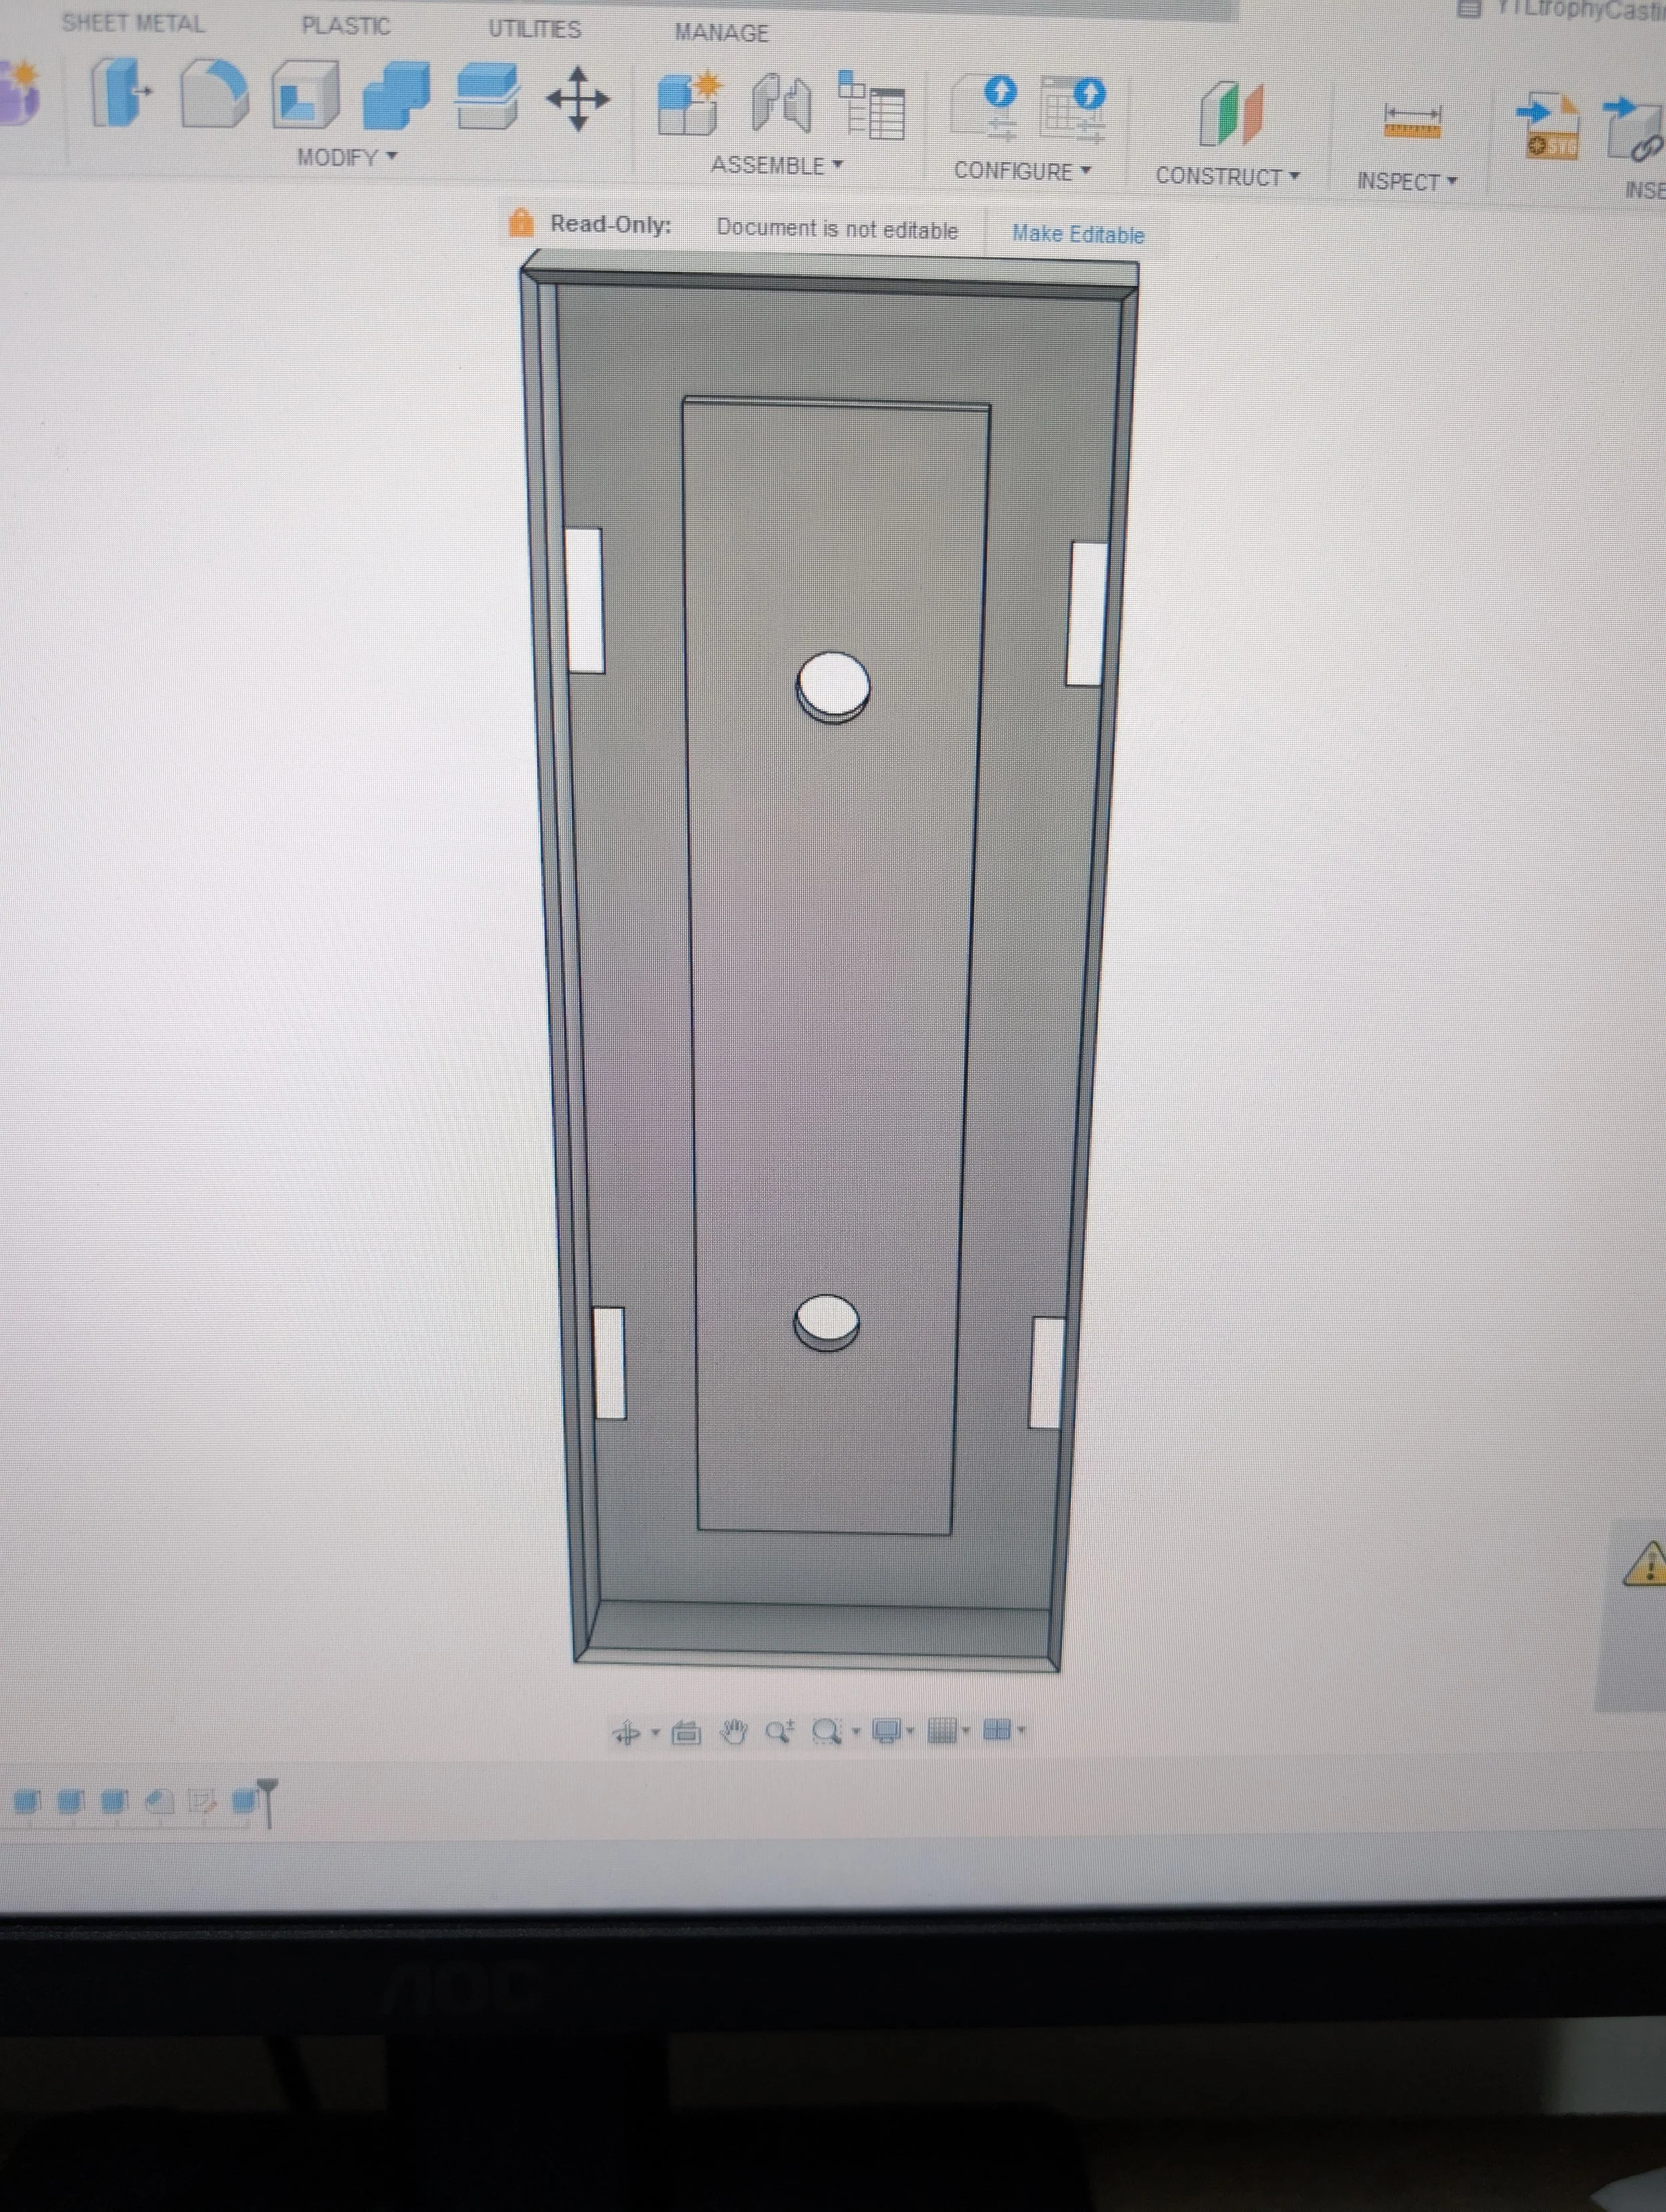
I also designed and made the wooden box that would hold the trophy. I first created a detailed CAD model and then printed out engineering drawings. This not only helped me stay organized but also ensured my colleagues knew exactly what I was doing. I talked about this in a post here. While the final box was a bit rough around the edges, it was still useful for checking if the manufacturer's samples were the correct size and for visualizing the final product. I talked more about this box here.
The design of the packaging itself had to be very deliberate. Since the bulb was wider than the concrete block, it would sit lower inside the box. To counteract this, I designed the foam to have a specific thickness so that the concrete block would sit higher, preventing the bulb from shattering. We also had to use the thinnest foam available and then slap it on the door of the box to act as a final layer of protection for the protruding bulb. This was a direct result of the manufacturer getting the thickness wrong repeatedly, a frustrating but valuable lesson in trusting but verifying. I talked about this frustration here.