

Silicon Mould Fix
Part 1: Reverse engineering of 3D part mould
Part 2: A simple fix of the a silicon mould that is bubbling a lot, using some engineering principle.
In association with

Part 1
Task
Parts of the mould needs to change. Through the use of callipers, I have to reverse engineer this mould.


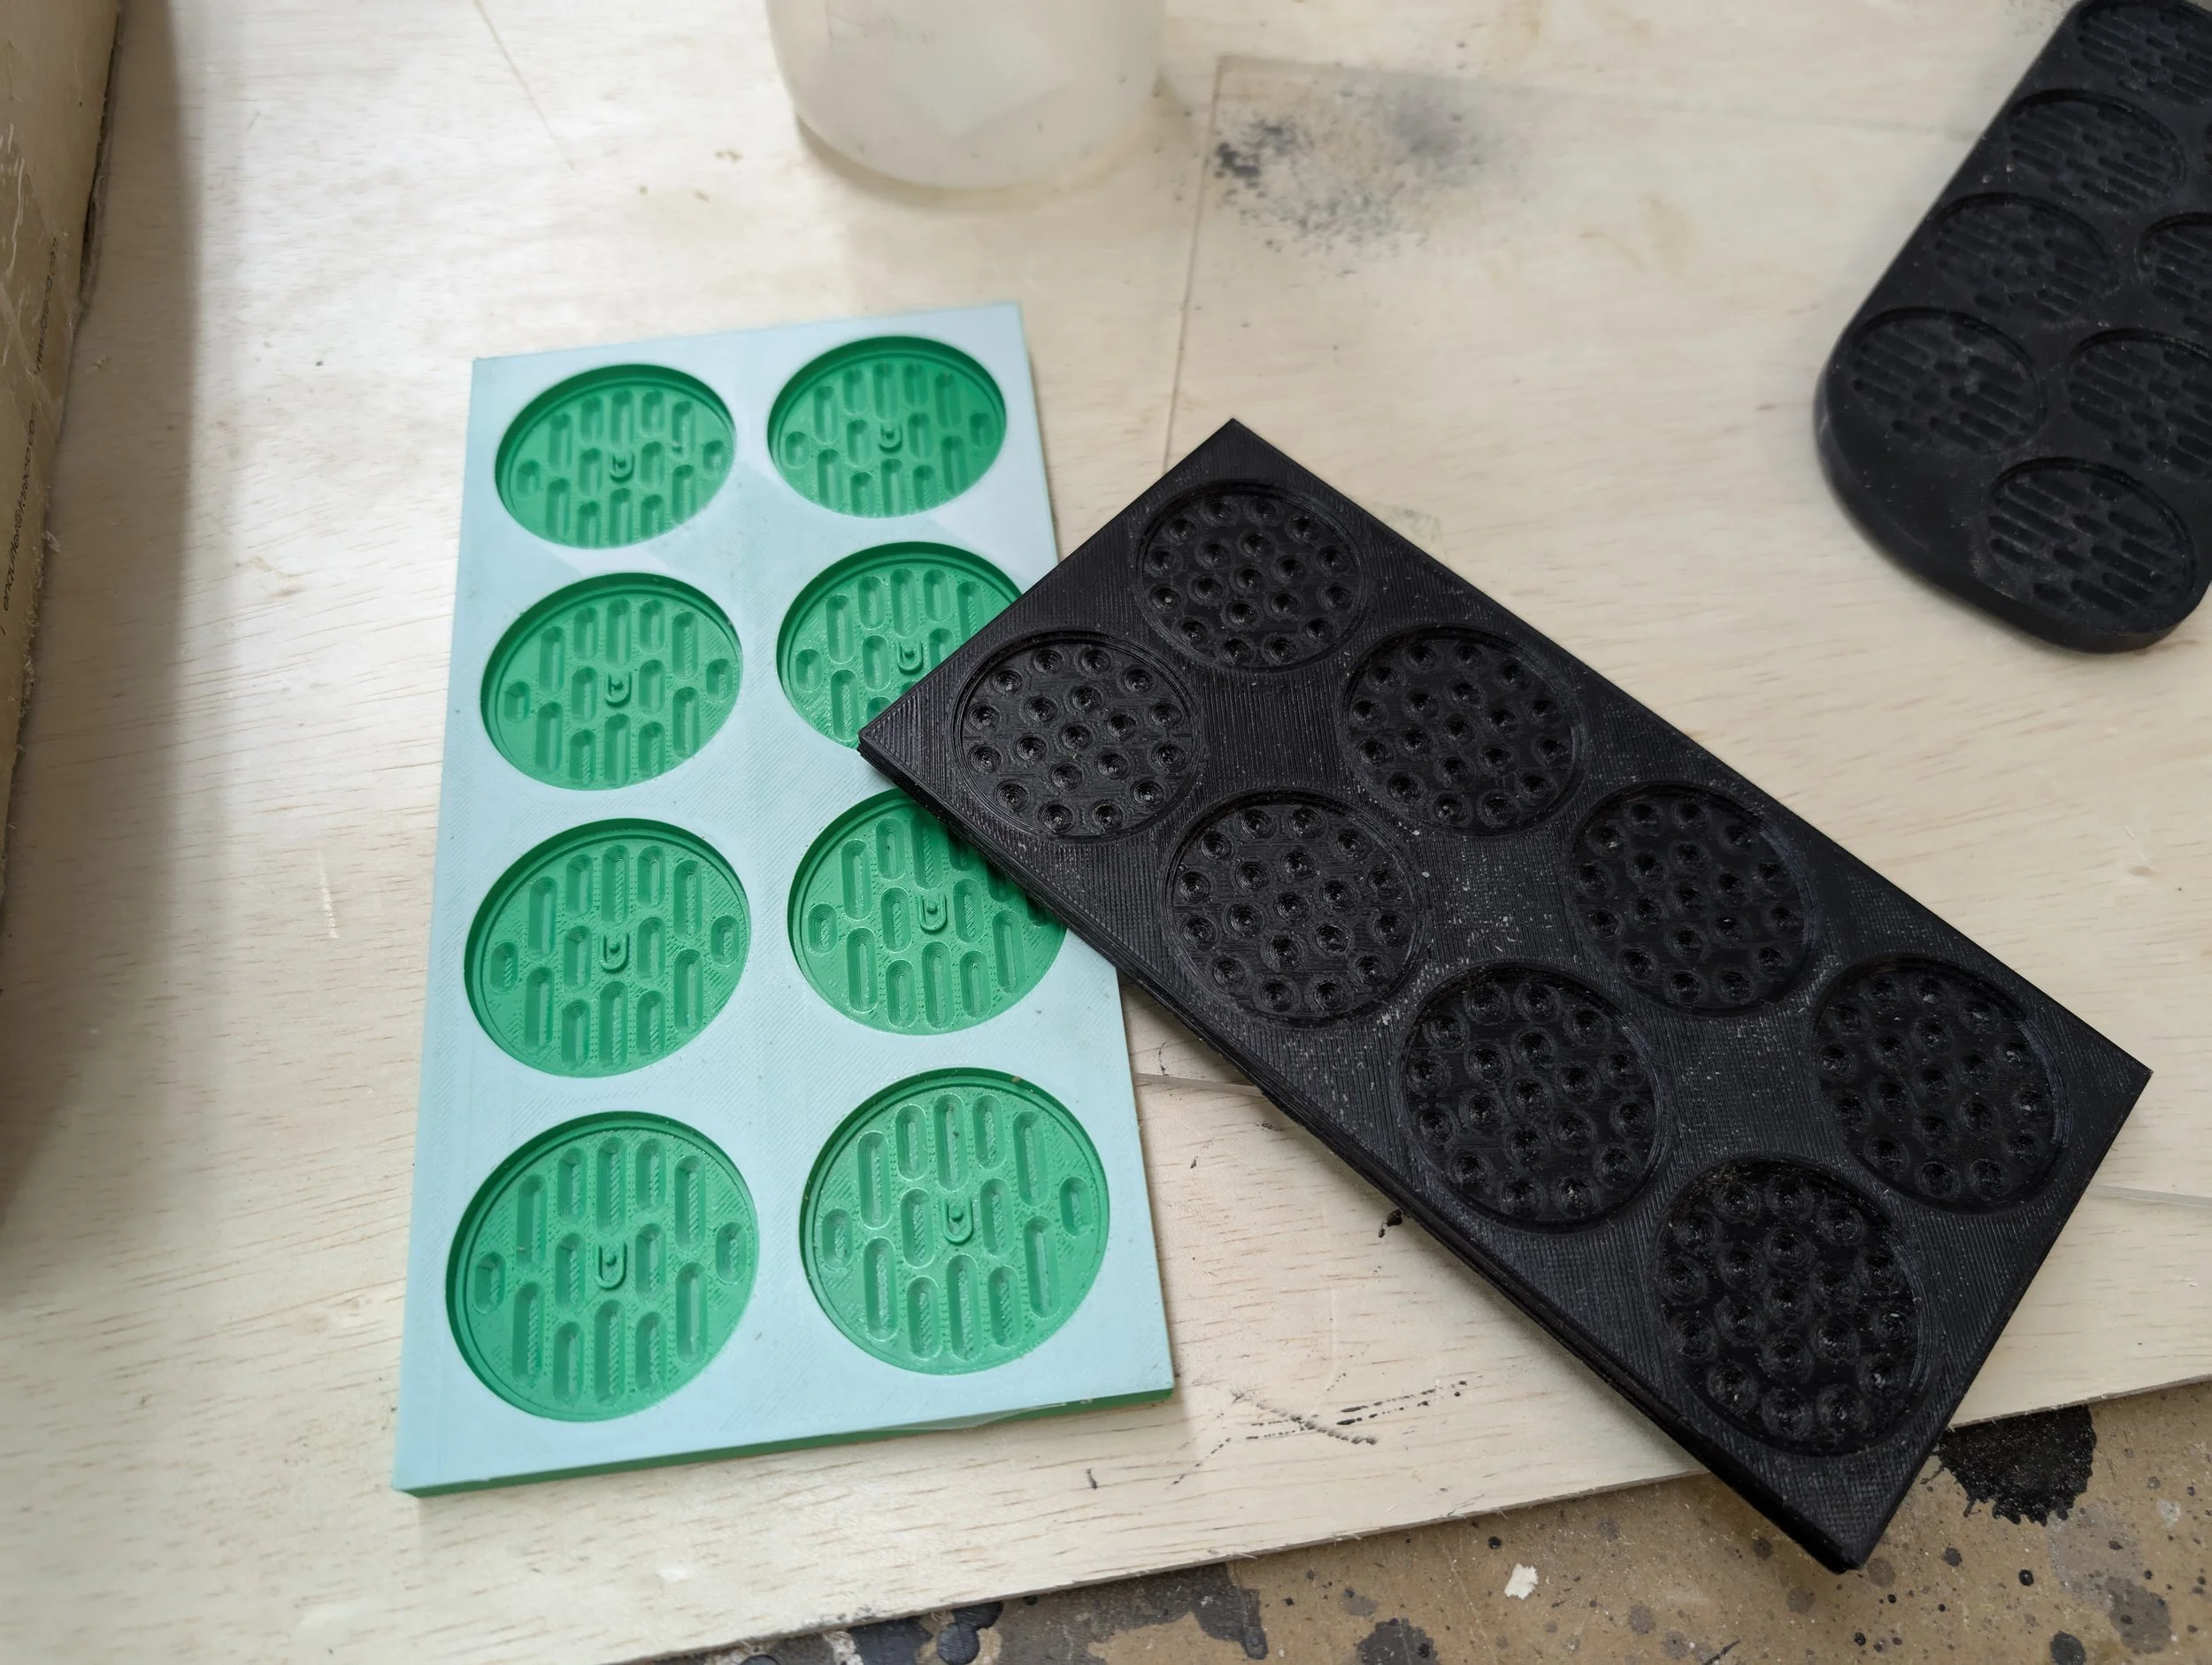
Result
I have staggered the circle in order to more tightly packed the silicon, wasting less plastics in printing, and less silicon in casting. Also rounding the corner to waste less plastic in printing.
Part 2
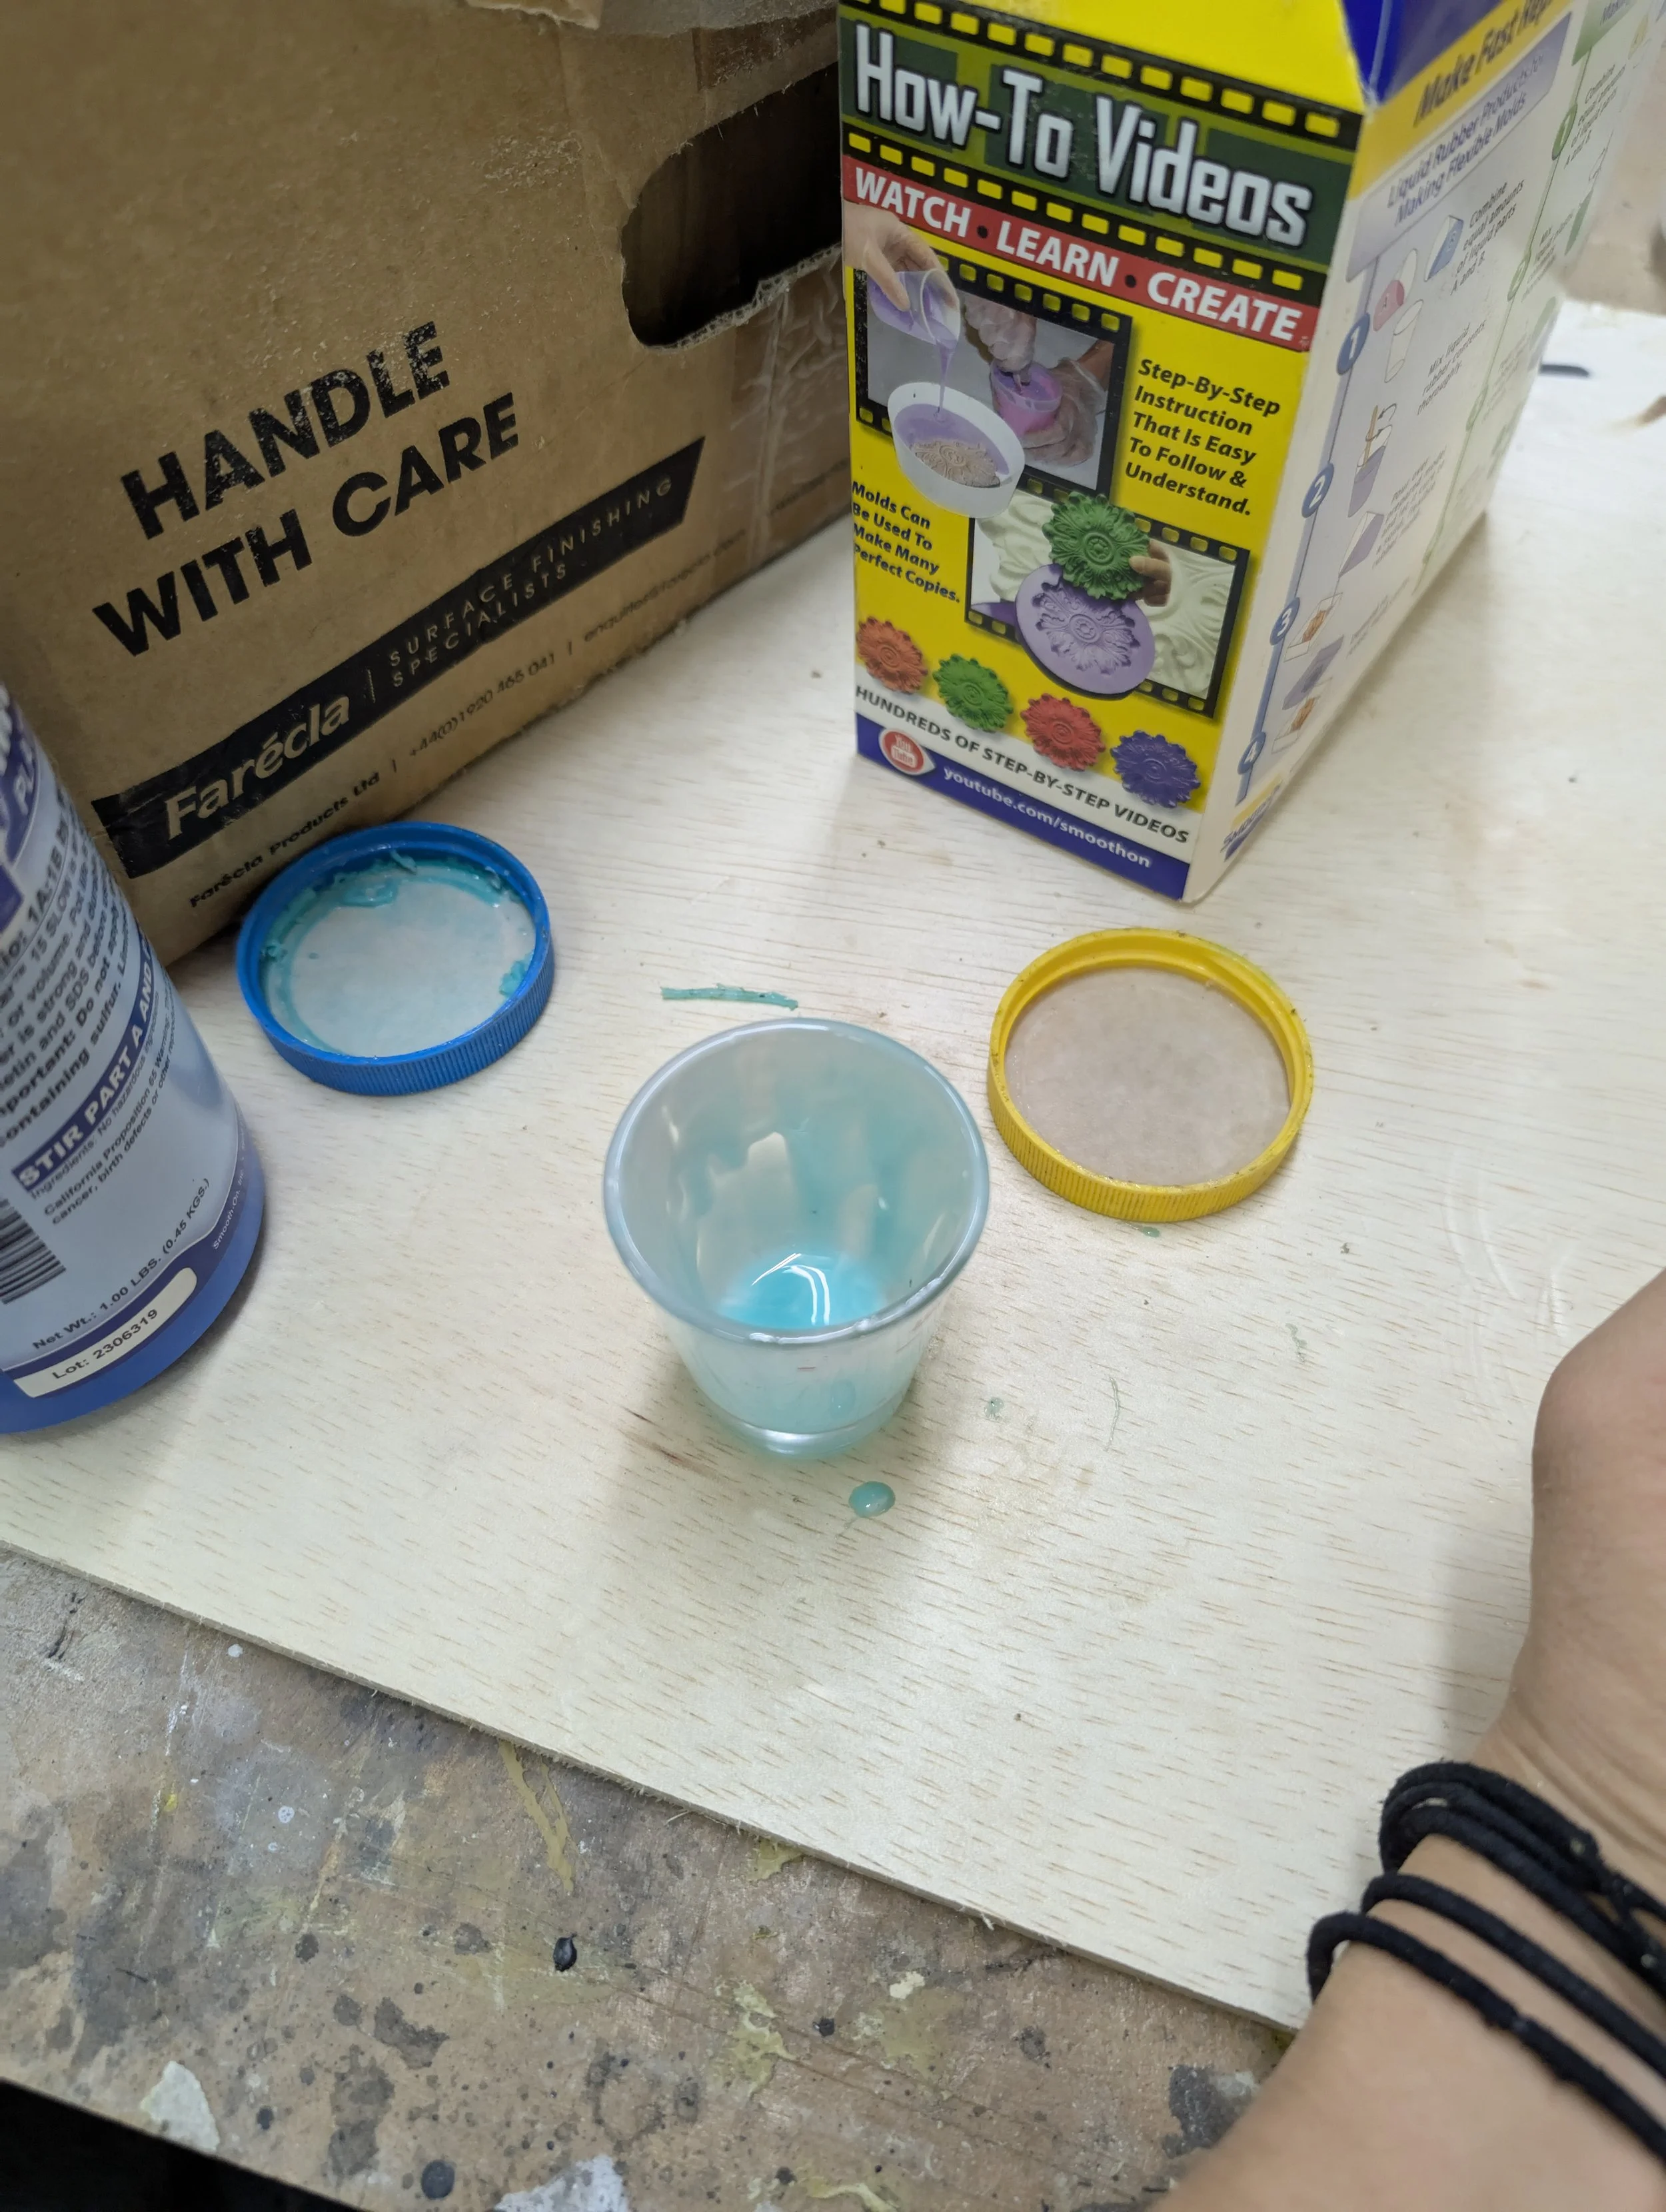
Problem
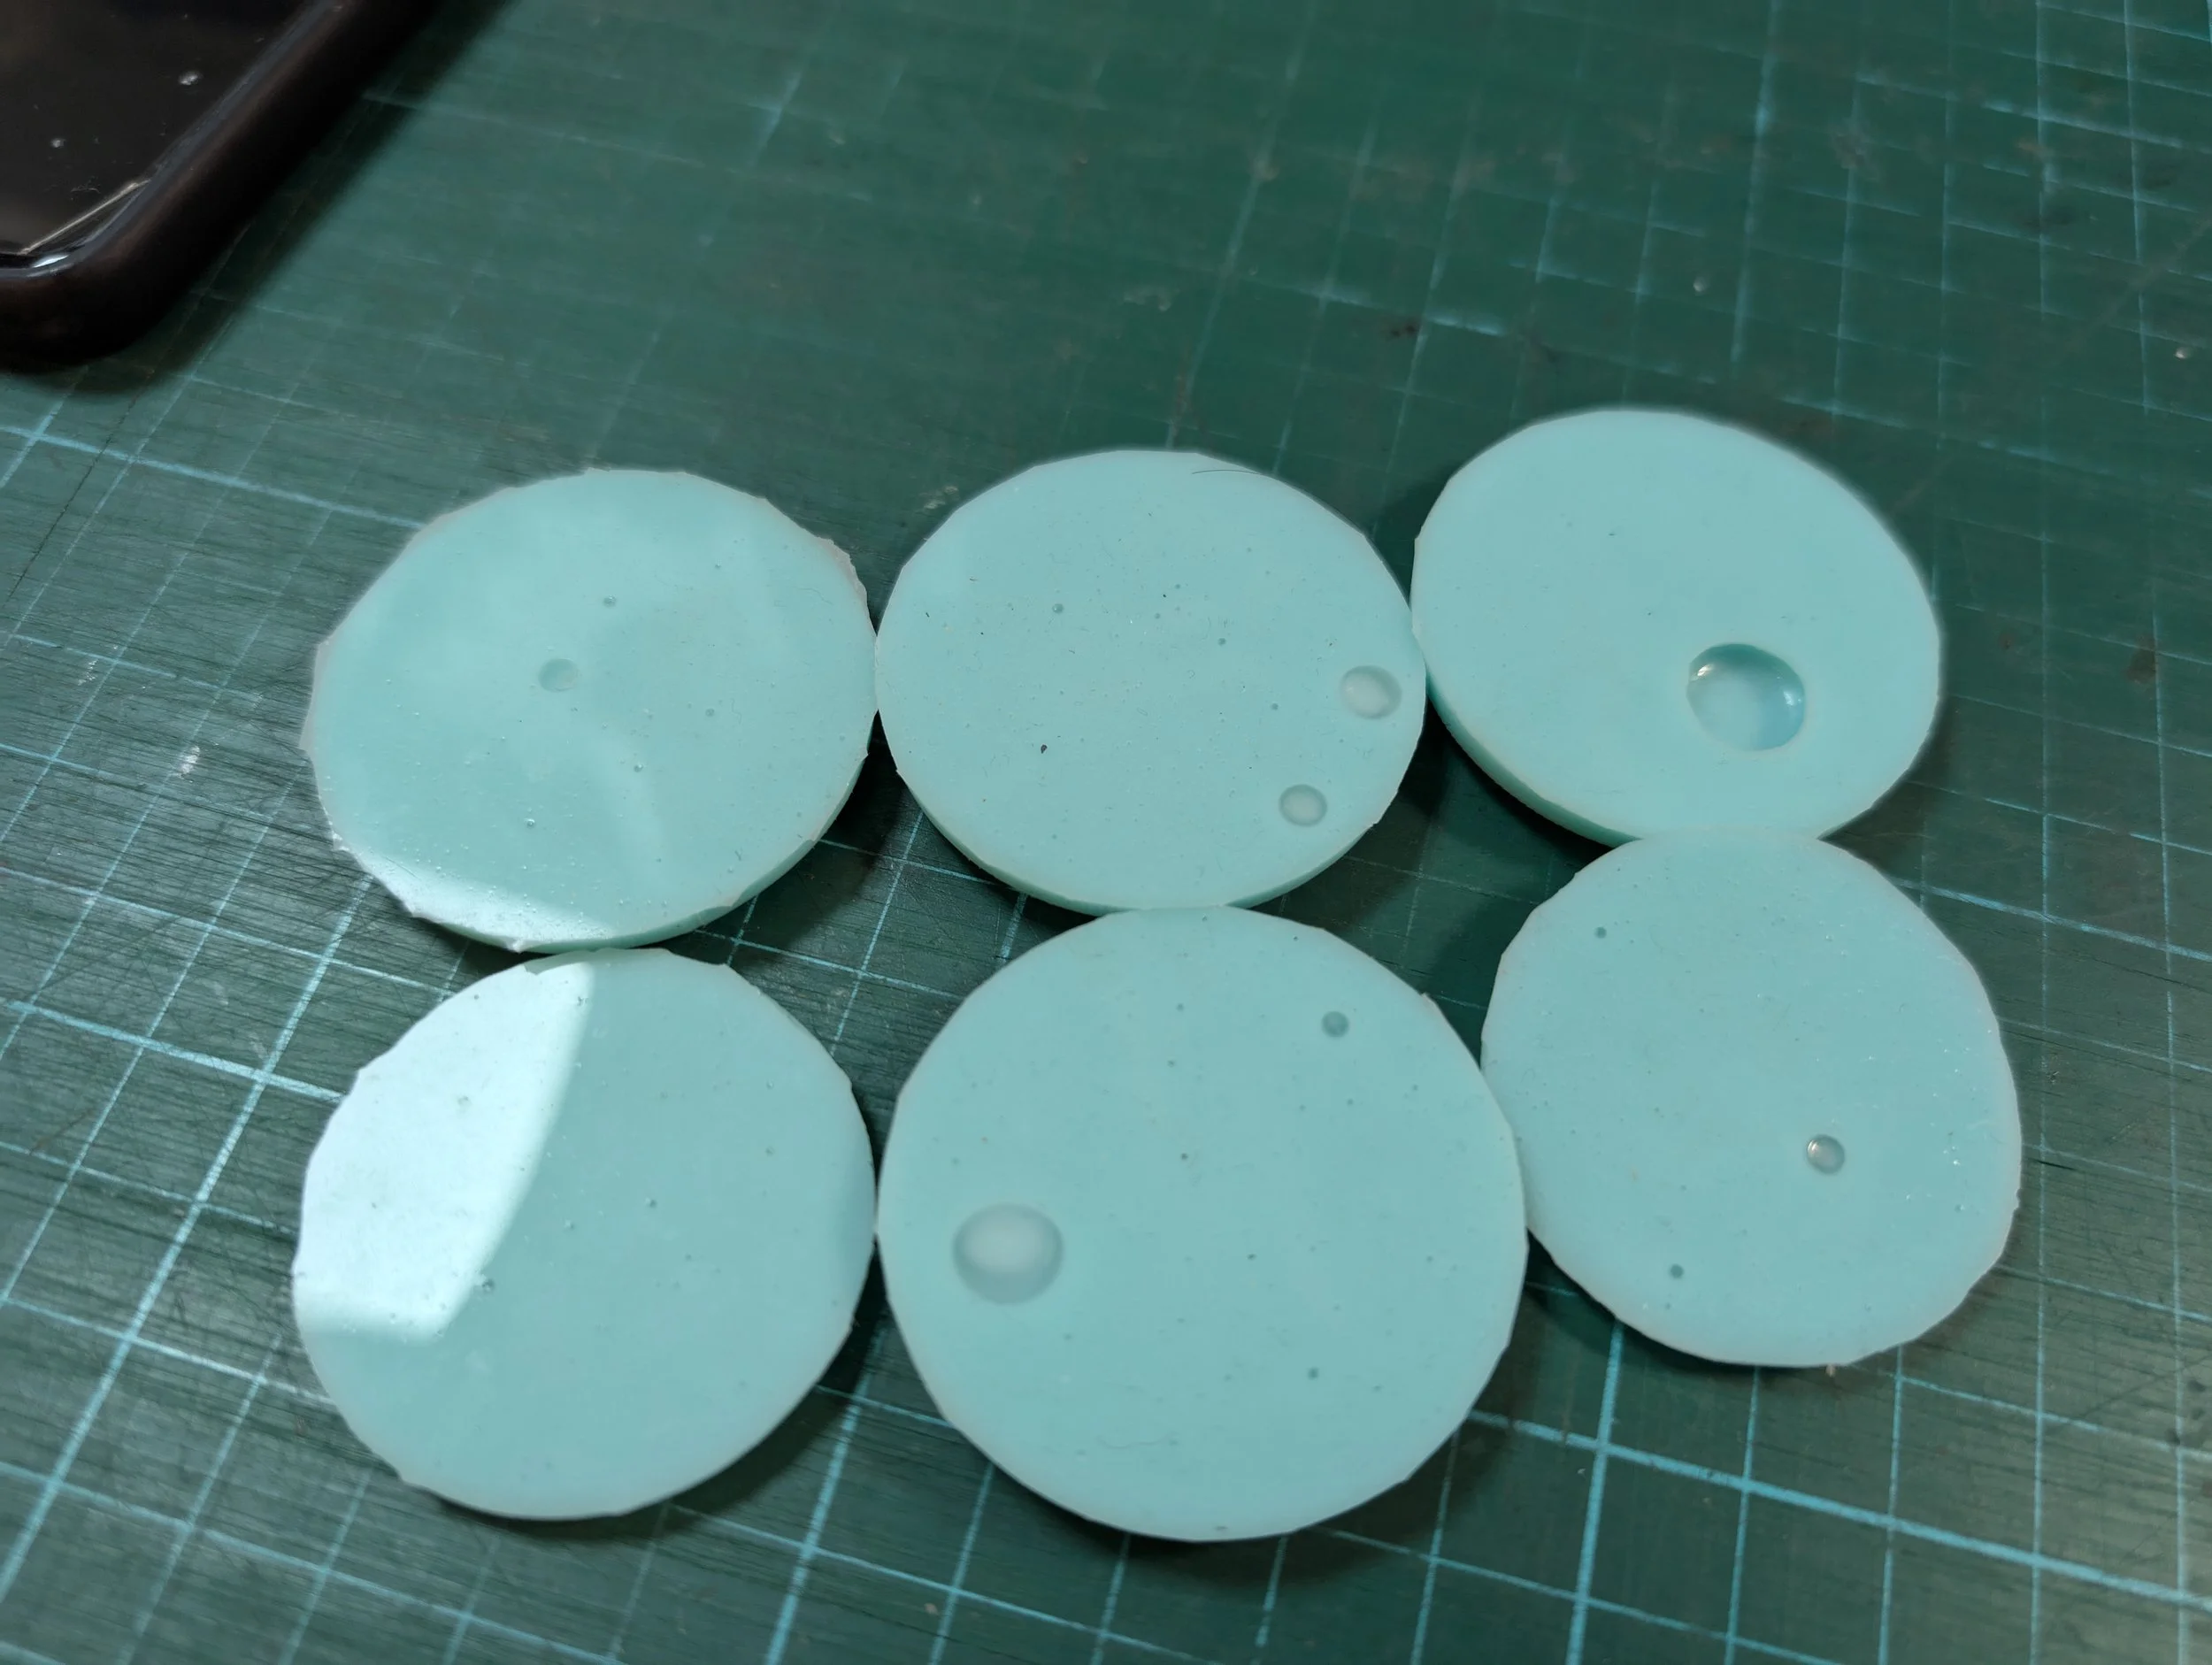
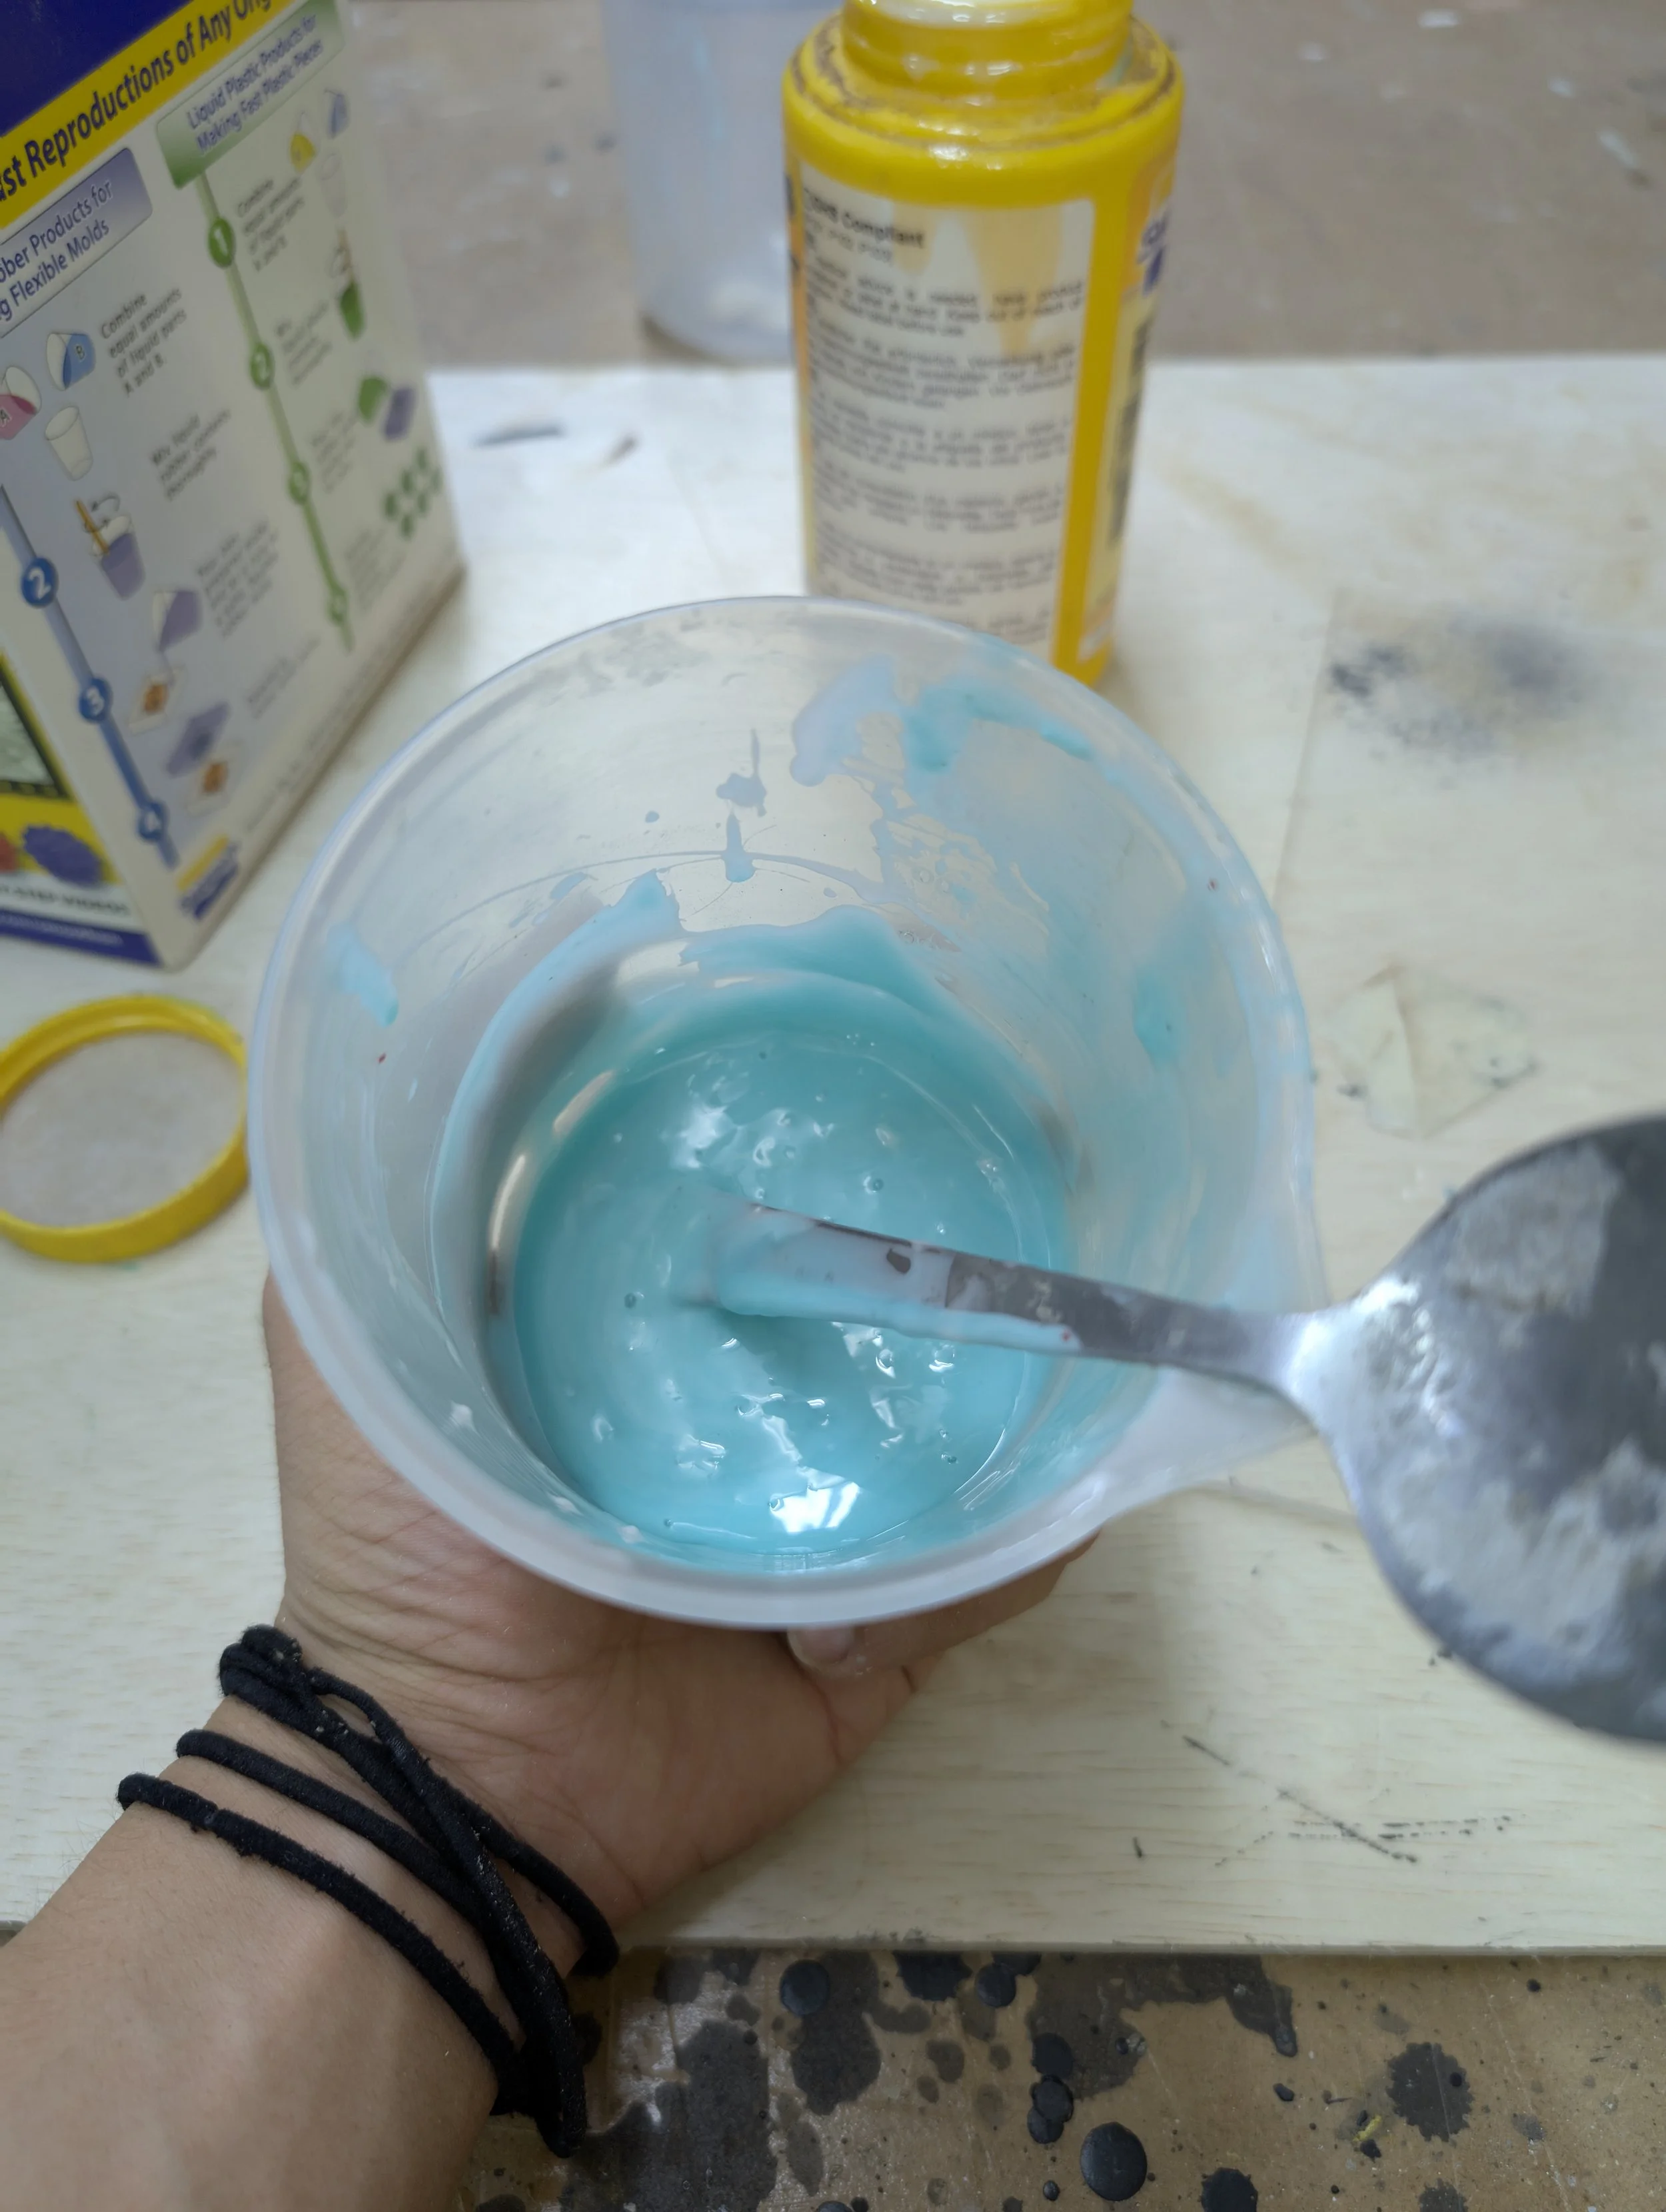
Too much bubble in our cast.
Though this problem could be fix with just more careful pouring and mixing. Let’s try a solution that removes human errors as much as possible.


Engineering Principle
In designing a sand cast mould, there is always a chimney for the air to flow out and a funnel for extra material to flow back in.
As there is air being trapped in the mould, therefore I need to employed some of these principle to solve the problem.
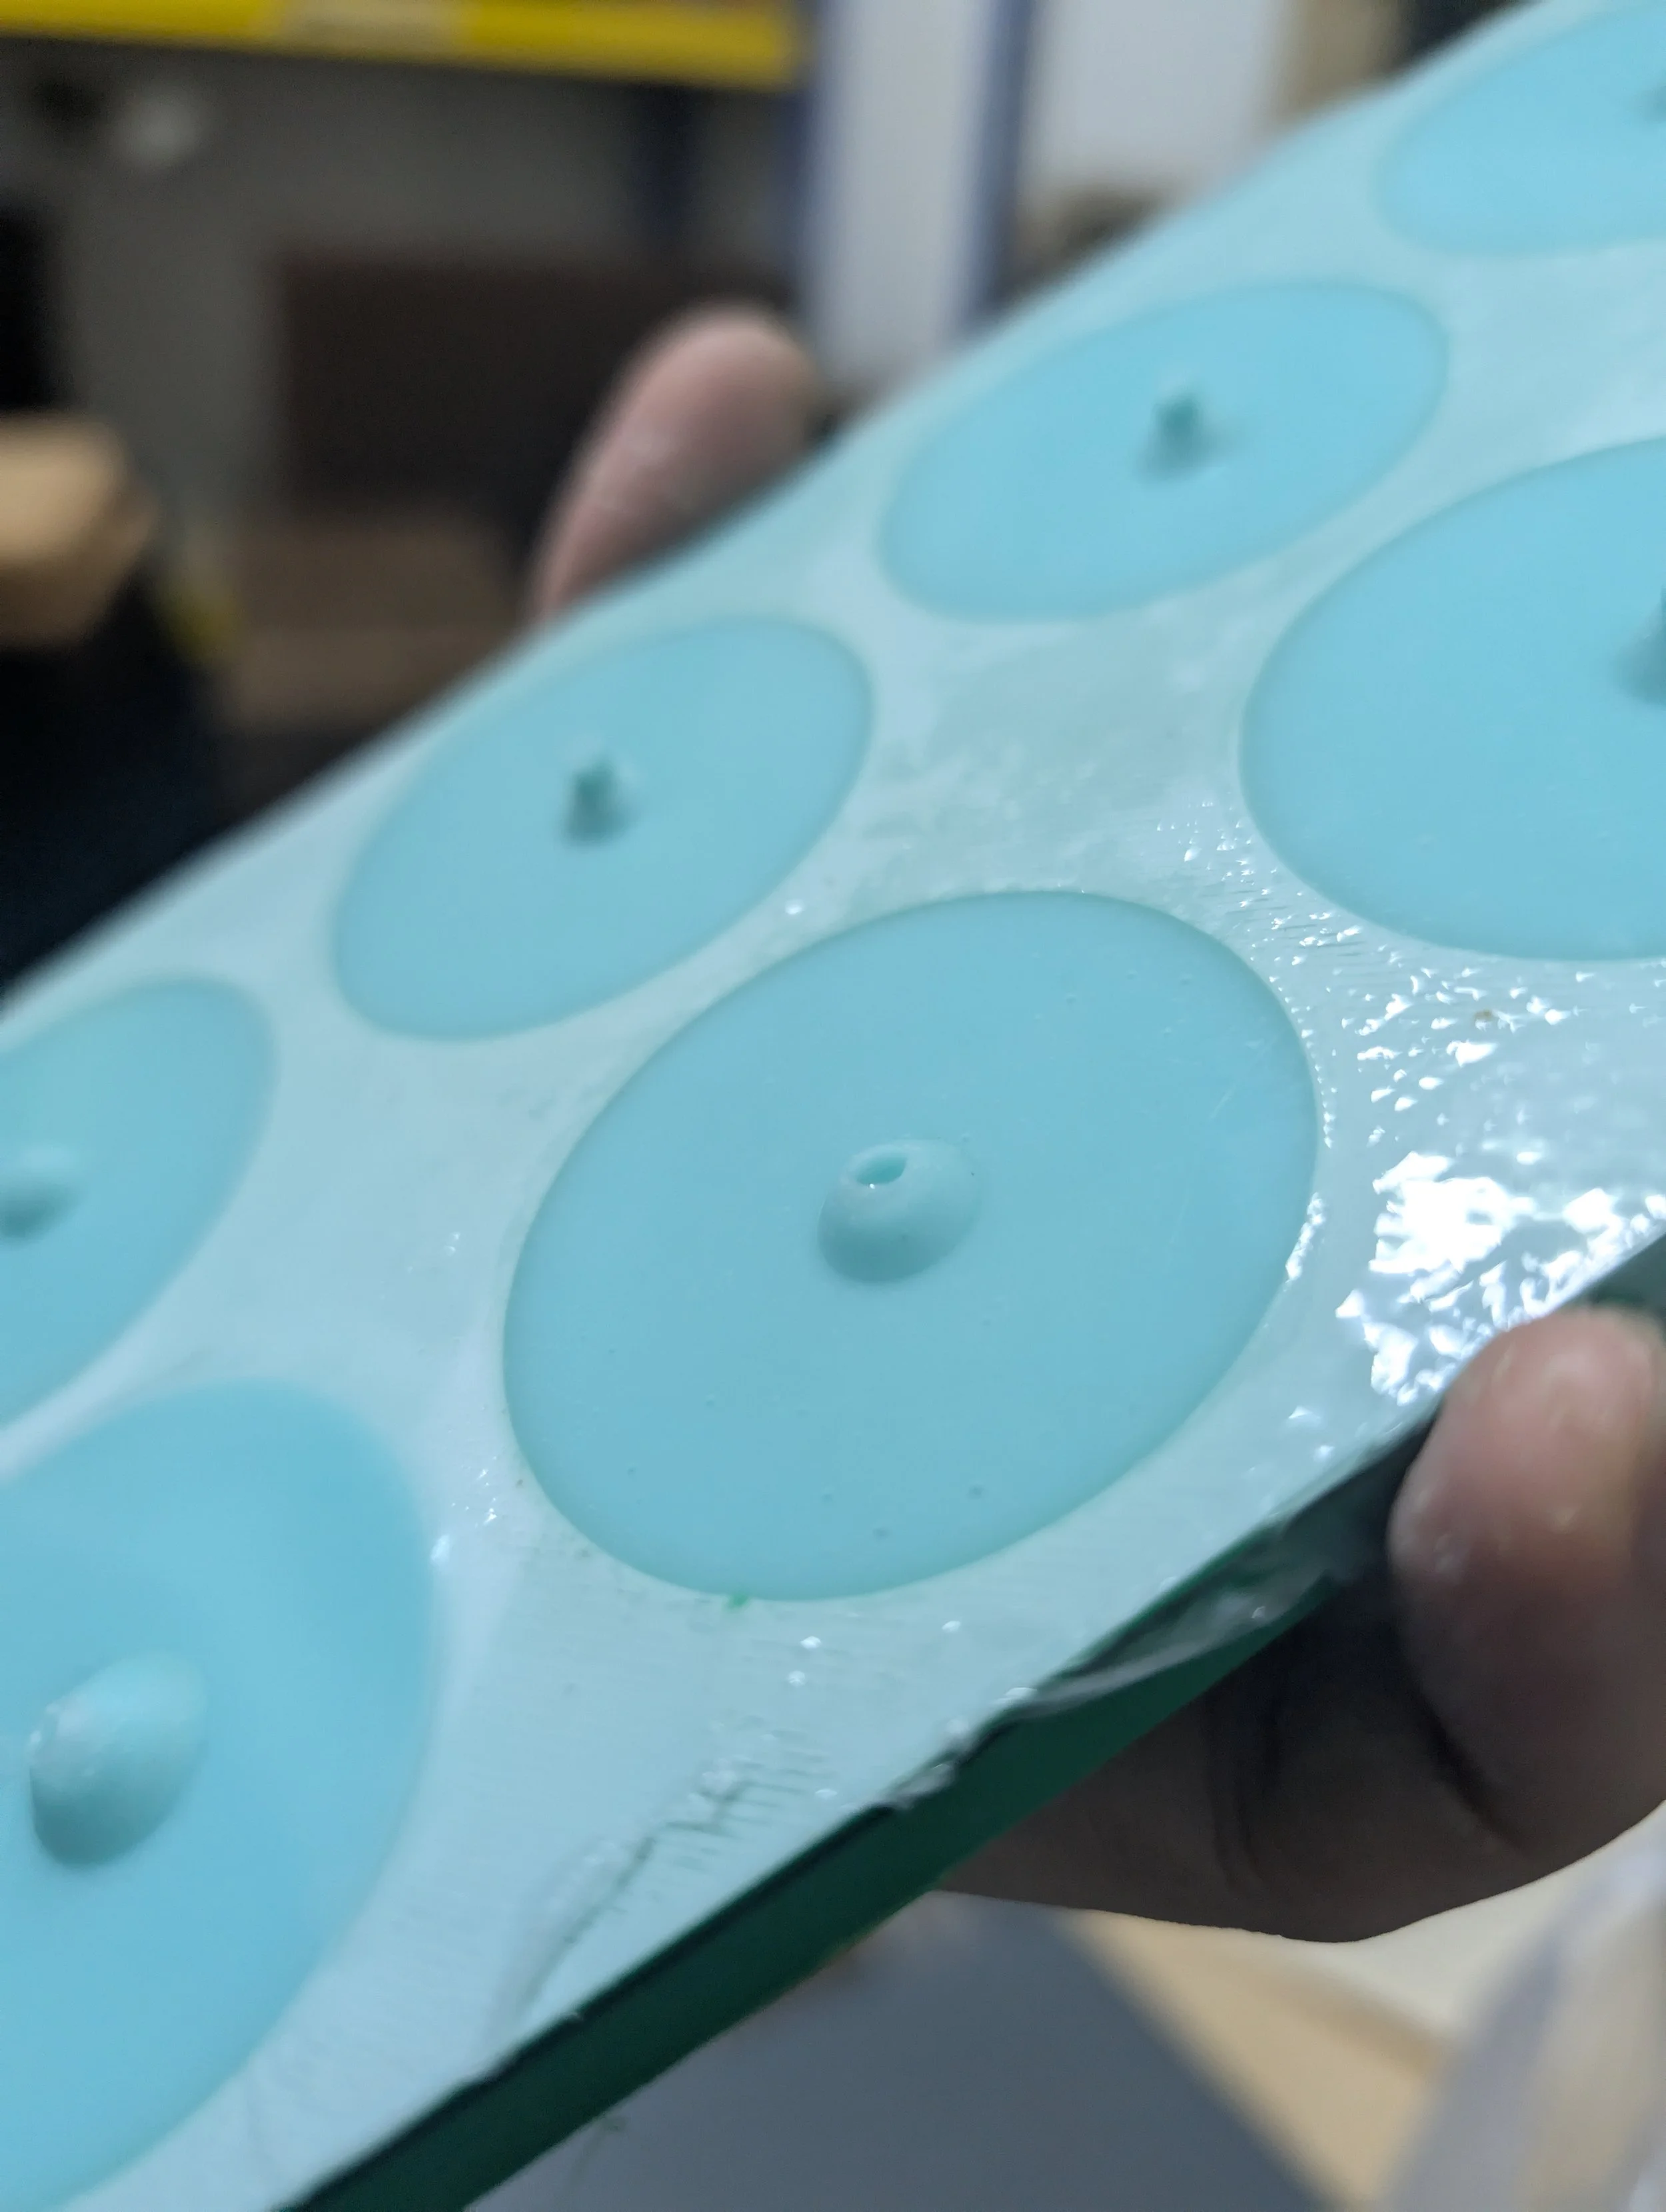
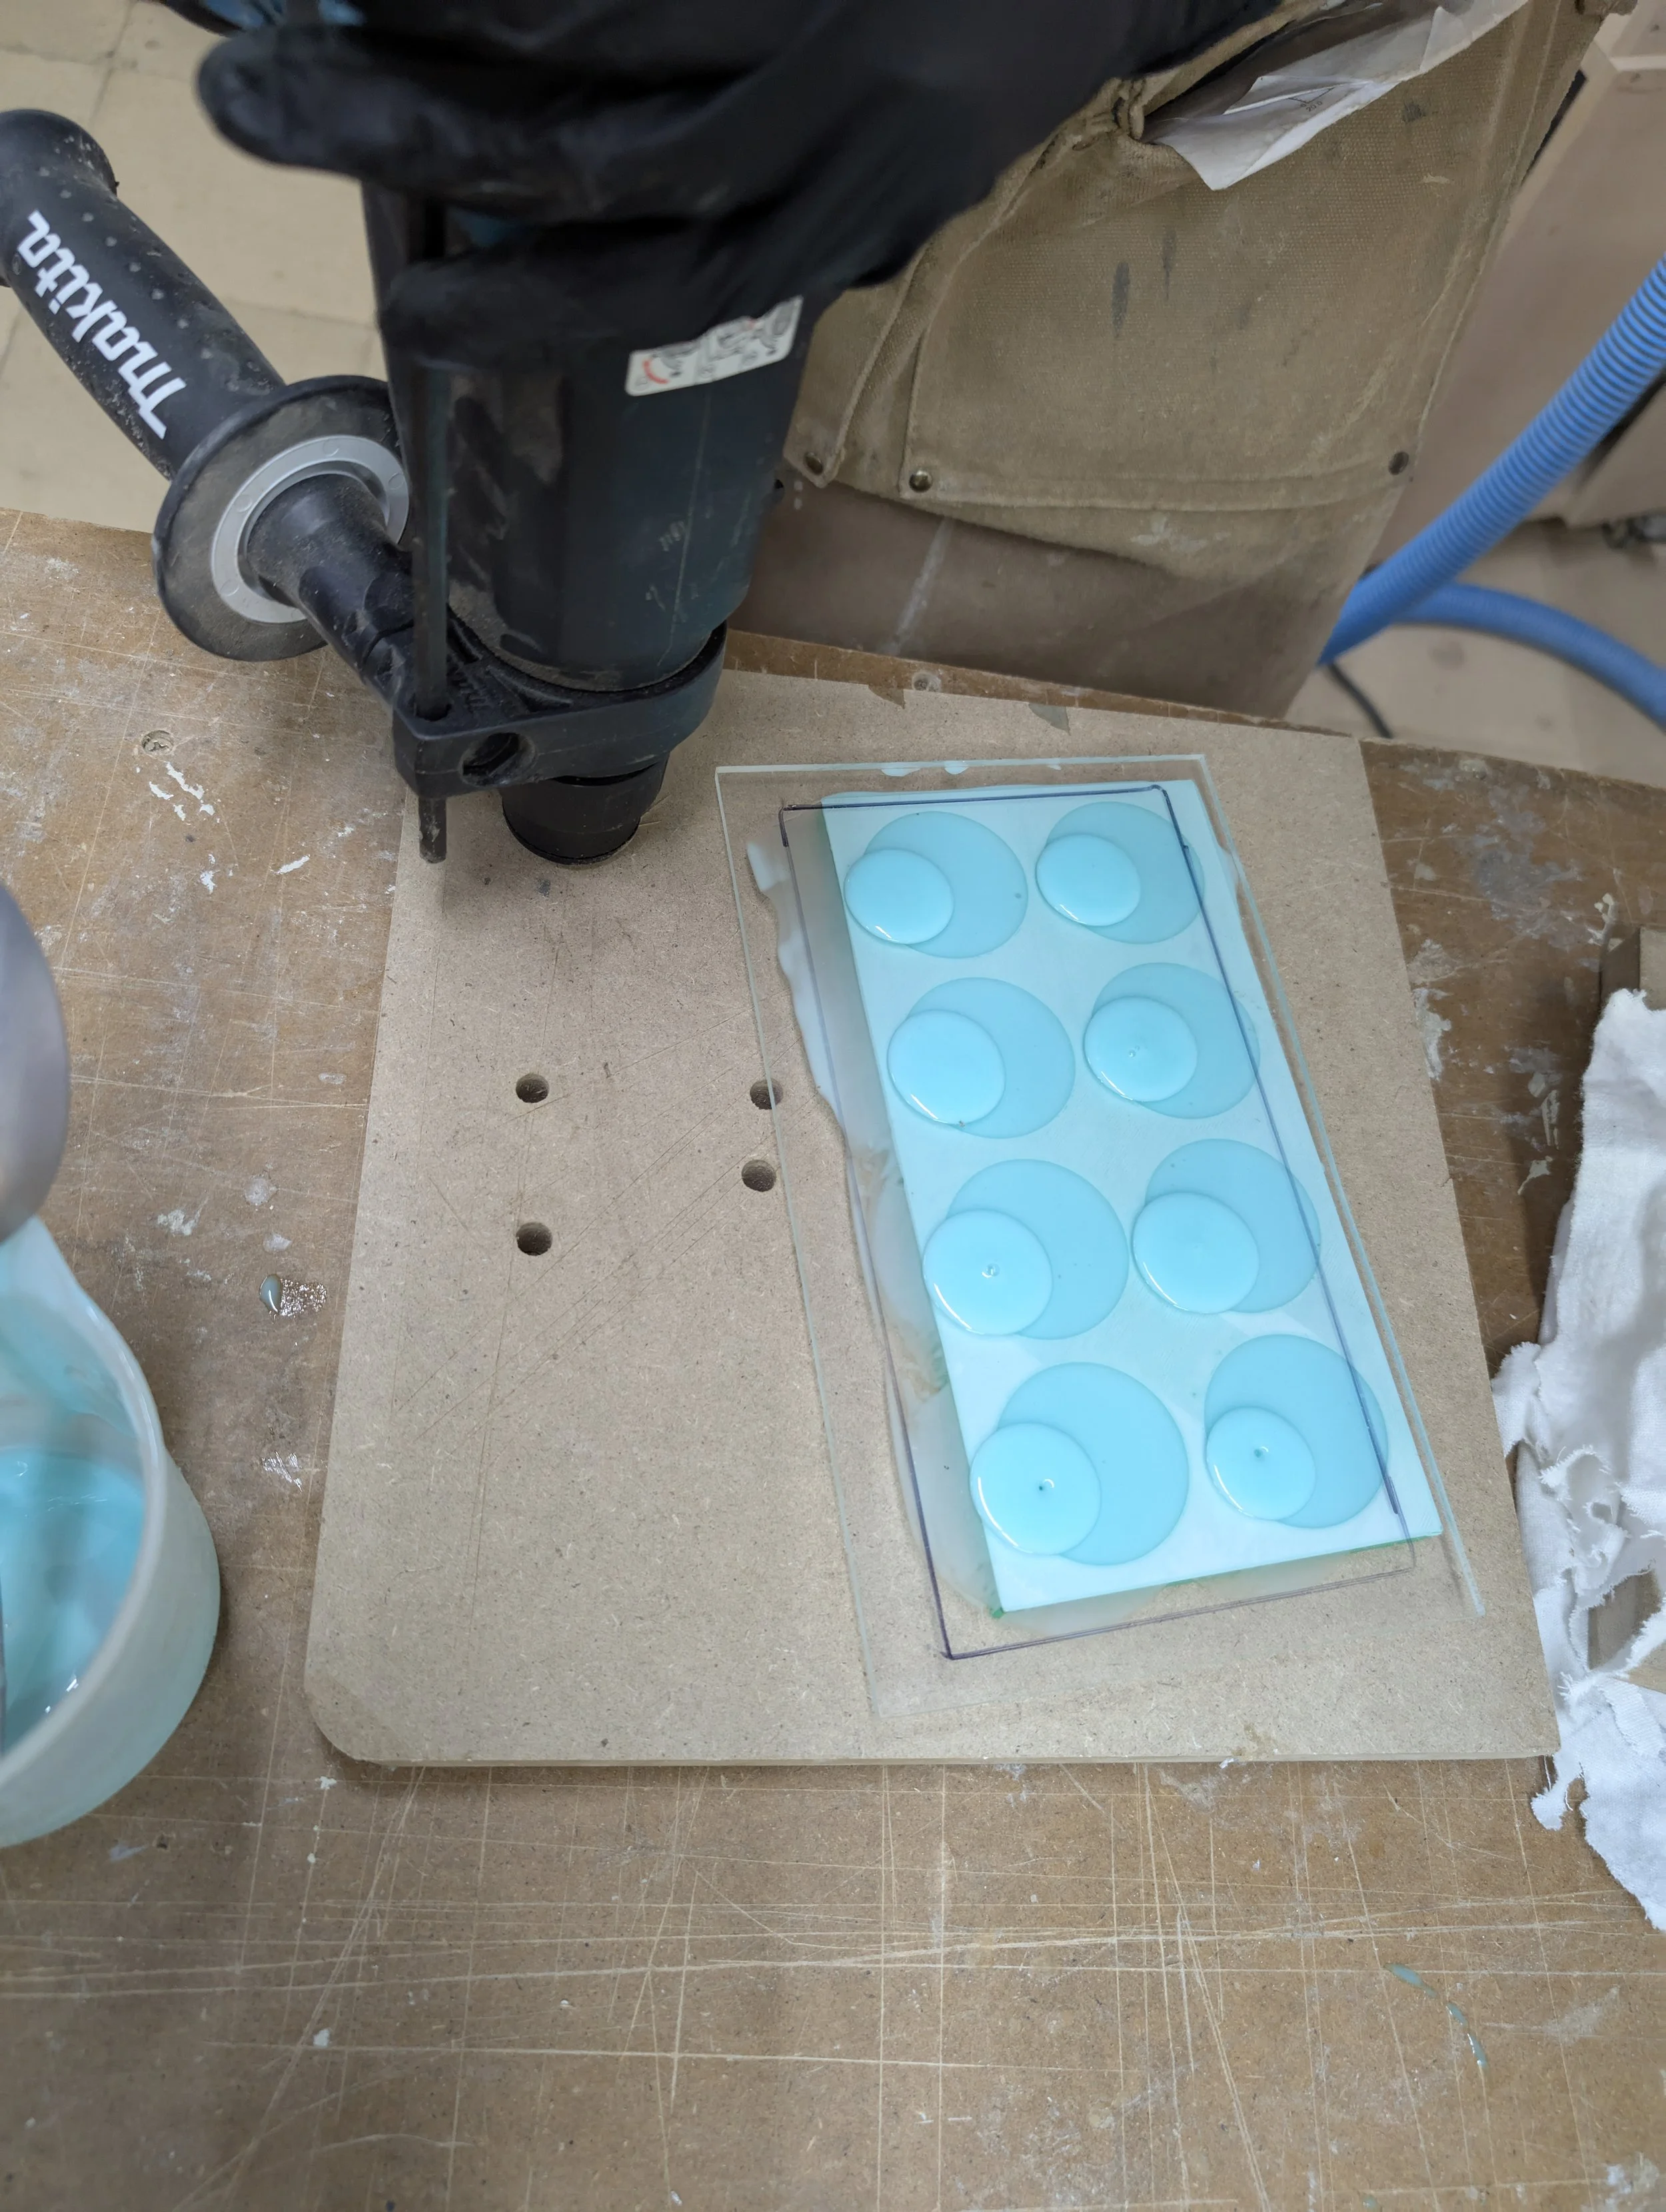
Process
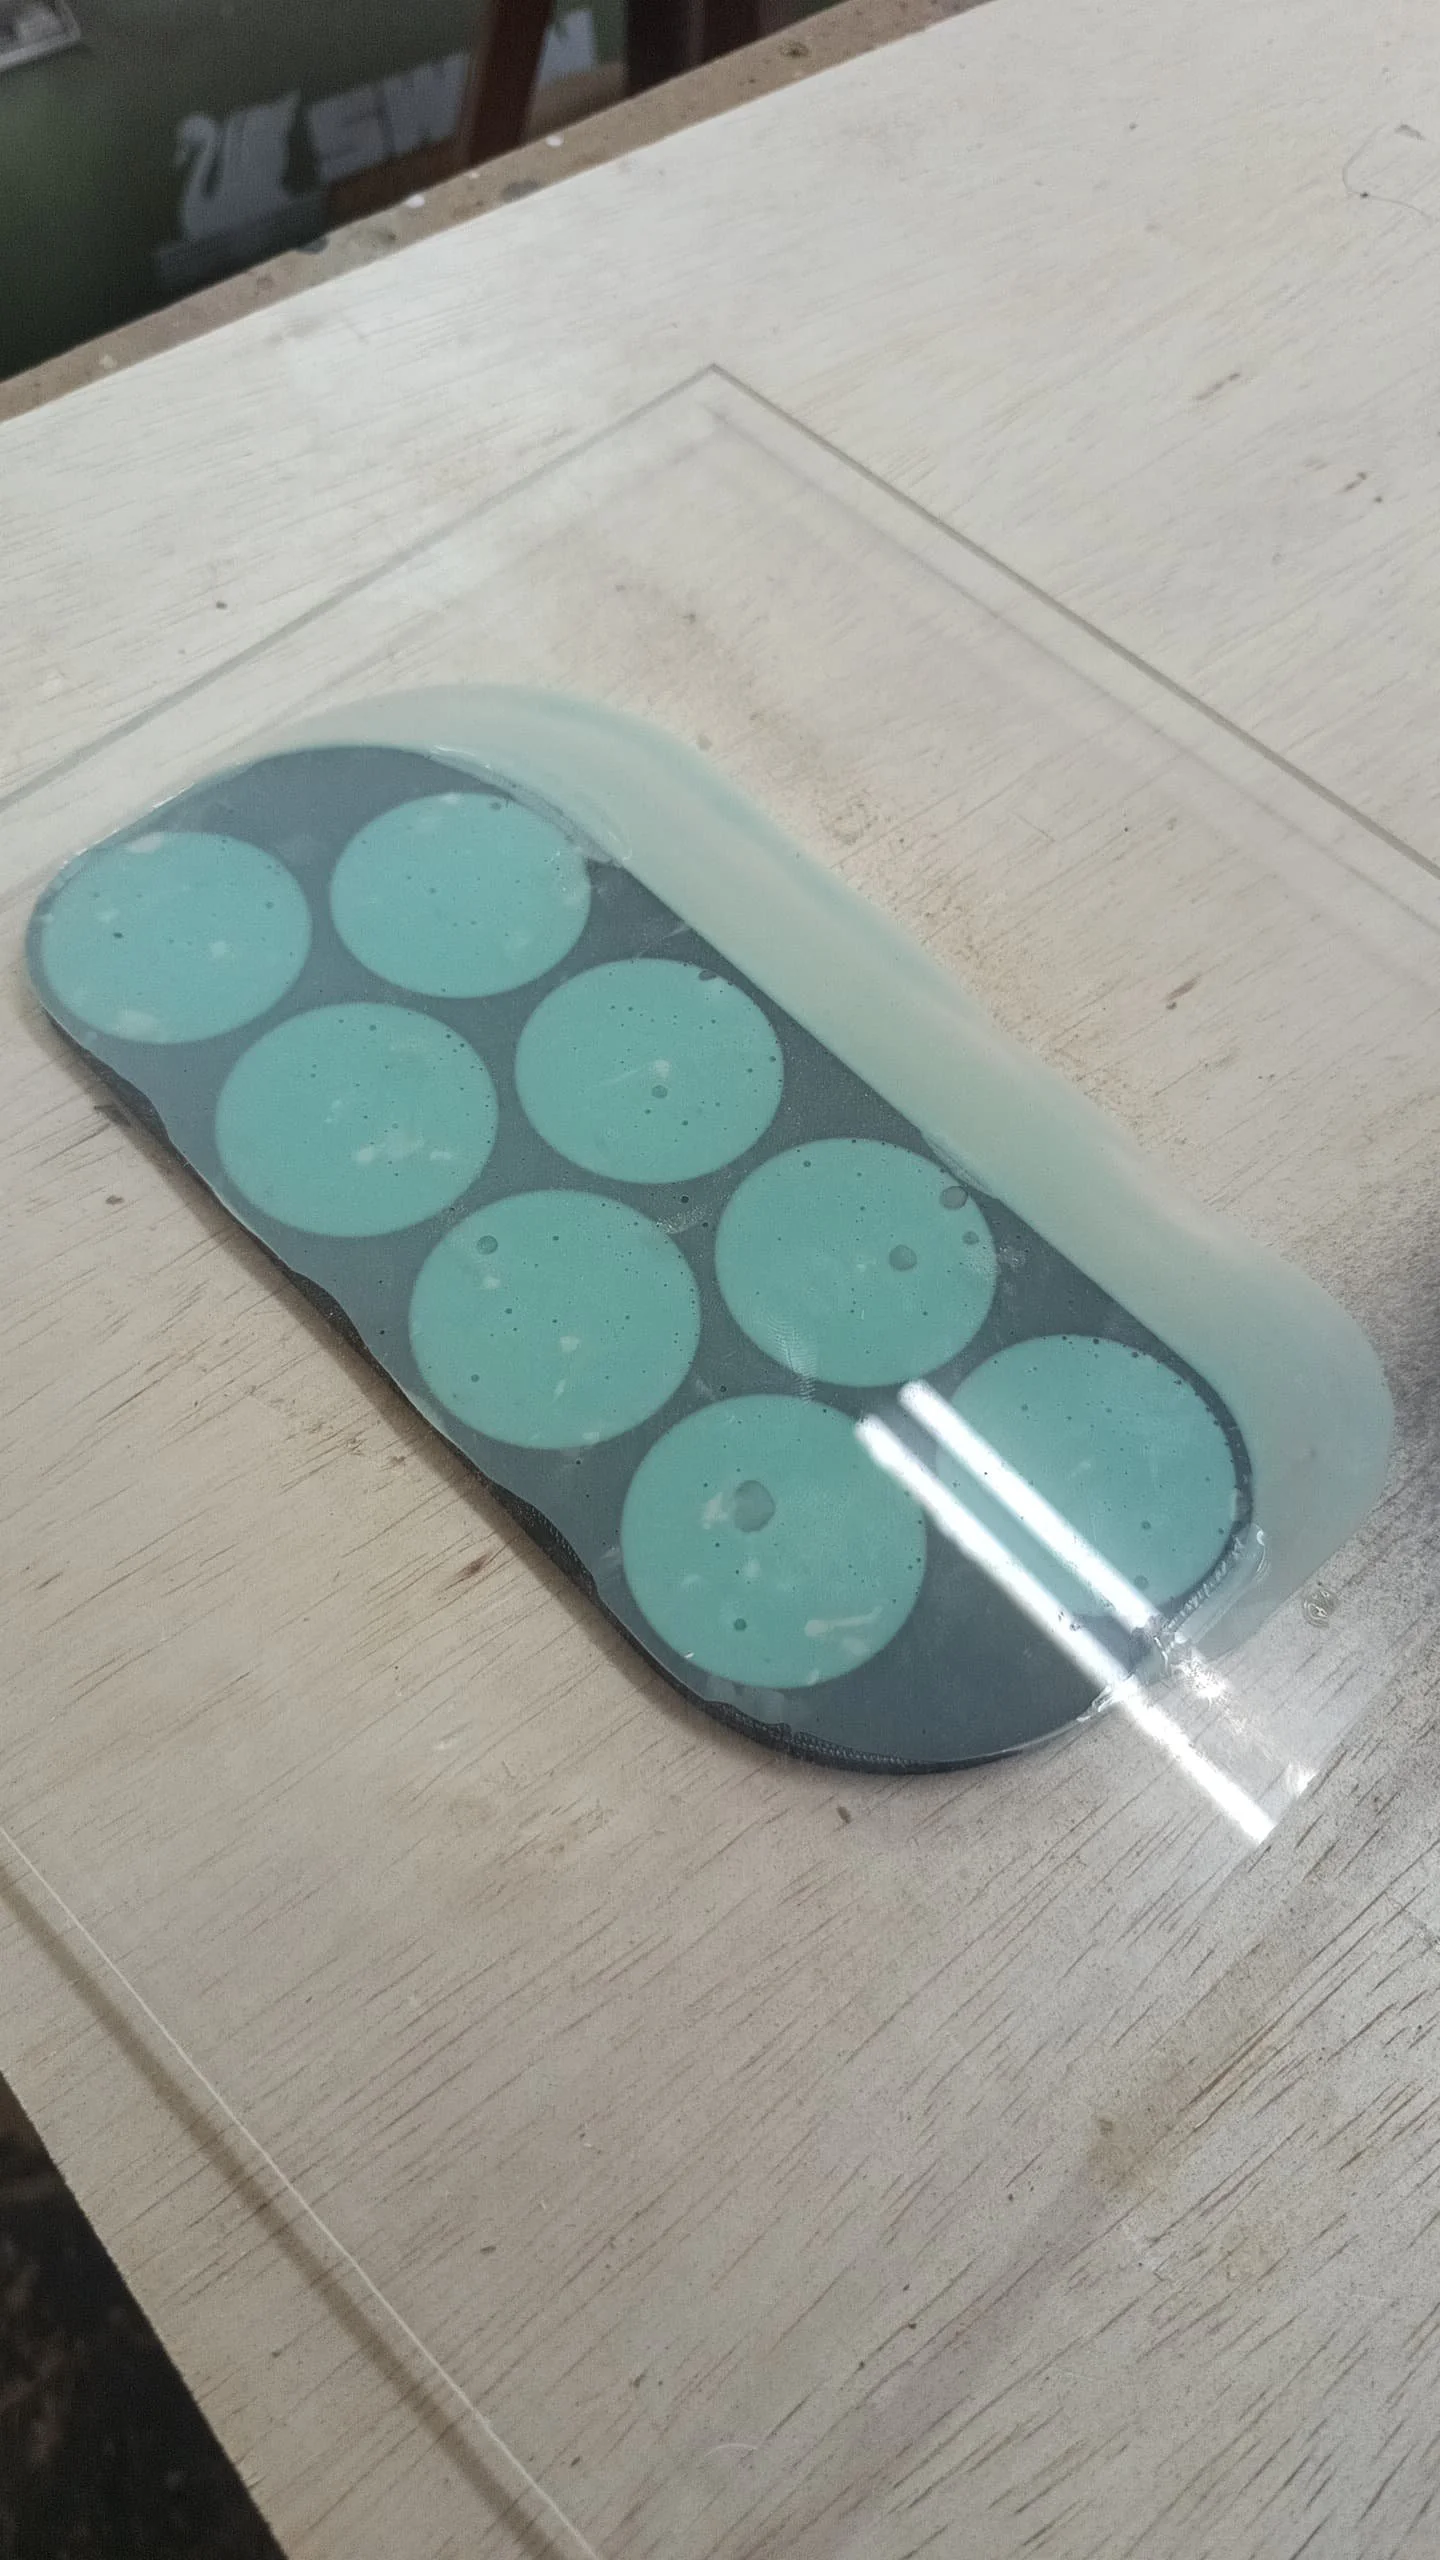
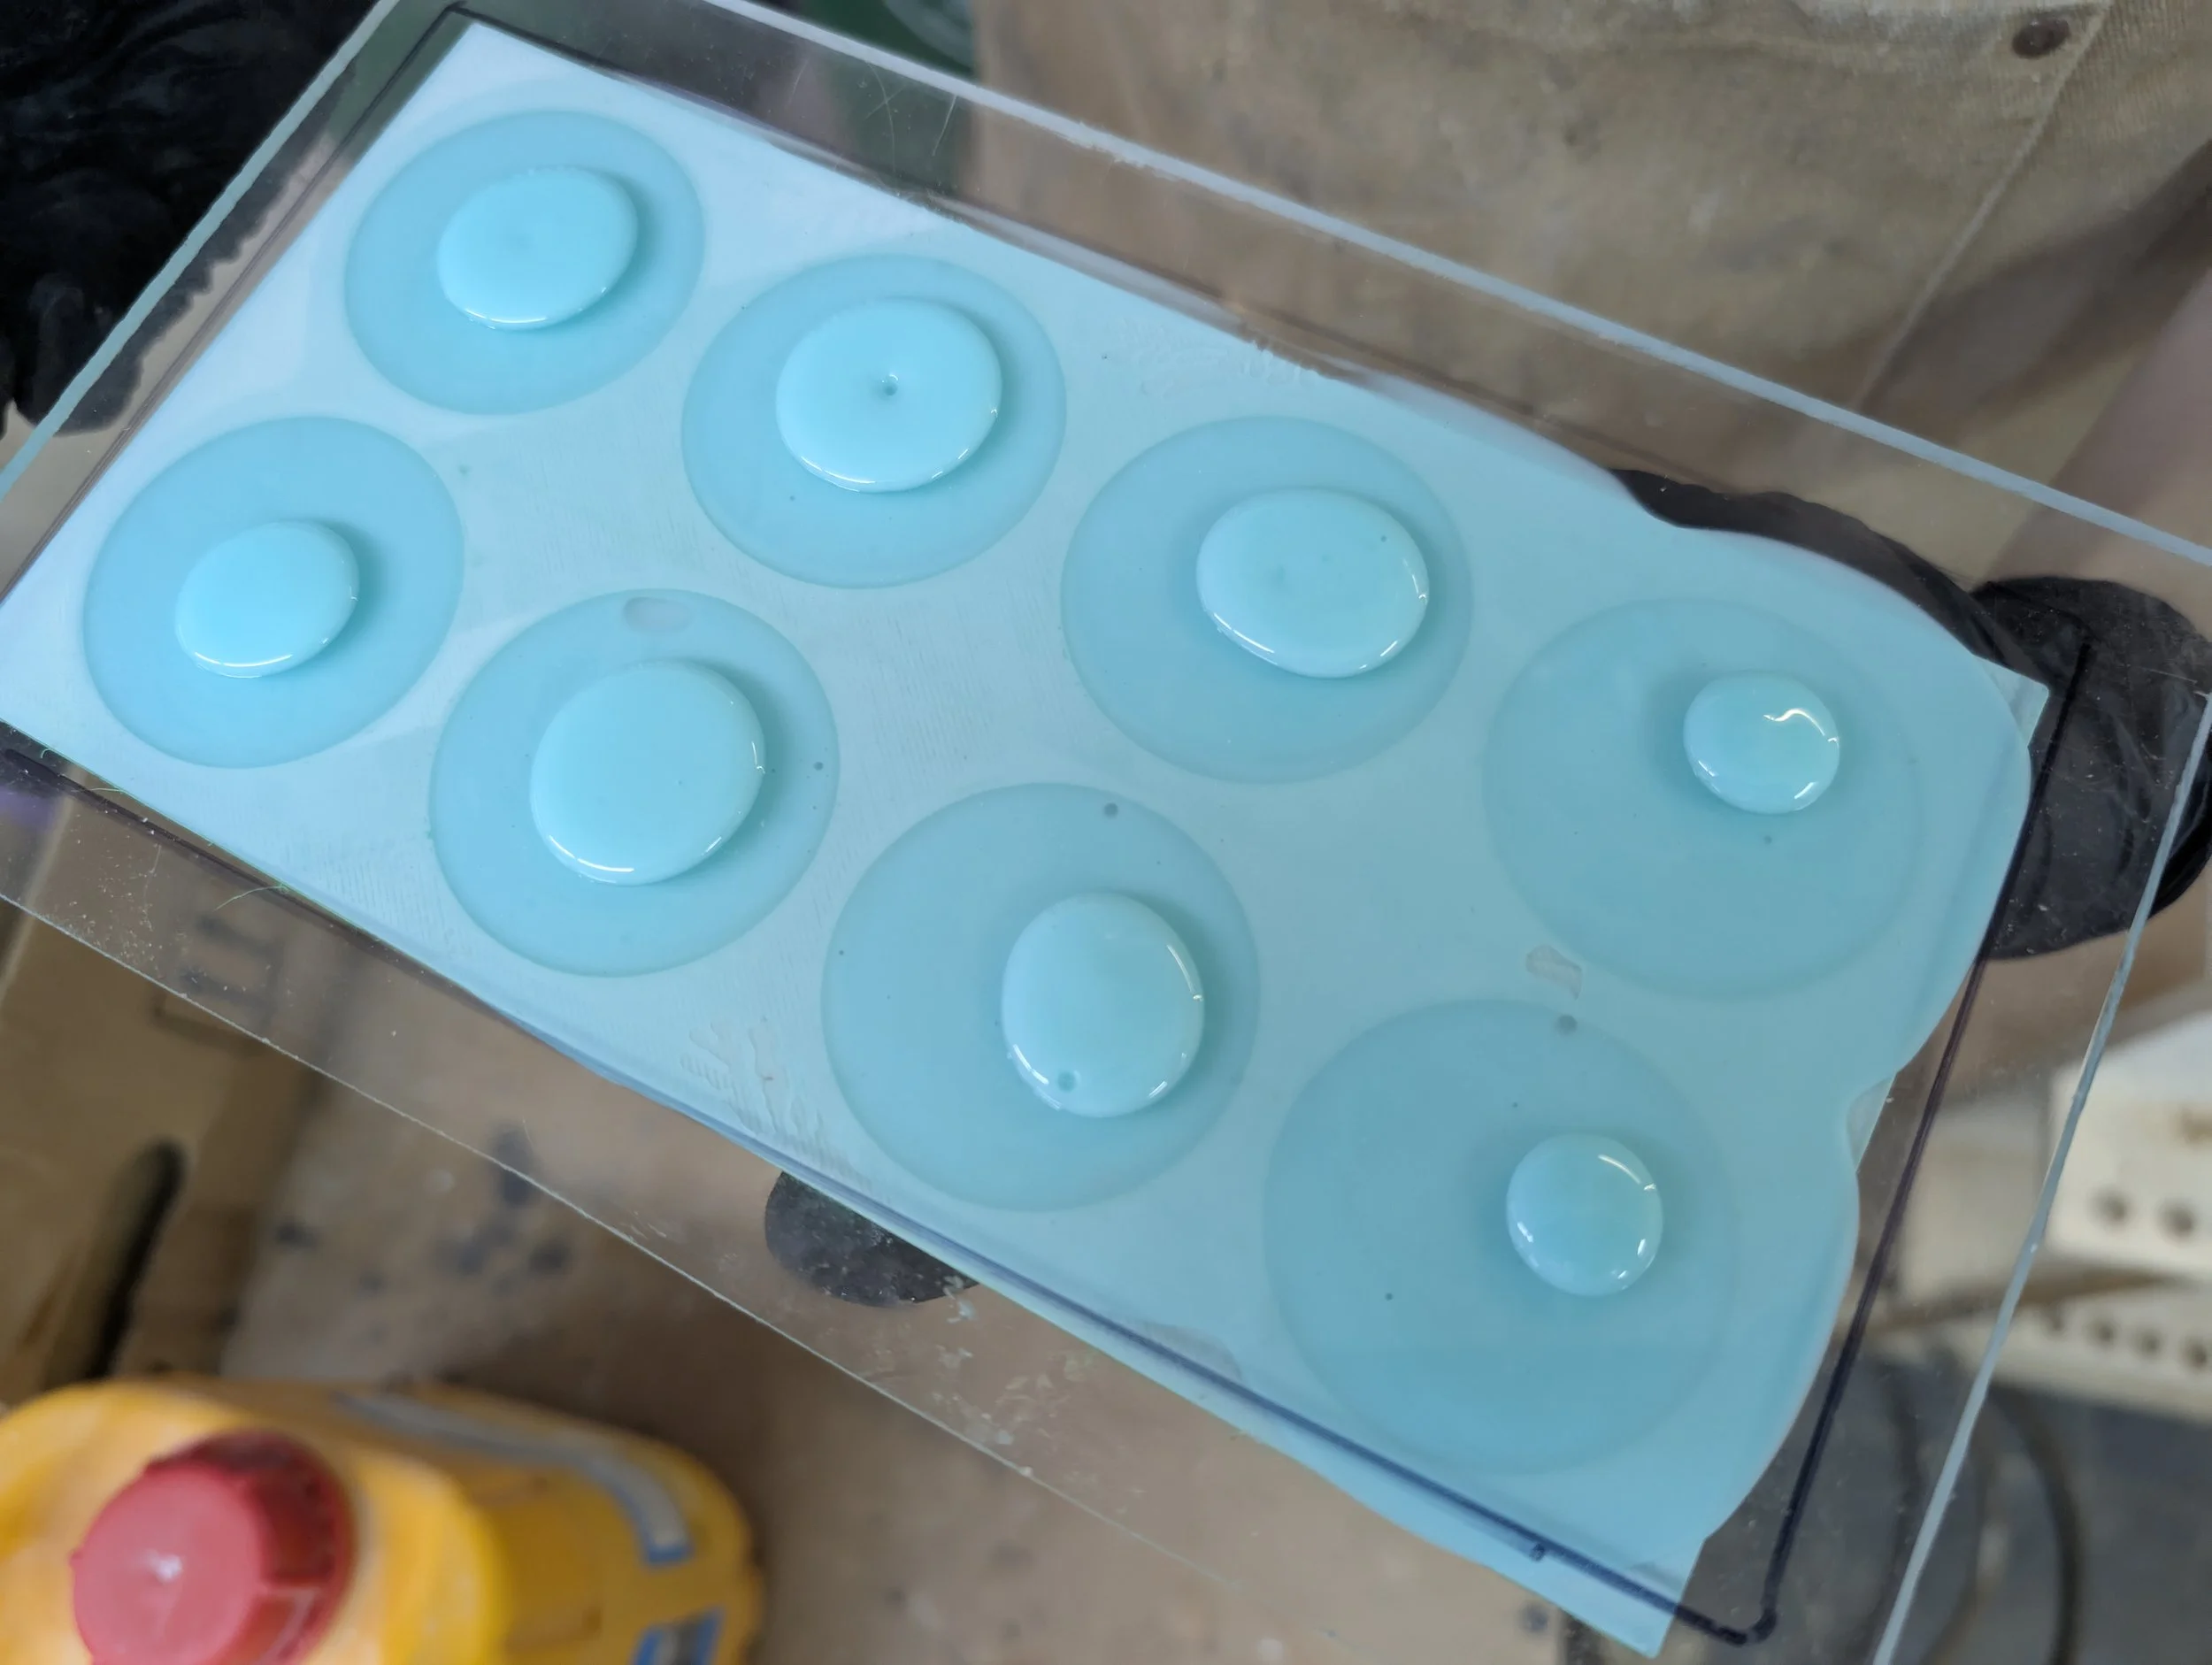
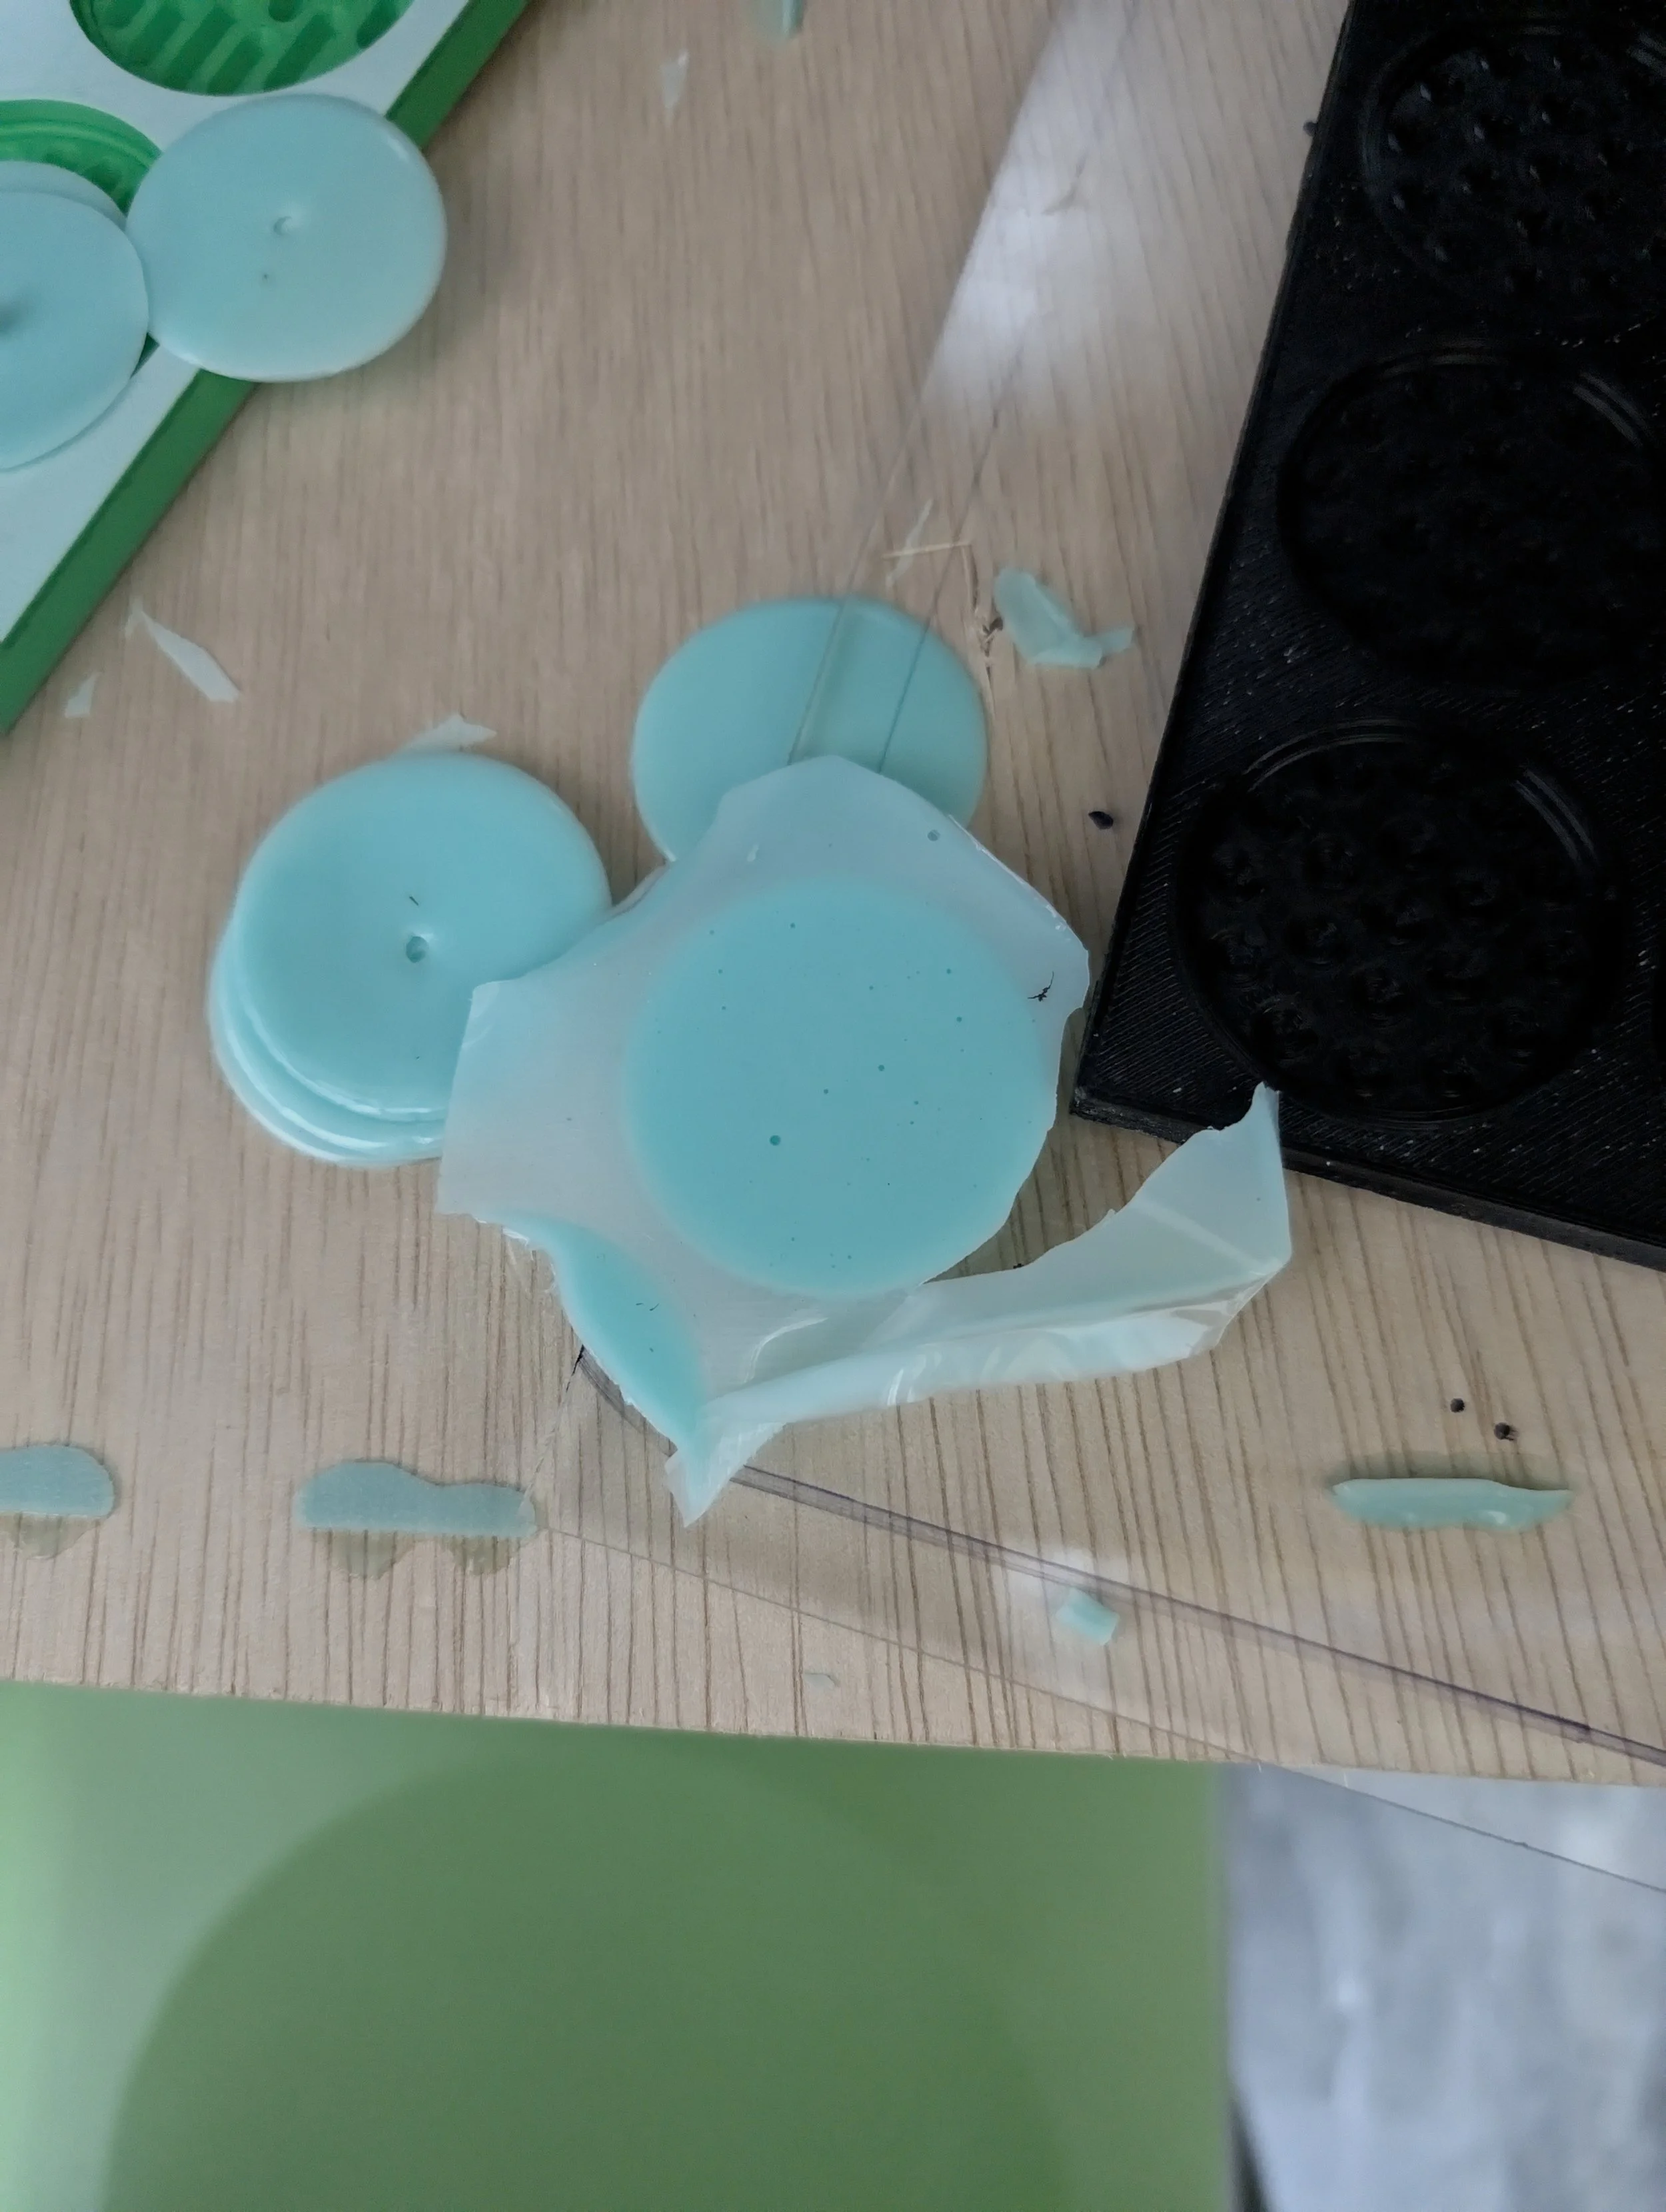
A singular hole is drilled for each of the mould to allow the air to escape.
However, silicon is too thick for the air to flow out. Hence, we have to physically move the hole to the air my bubble, shake it for the material to flow in and the air to flow out.
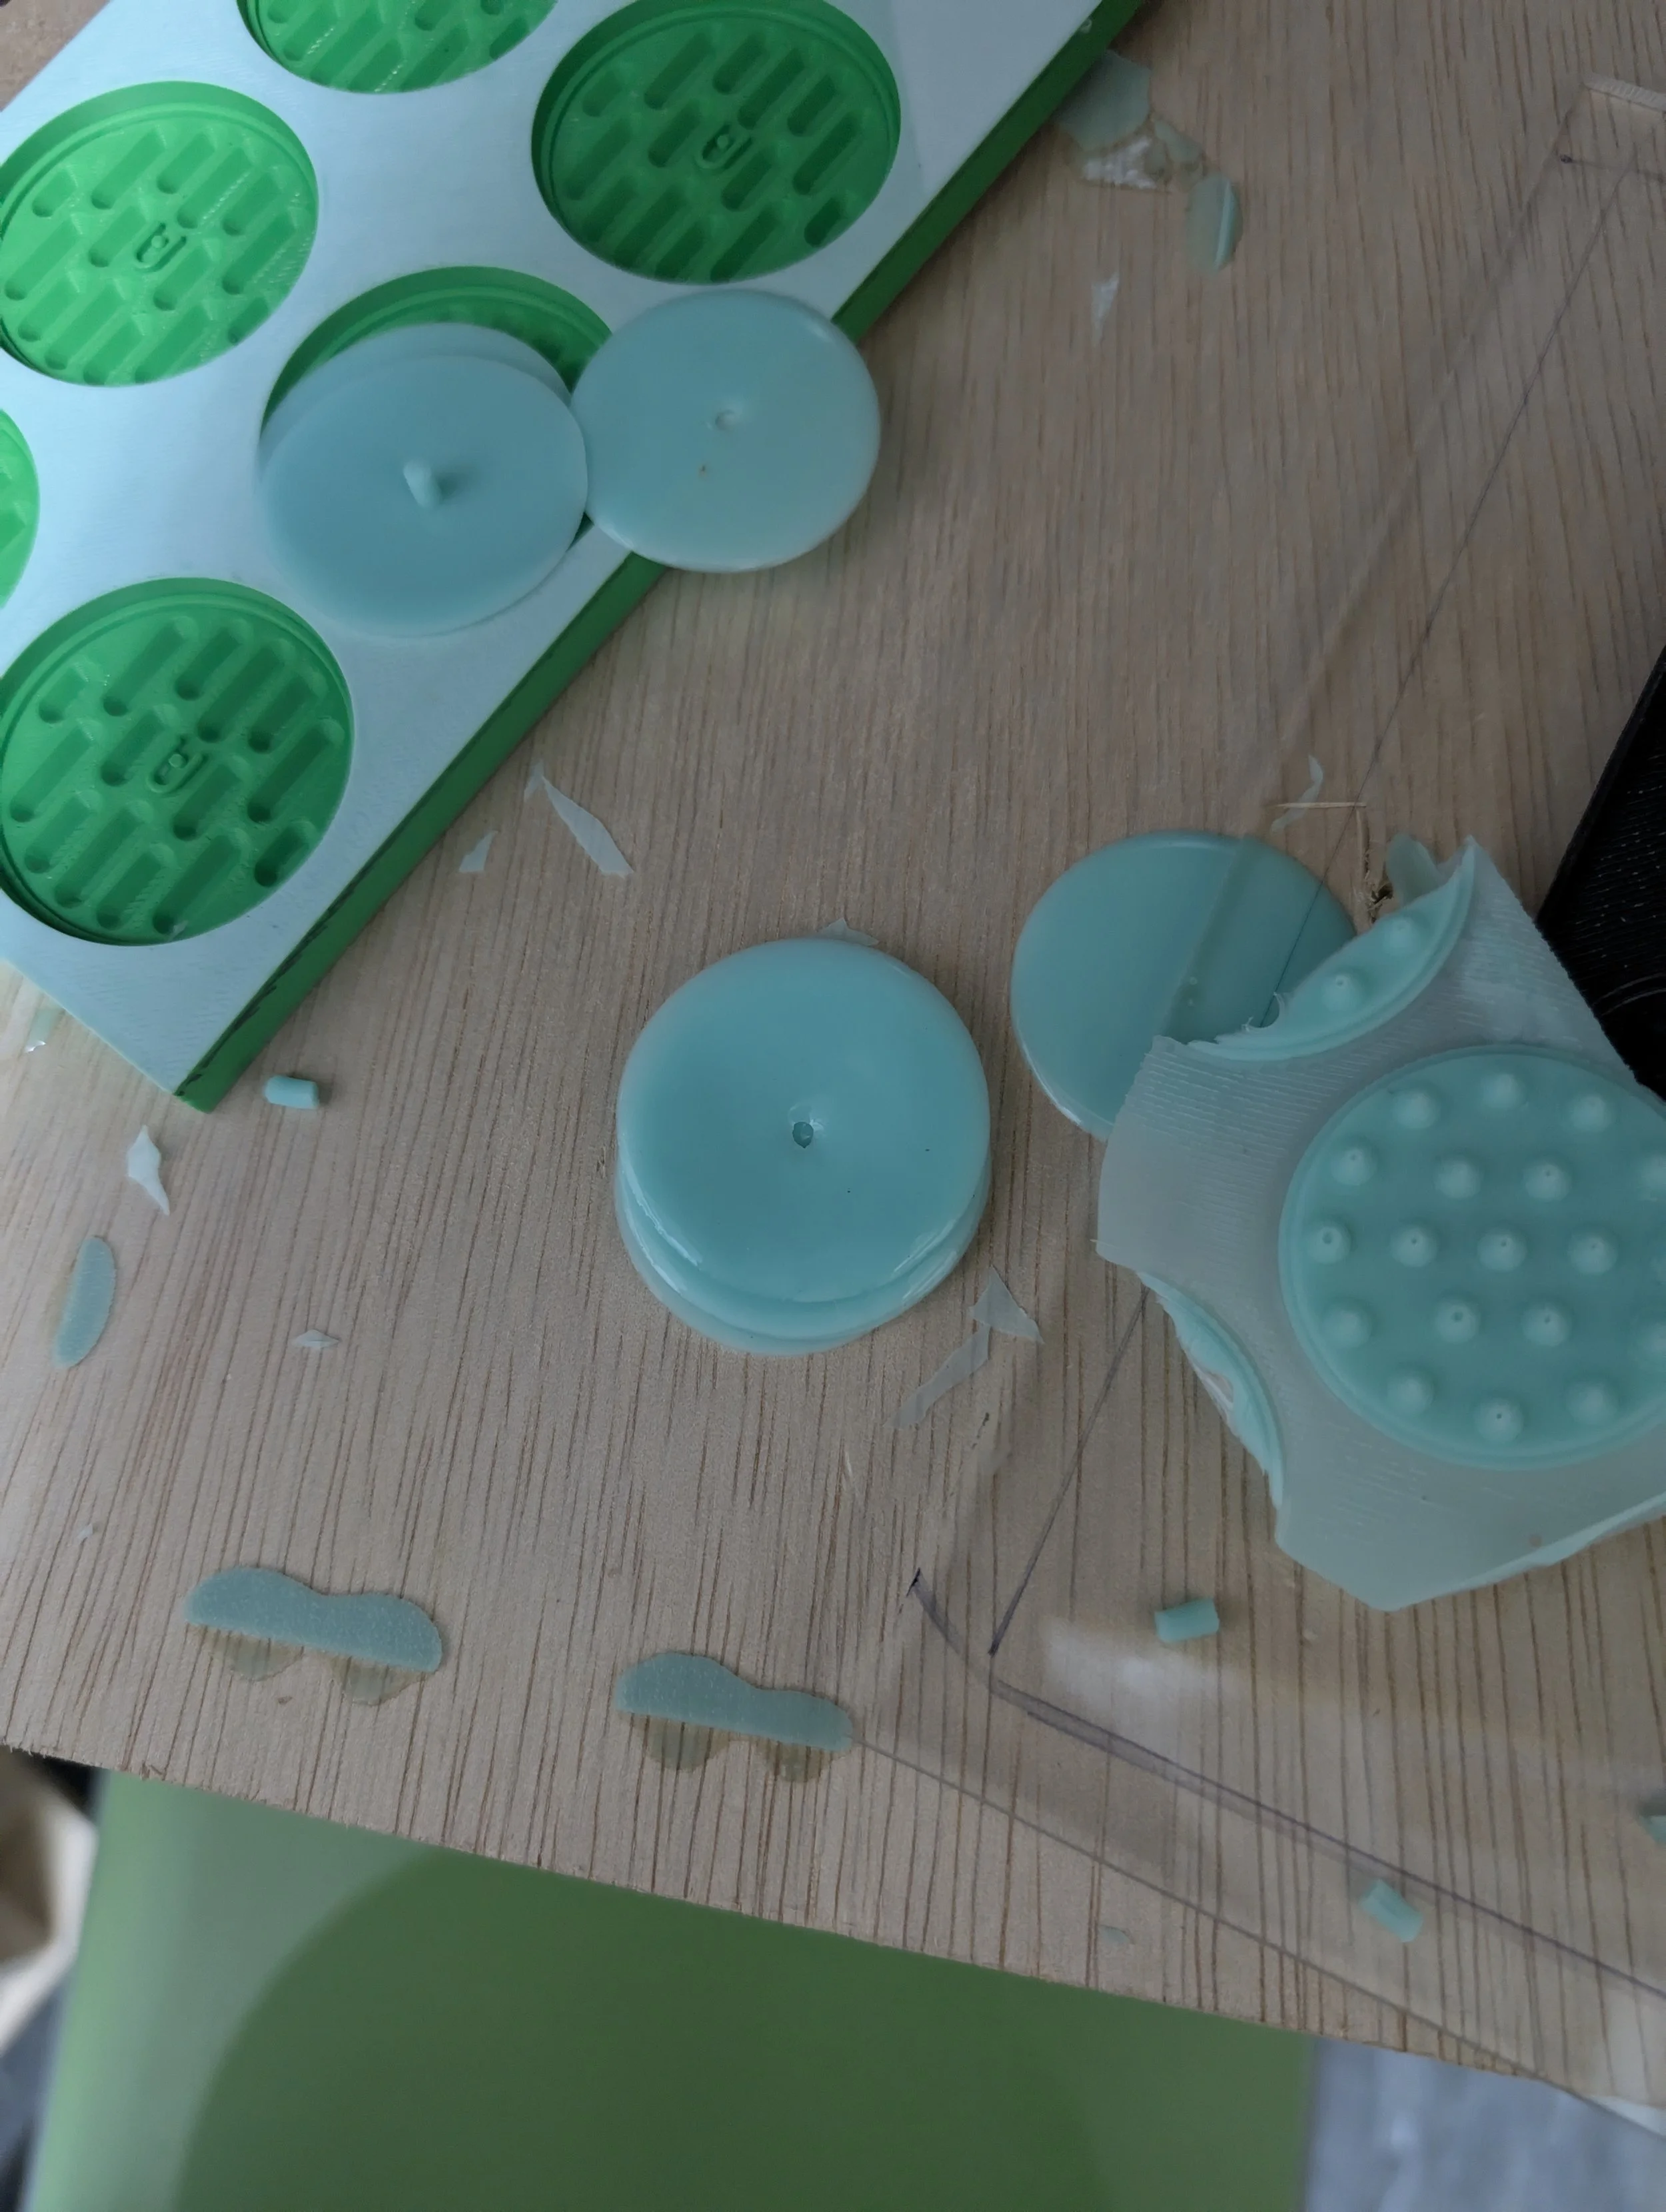


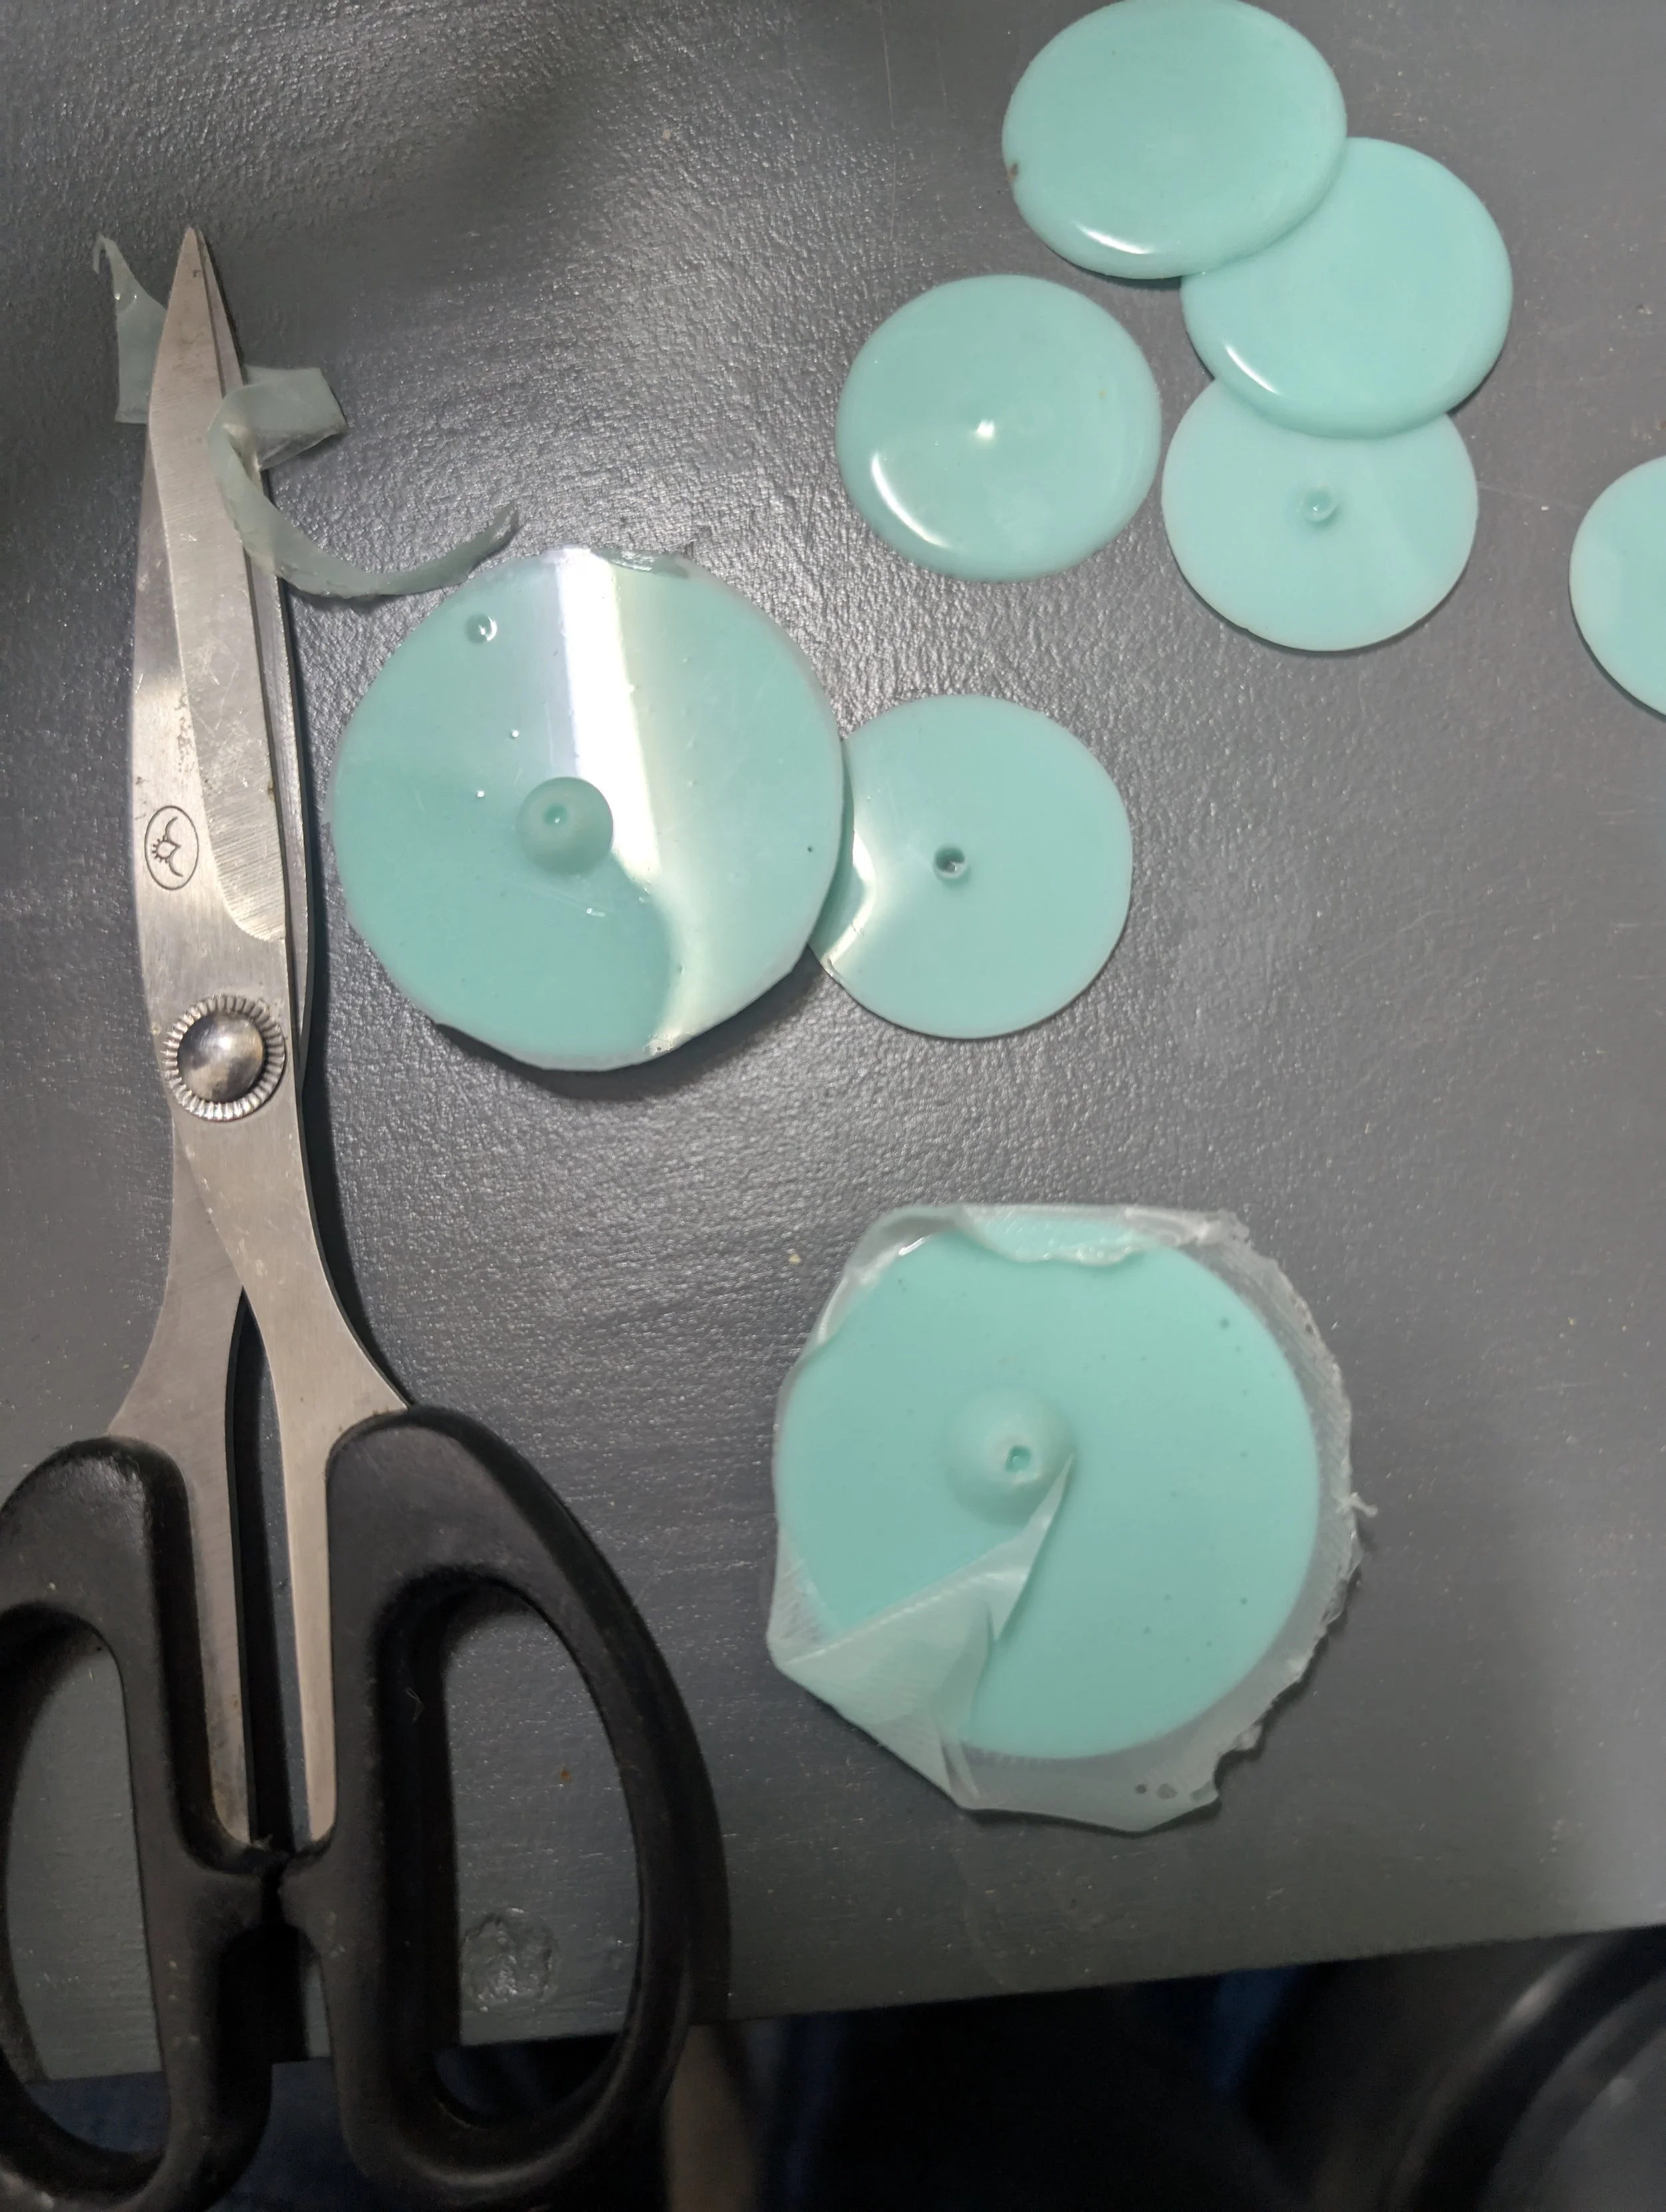
Result
The result was that these cast turns out better than the previous iterations. Less bubble.
However, some problem still persisted. For example, there is still a lot of skill required in trying to get the bubble out, and is inconsistent. I also drill a counter sink, however we put the plate backward, hence the “funnel” didn’t work as intended, hence it was really hard for the material to flow back in. The funnel shape is also really hard to cut off after.
Therefore, I proposed for the next iteration either:
Have more holes around, so there is less distance between bubbles and each hole. Allowing the air to flow out easier.
Have at least 2 holes, 1 for air to escape and the other for material to flow into.
Or just inject the silicon with the mould already fully intact, with one air escape hole.