

A Better Glue Cap: Solving an Everyday Problem with 3D Printing
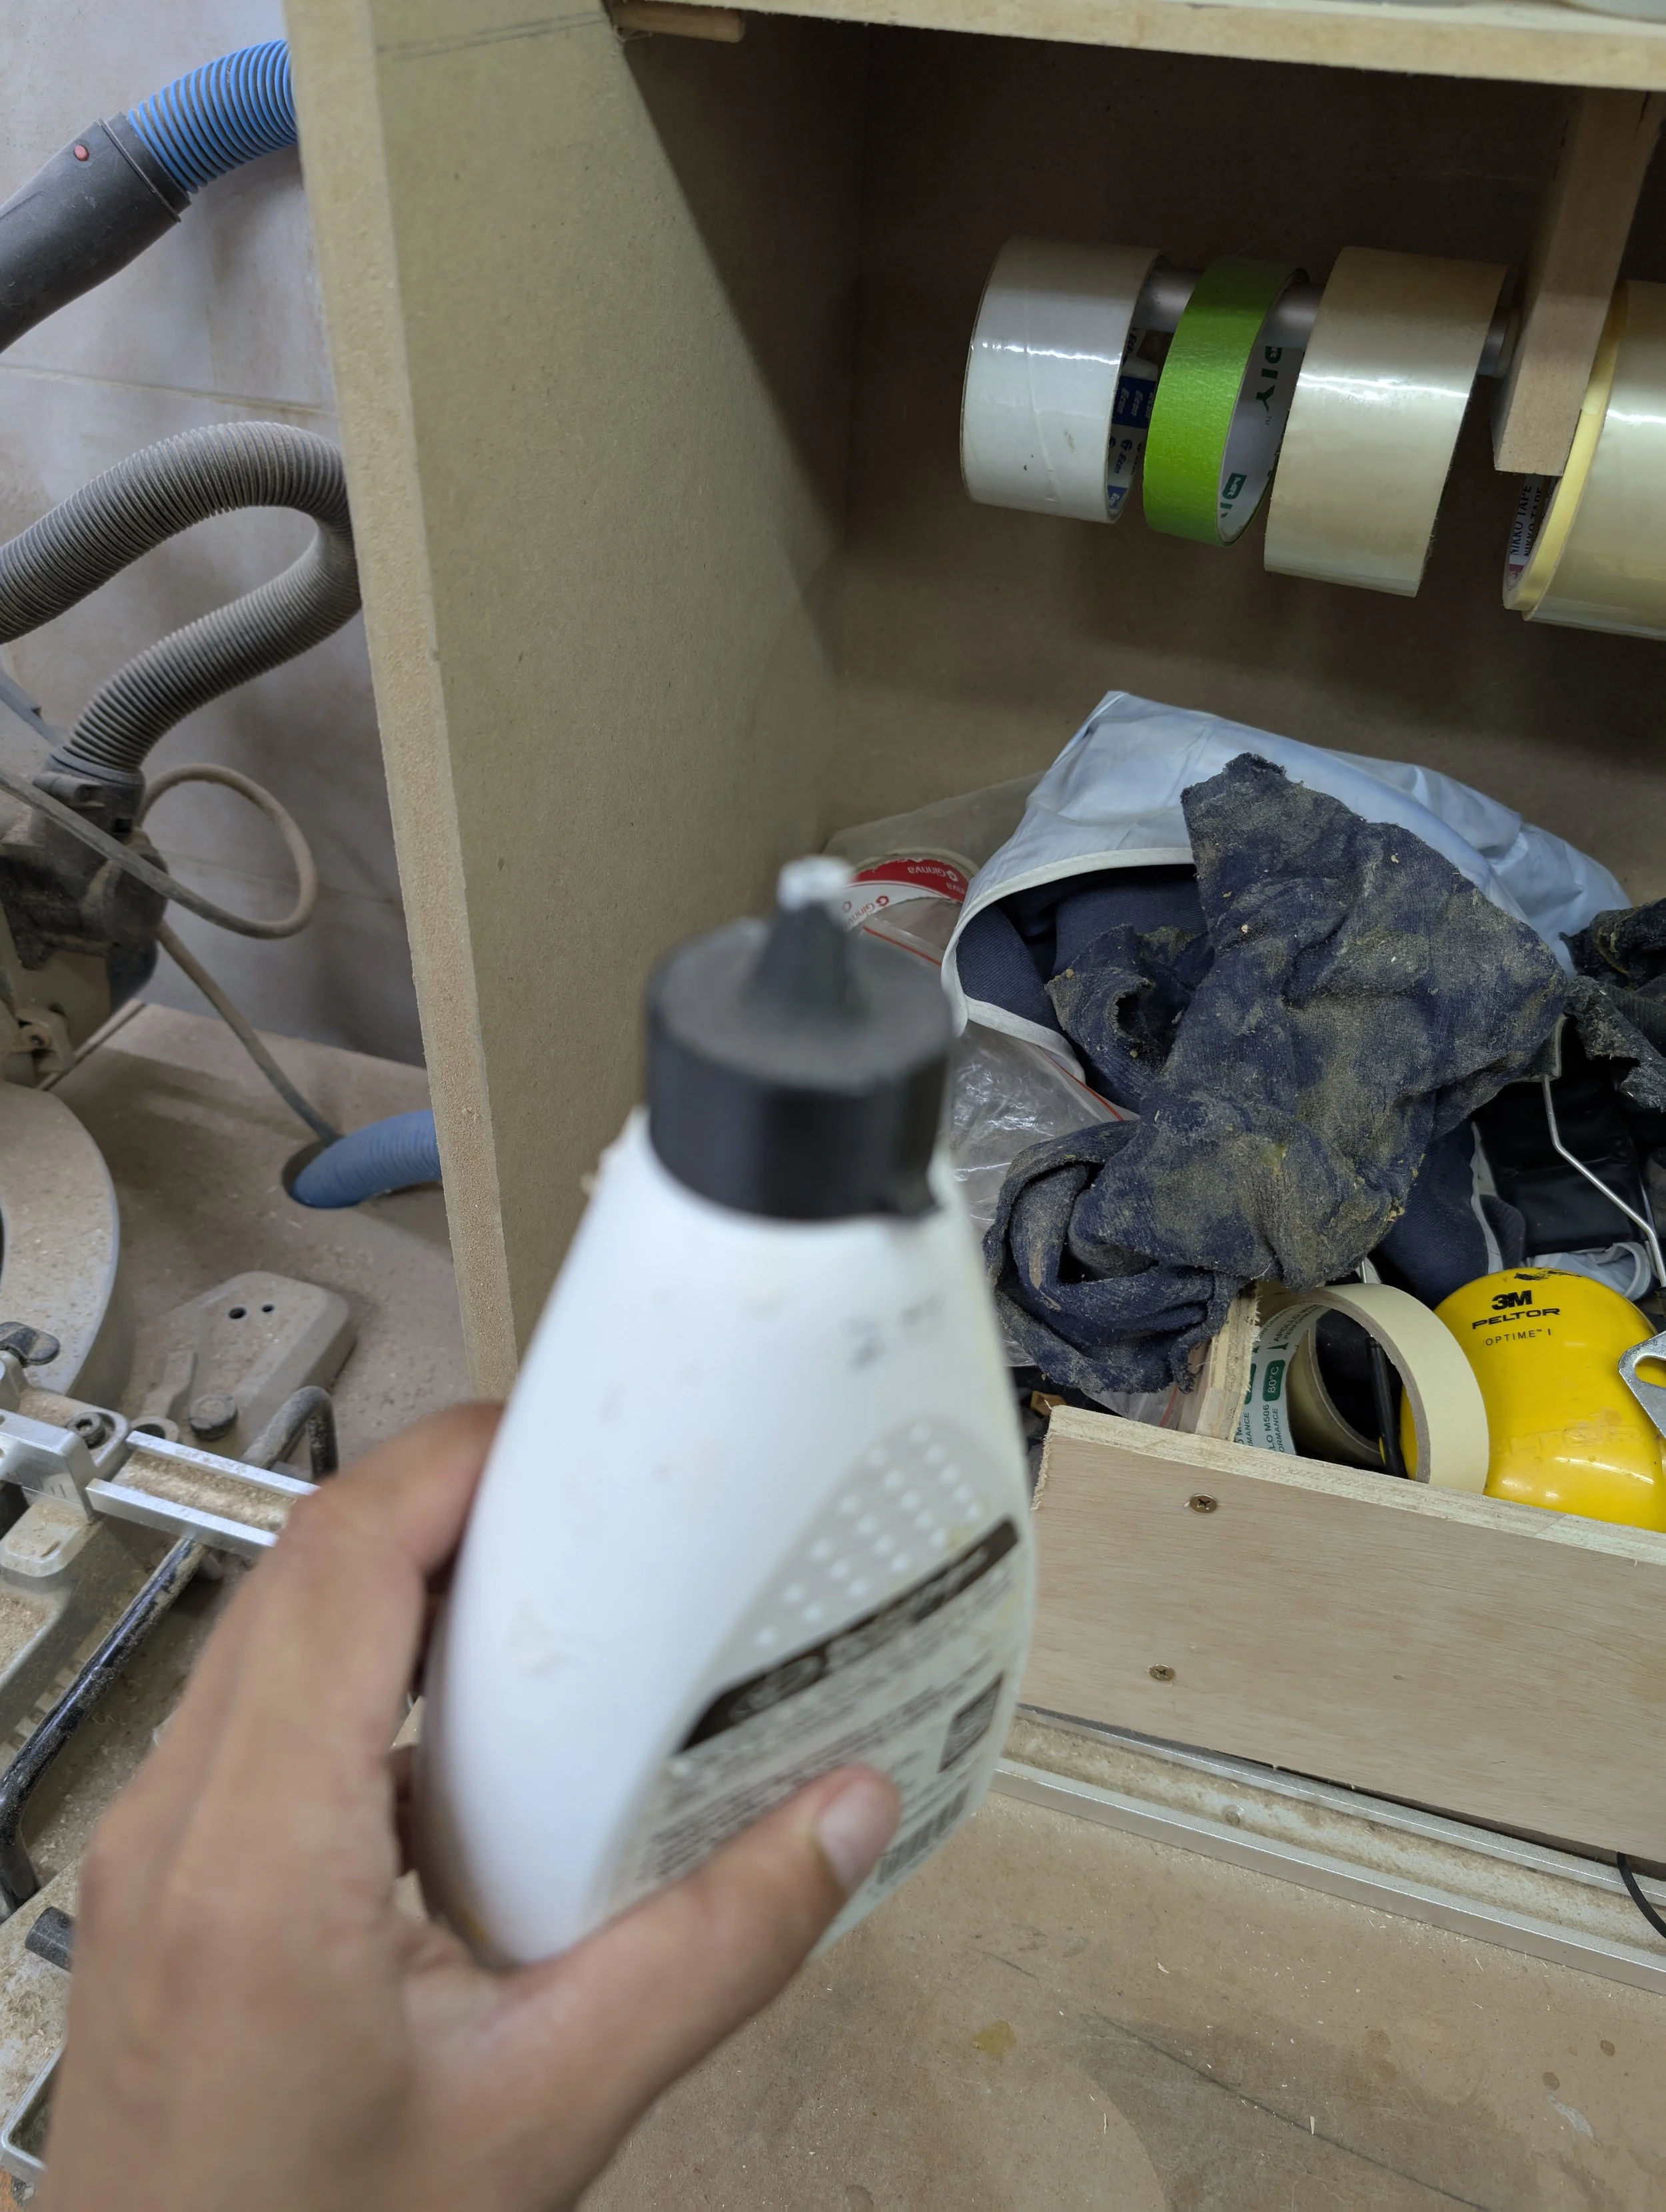
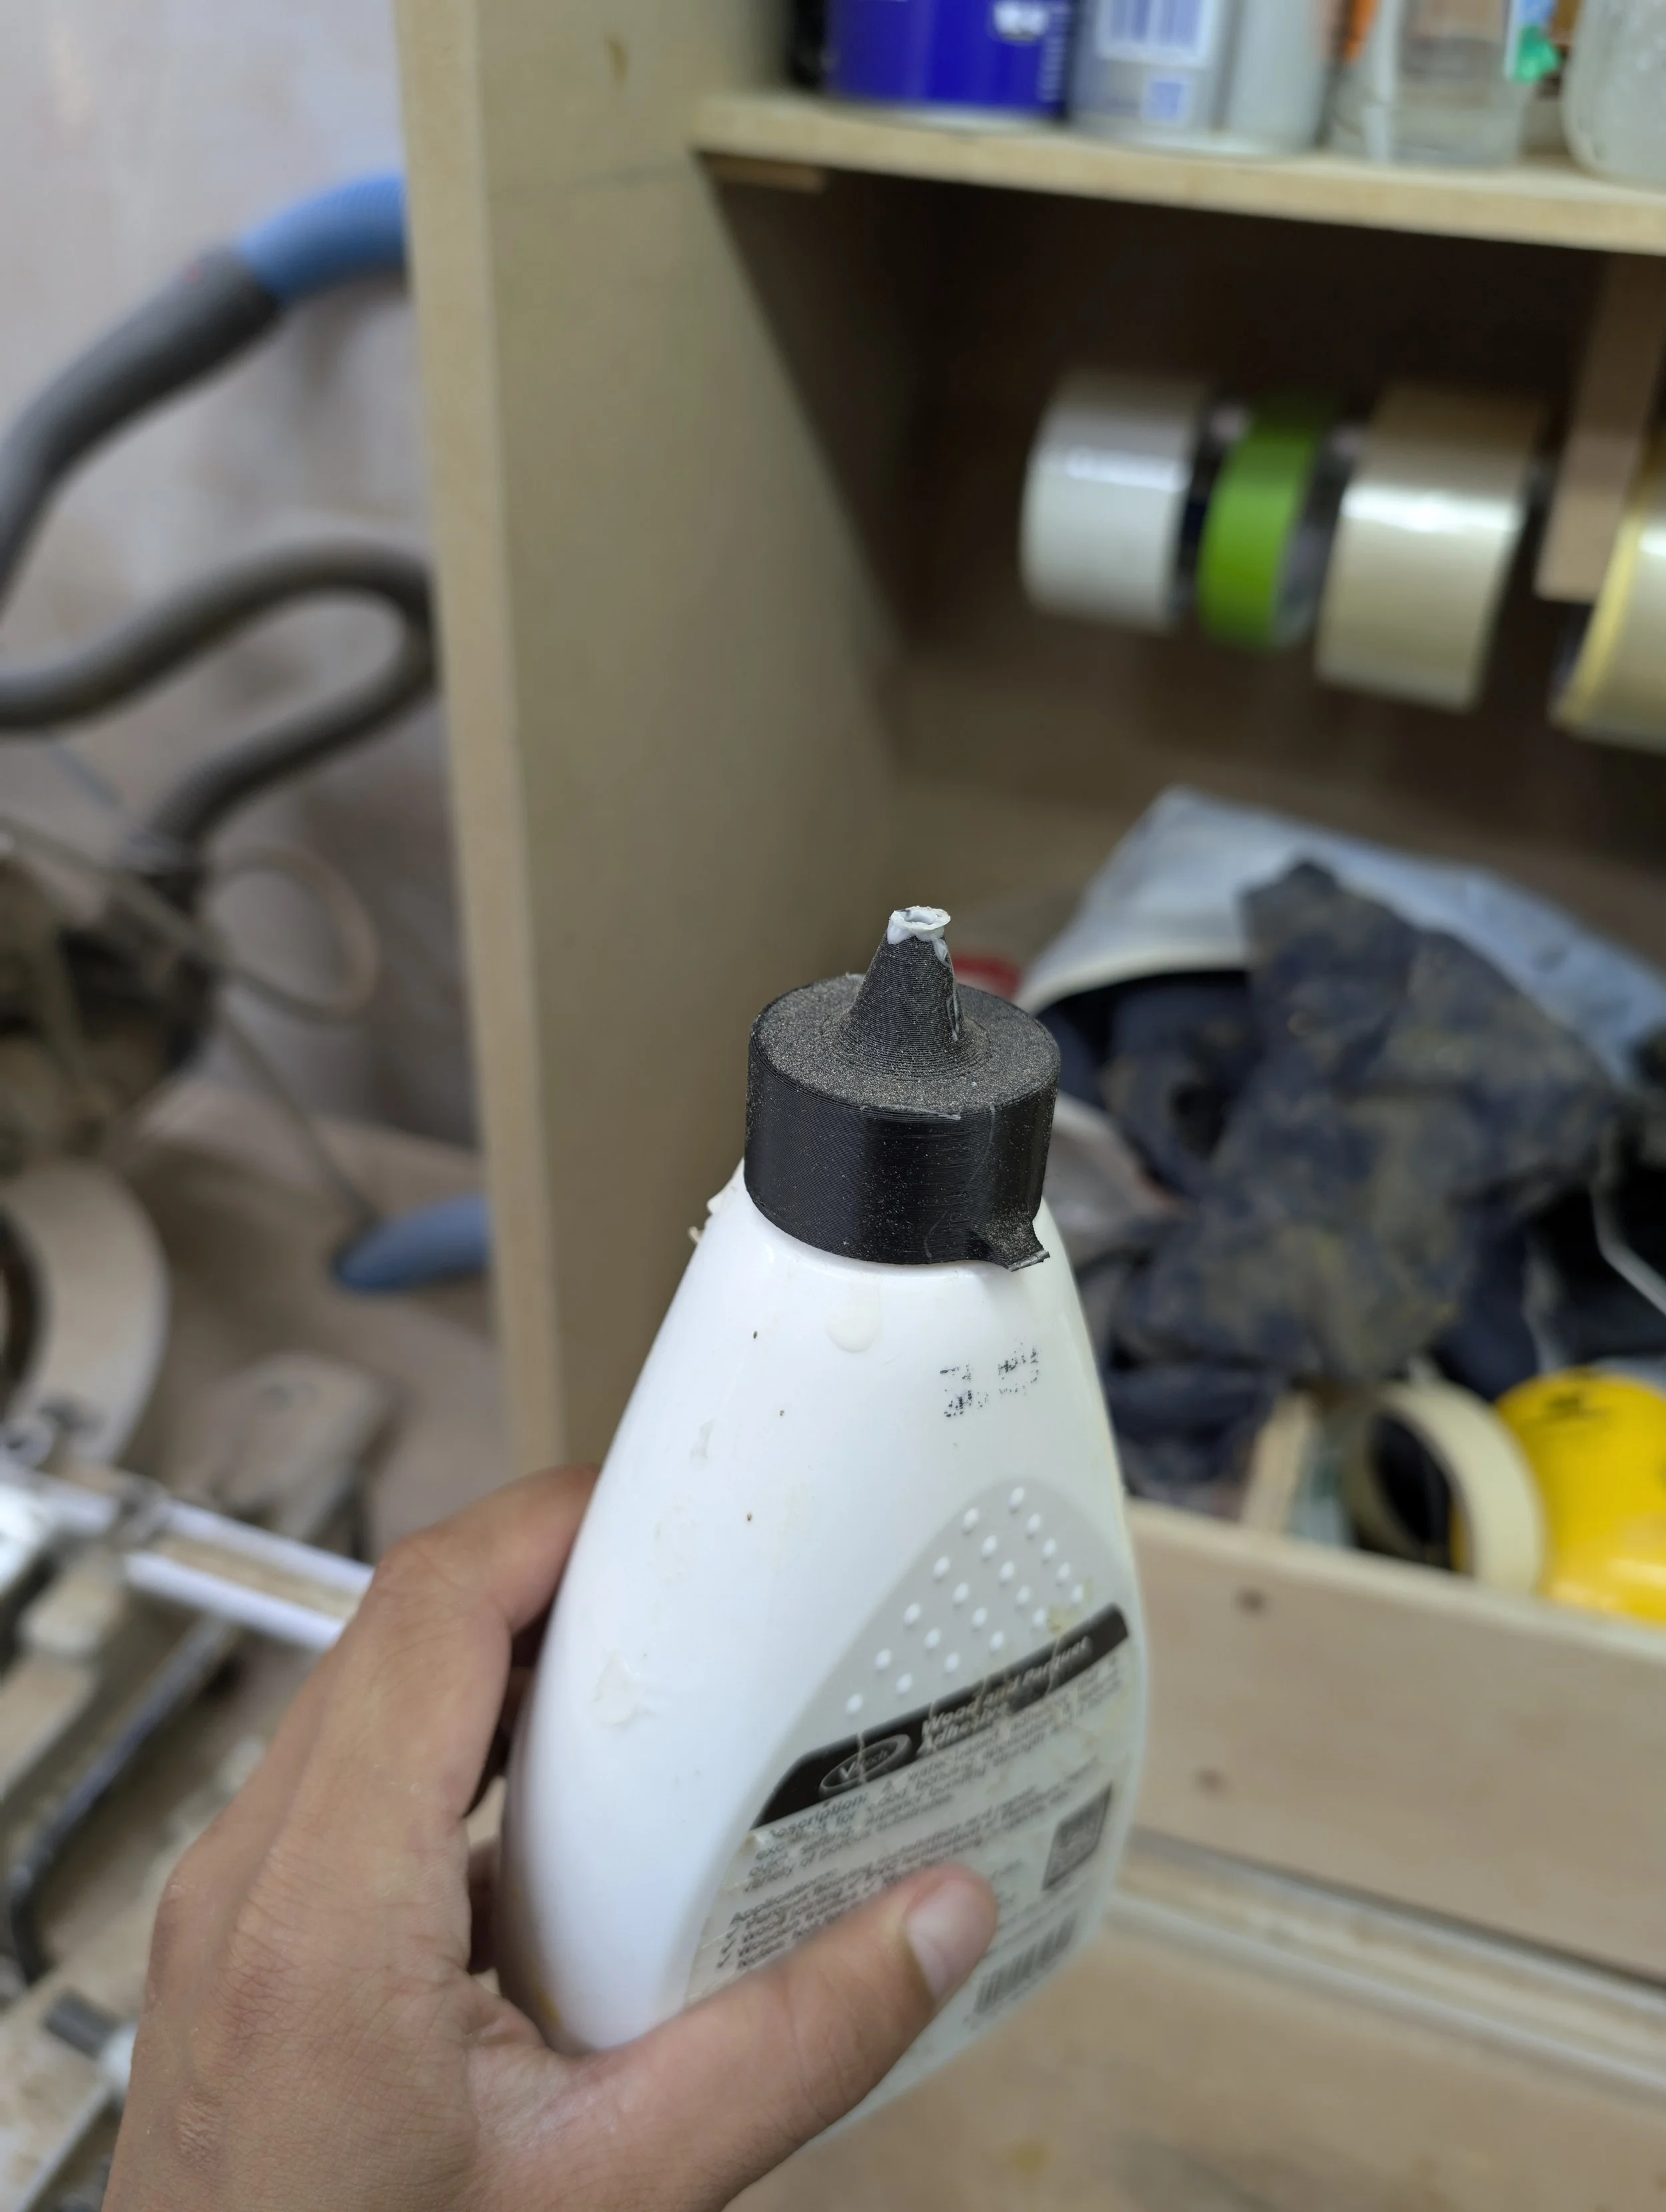
Have you ever had a small tool break and realized that replacing it is more trouble than it's worth? When the nozzle of our workshop's wood glue bottle broke, I saw it as a perfect opportunity to design and 3D print a new one myself. This was a simple fix, but it taught me a lot about thoughtful design.
The original cap, while broken, had a solid design that made it easy to apply glue. I took direct inspiration from it, but I also wanted to add some improvements.
Adding a "Want" to a "Need"
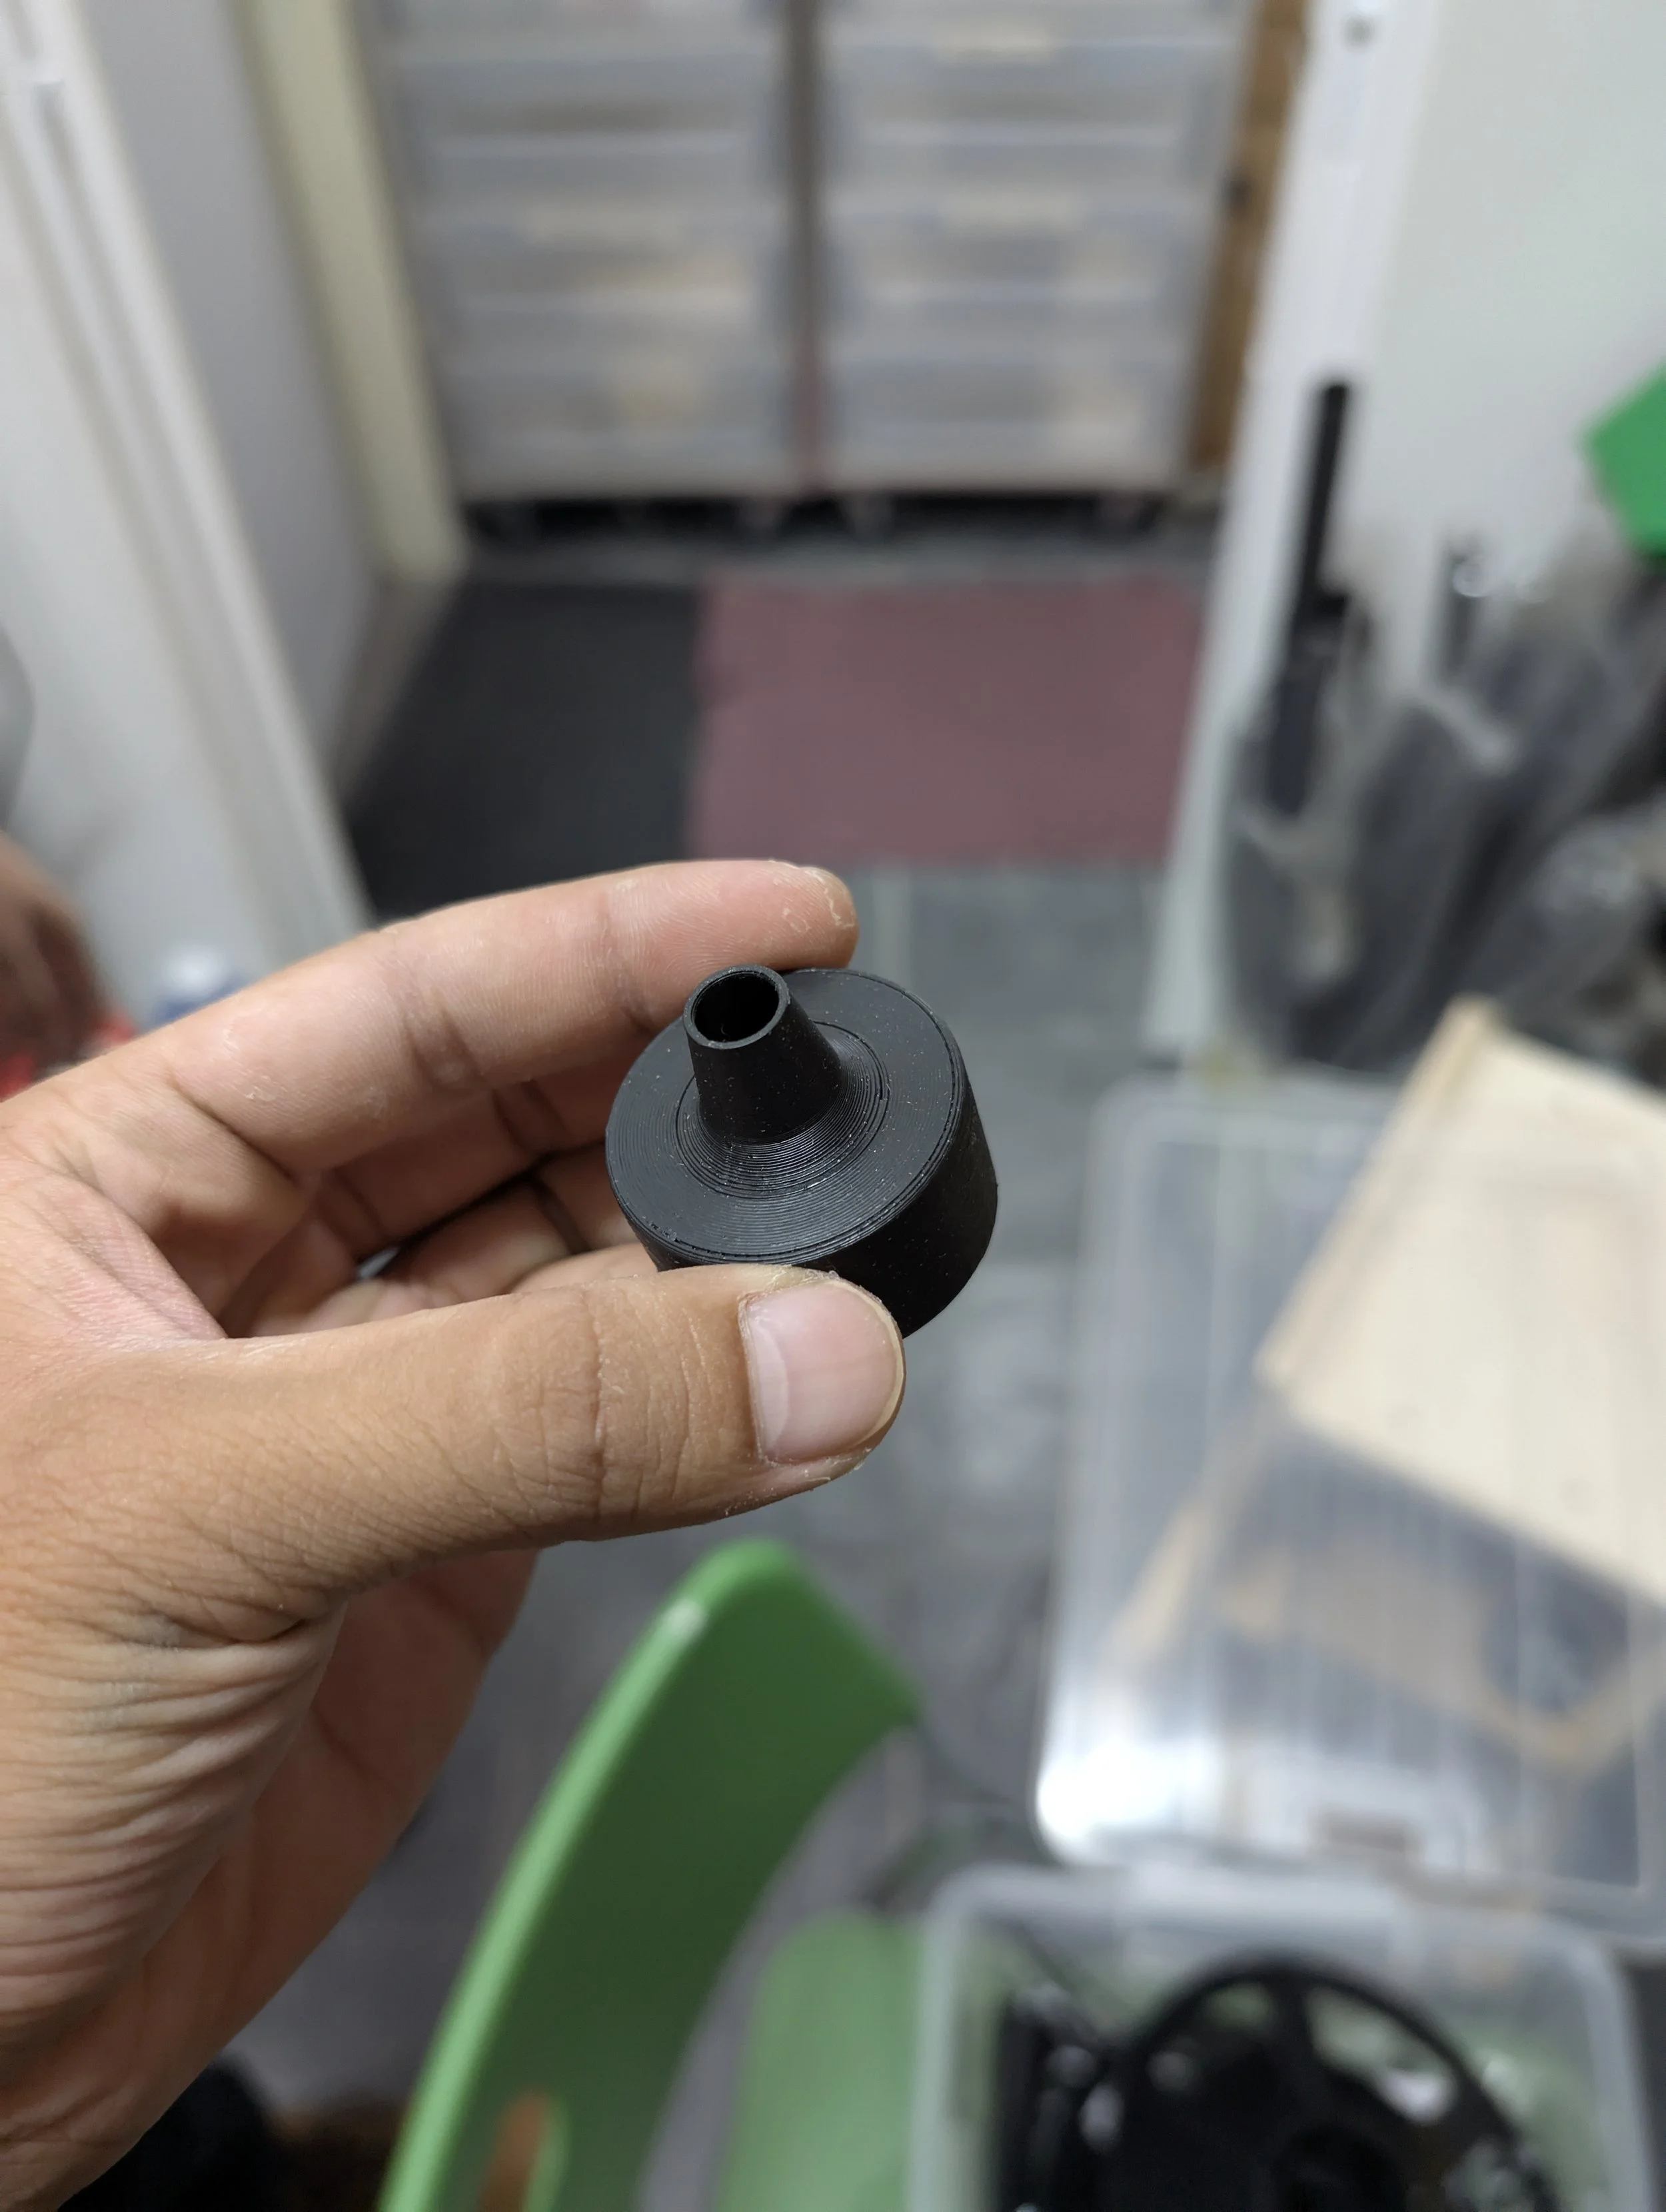
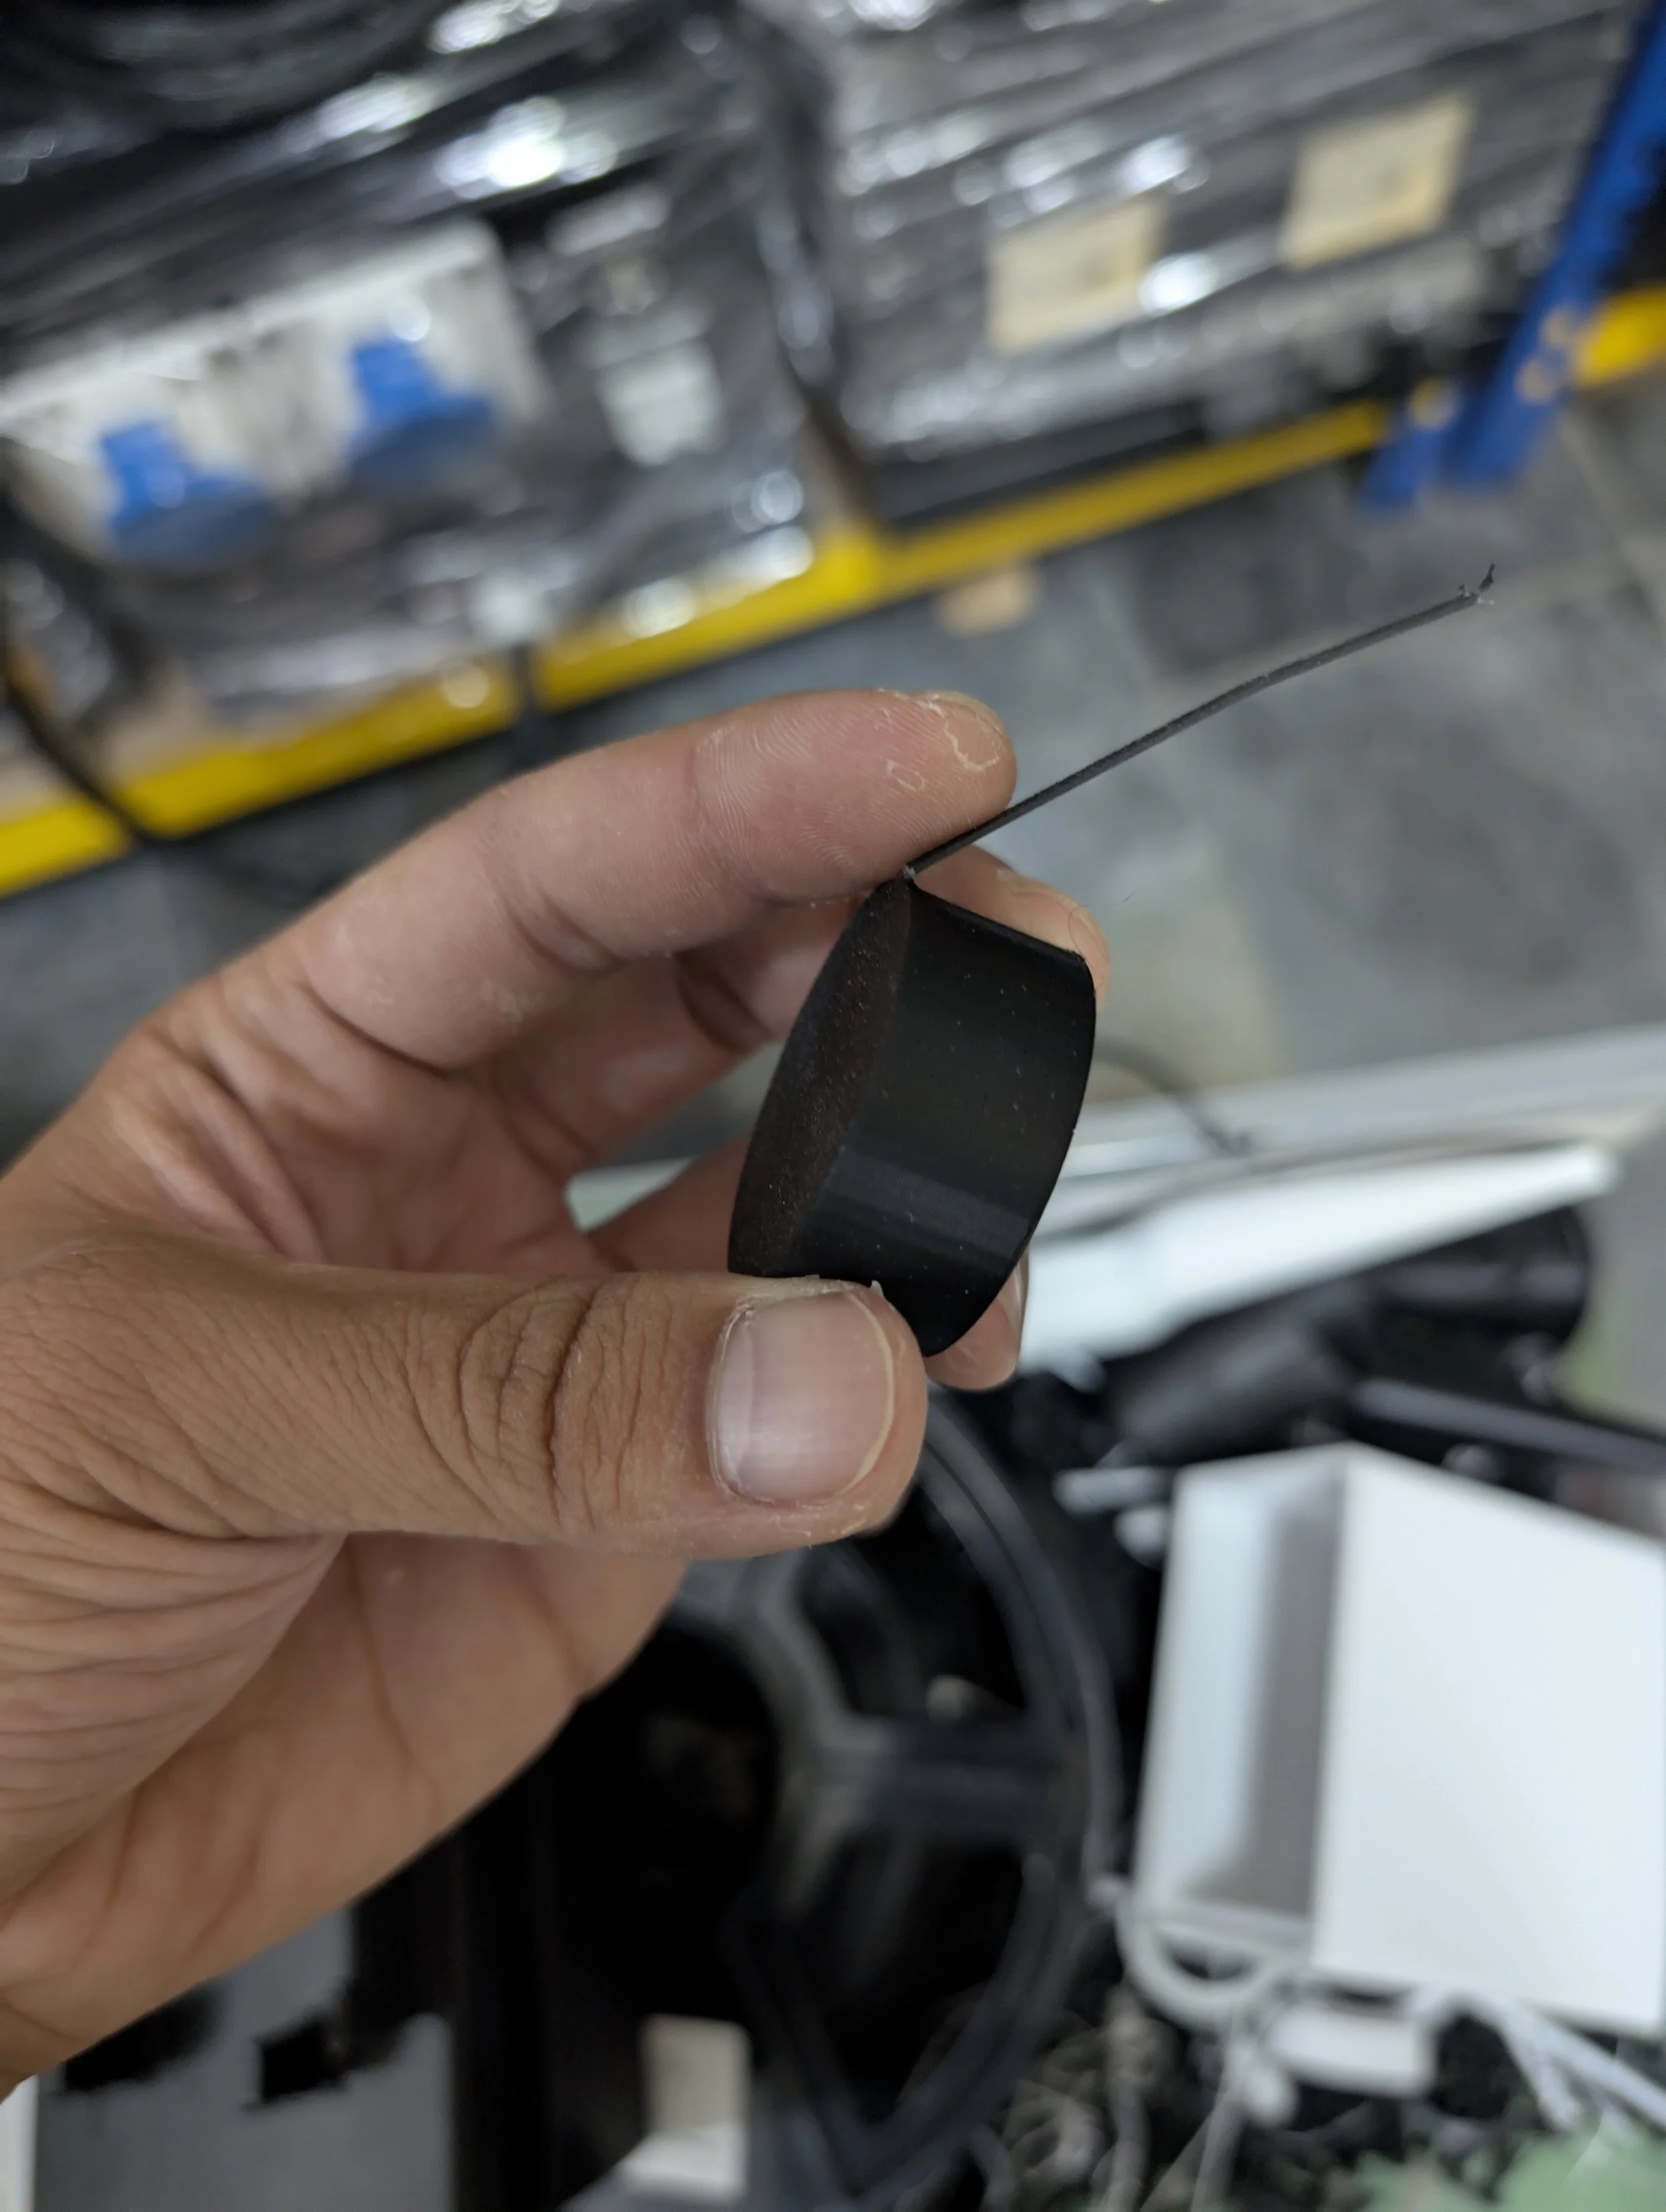
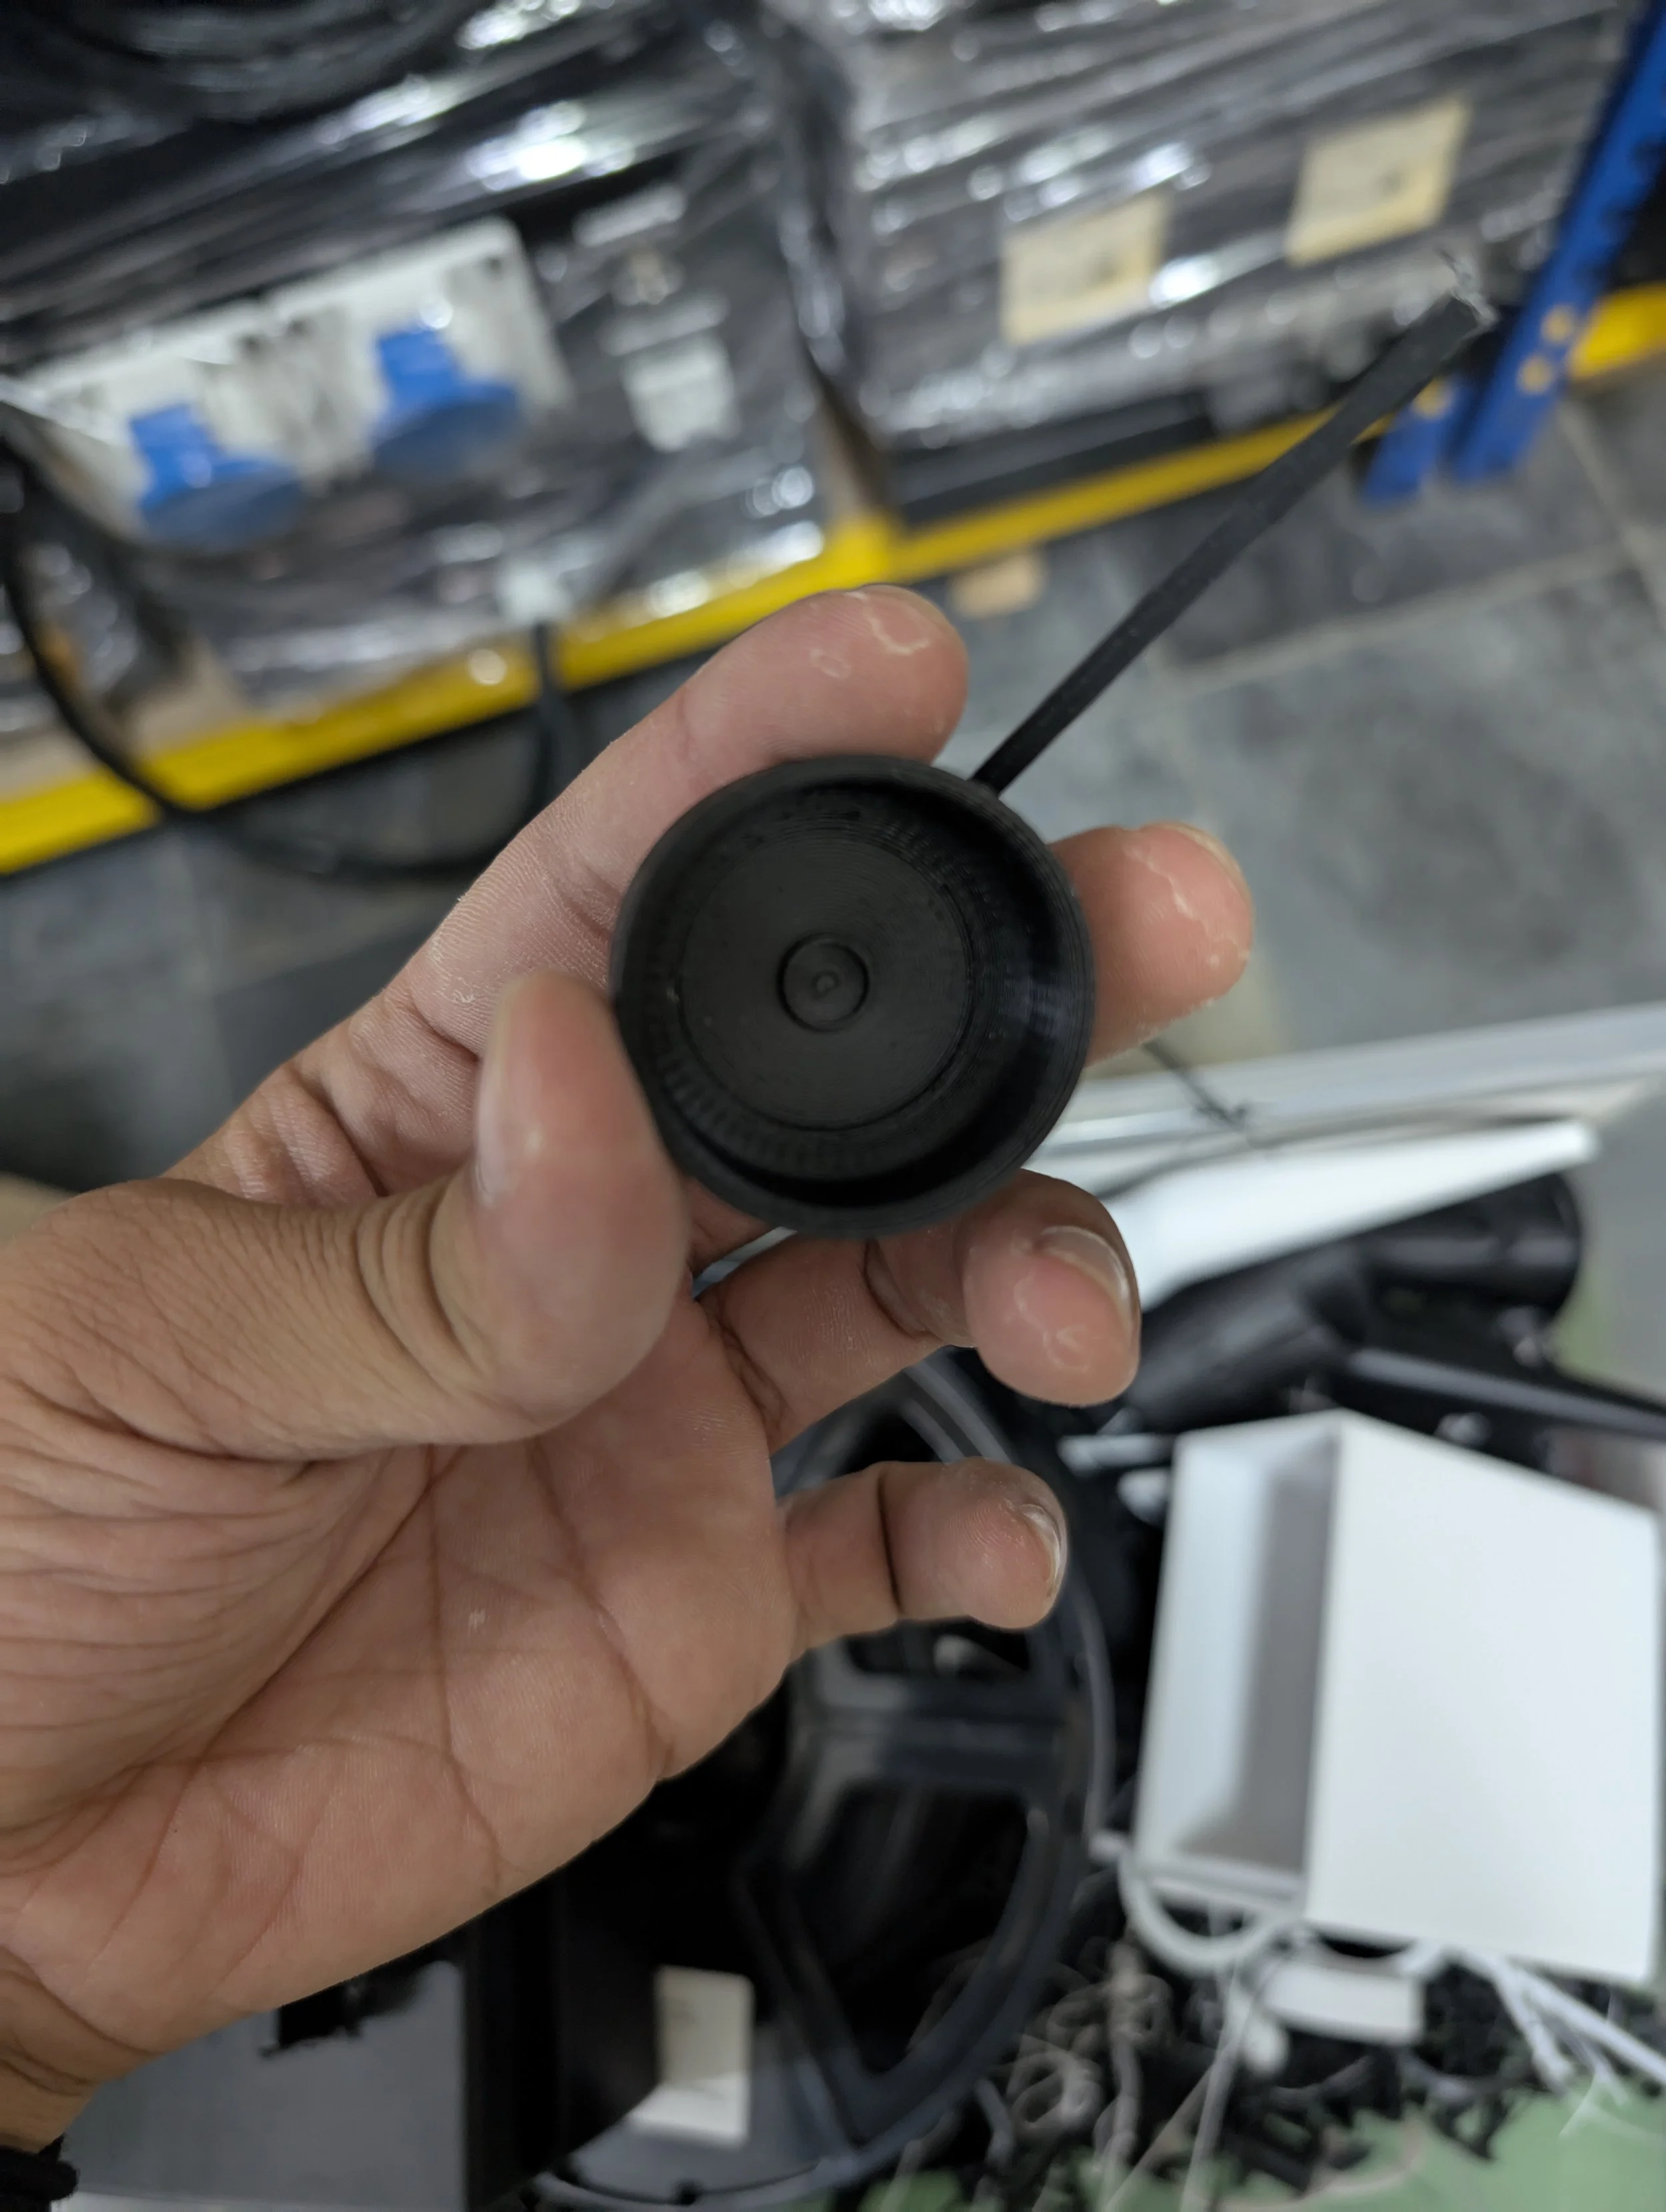
My main goal was to solve a frustration I often had with the old cap: you couldn't store the bottle upside down, which meant you always had to wait for the glue to flow down to the nozzle. My new design included a flat top so the bottle could sit upside down on the counter. This way, the glue is always ready to go, turning a tedious "need" into a much more efficient and enjoyable experience. I also designed a cap that could snap onto the nozzle and hang off the side of the bottle when in use, keeping it from getting lost.
Overcoming a Design Hurdle
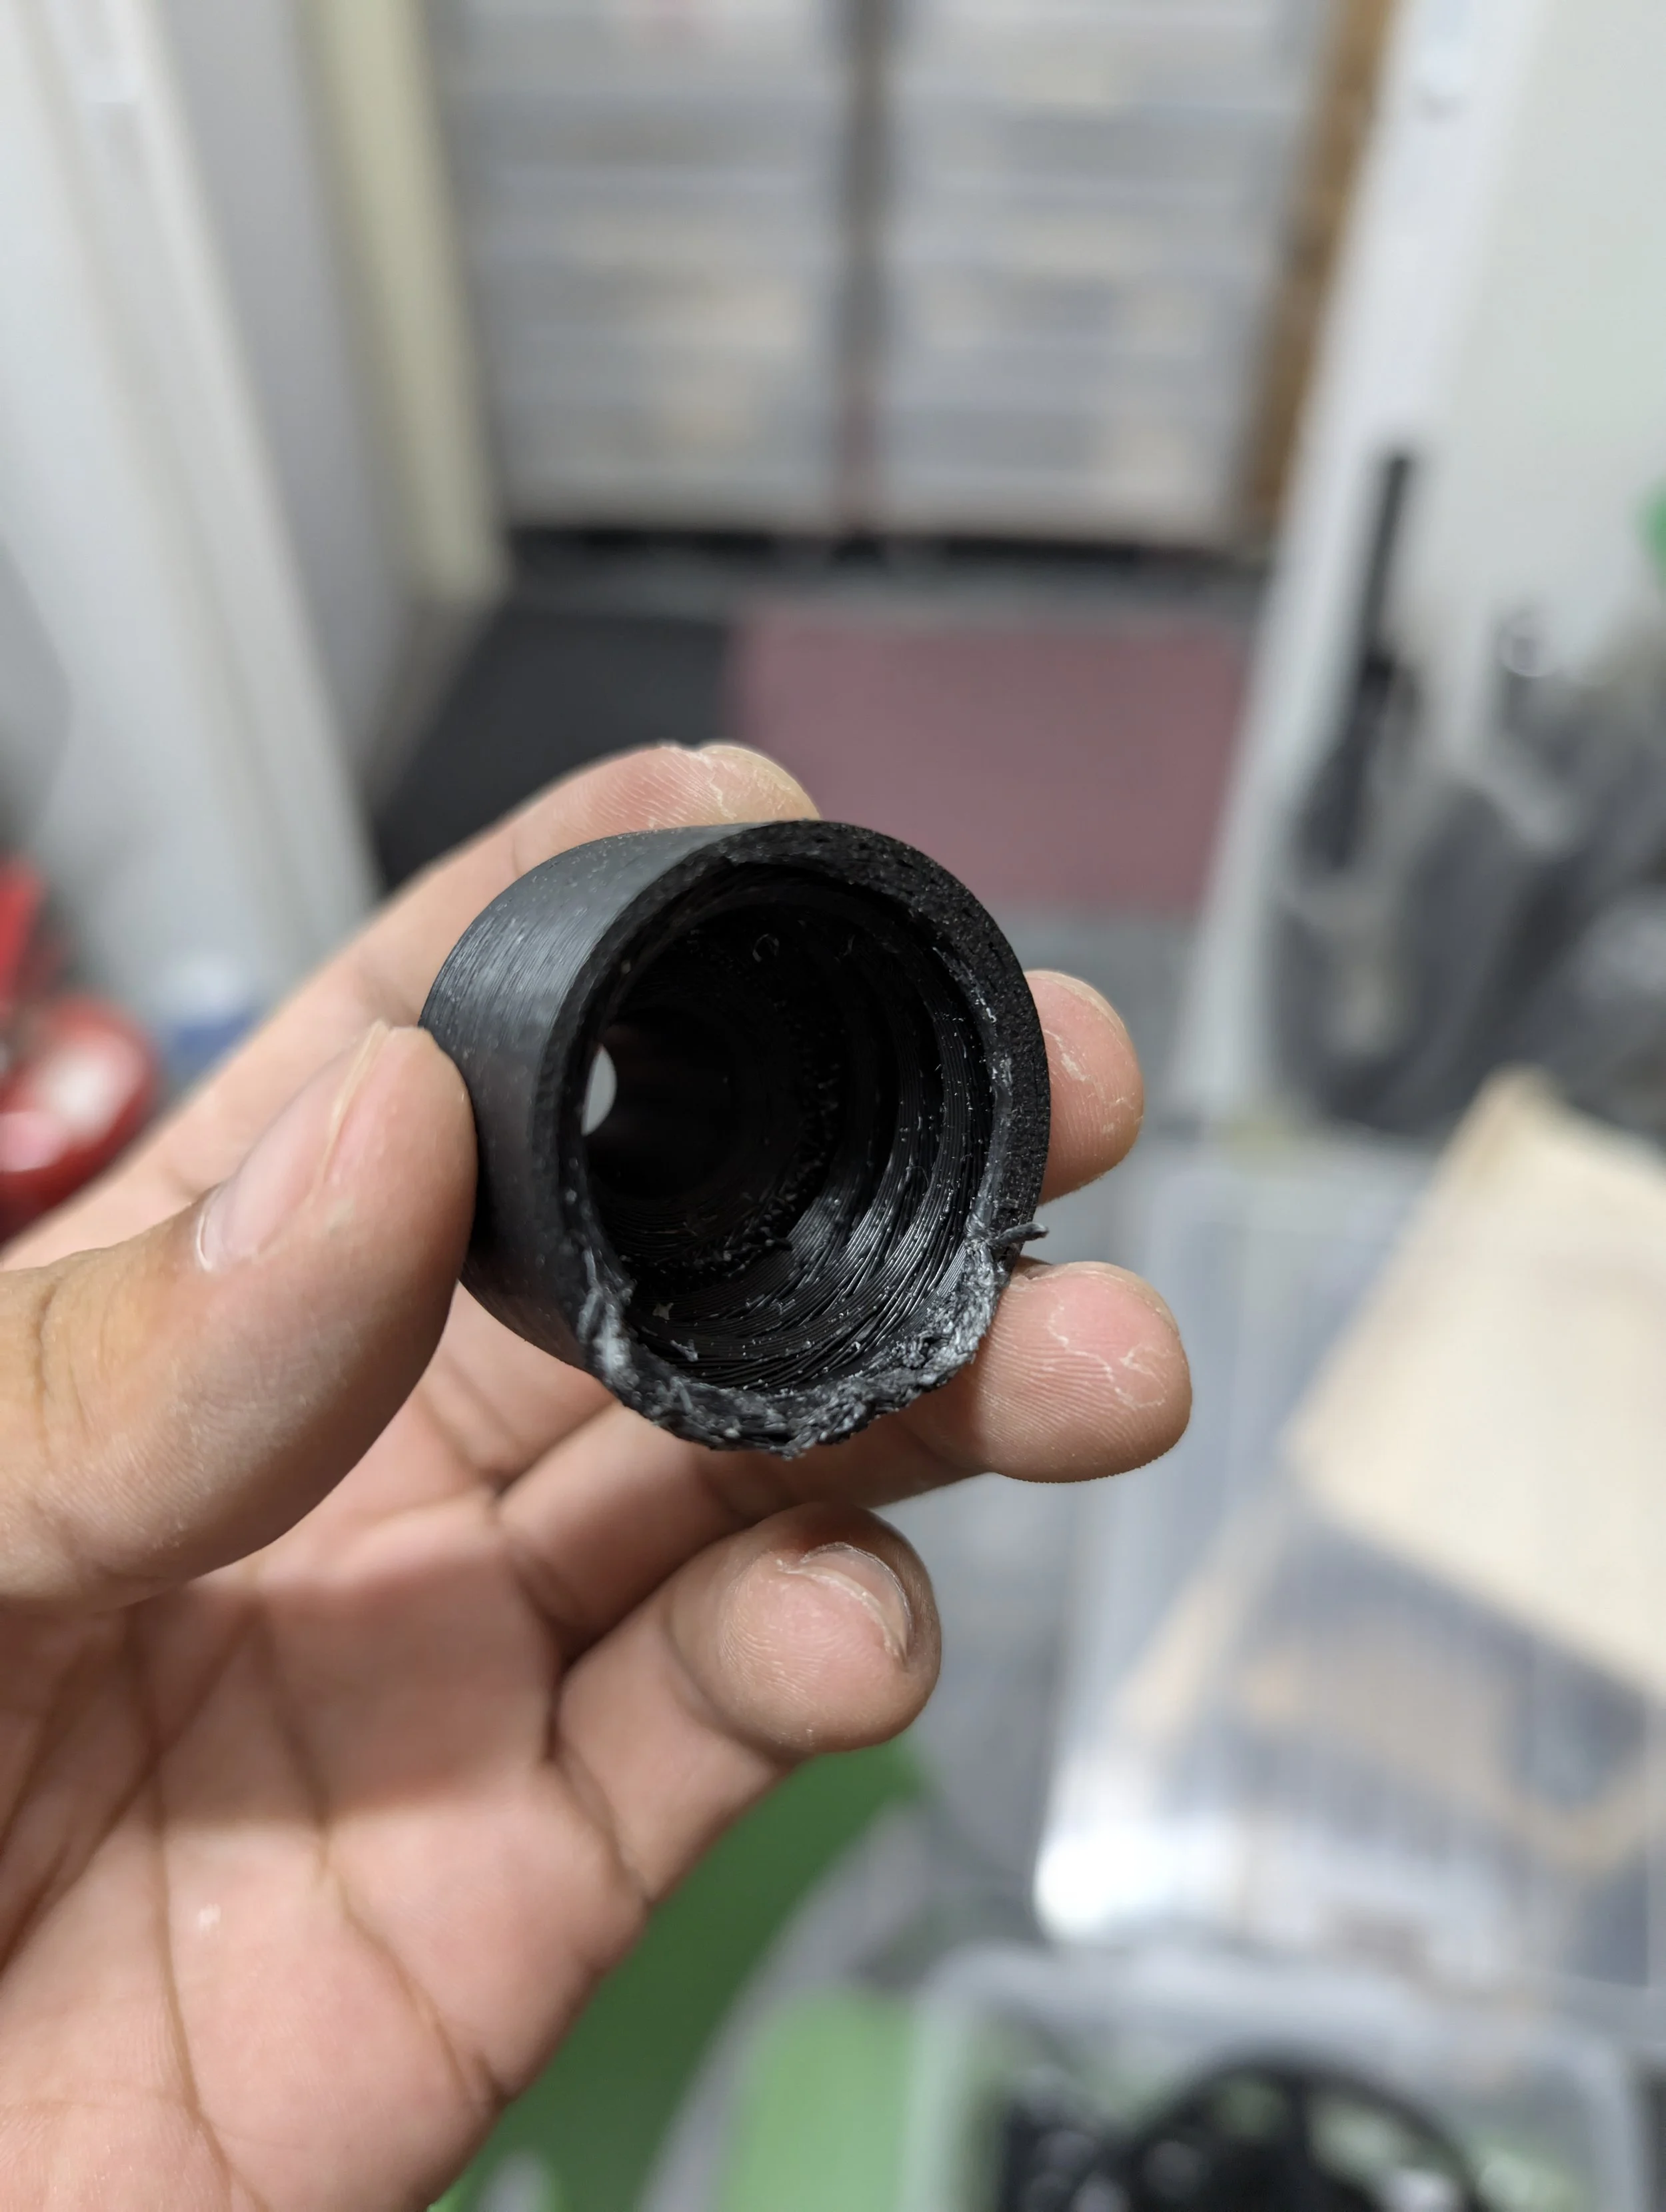
My biggest hurdle came from a simple mistake in my initial design: I modeled the thread with a double helix screw instead of the bottle's single helix. It was a perfect lesson in paying attention to the small details. After reprinting with the correct single helix, the cap worked like a charm.
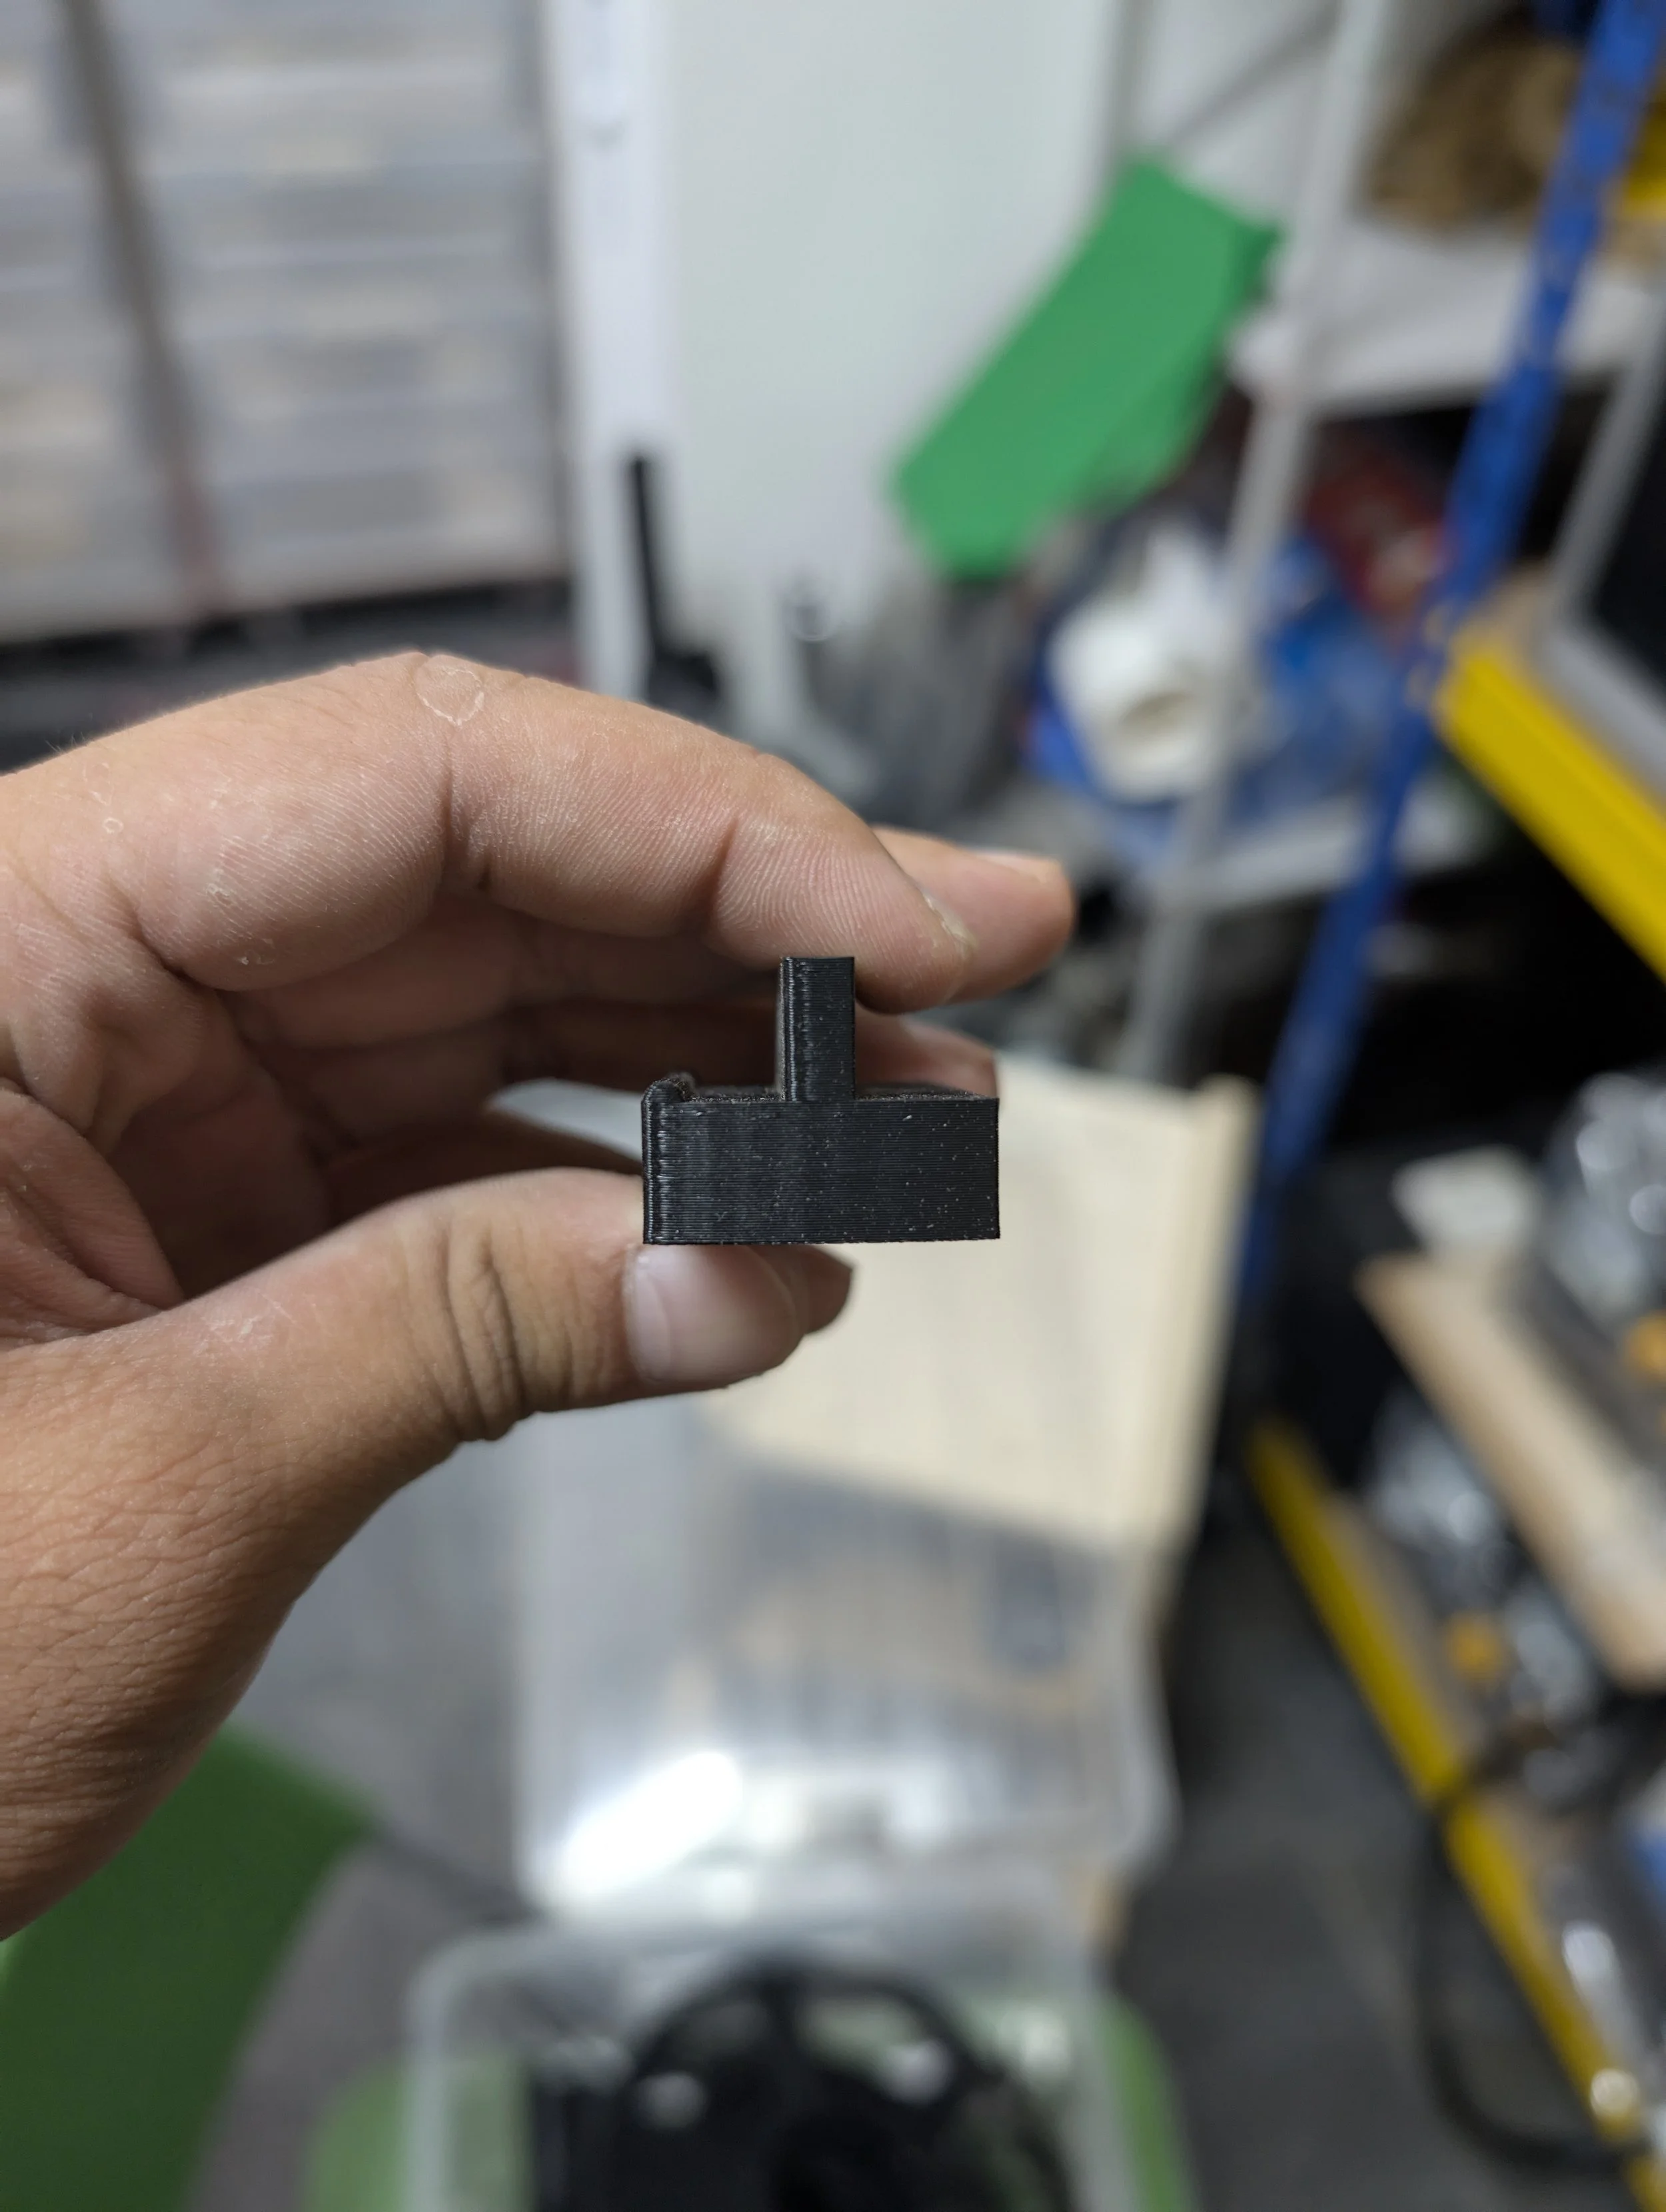
I was also able to add a small extruded ring to the inside of the cap, allowing it to snap securely onto the nozzle using the flexibility of the plastic. This proved to be a more effective solution than relying on the stiffness of the material alone.
This project was a great reminder that even the smallest design problems are worth solving. It's these tiny details that can turn a functional product into a genuinely great one.